EasyManua.ls Logo

Samsung ME17R7021E User Manual

Samsung ME17R7021E
20 pages
To Next Page IconTo Next Page
Page #1 background imageLoading...
Page #1 background image
Installation Instructions
Over the Range Microwave Oven
BEFORE YOU BEGIN (Read these instructions completely and carefully.)
IMPORTANT
Save these instructions for local inspector’s use.
IMPORTANT
Observe all governing codes and ordinances.
Note to Installer - Be sure to leave these instructions with the Consumer.
Note to Consumer - Keep these instructions for future reference.
Skill level - Installation of this appliance requires basic mechanical and electrical skills.
Proper installation is the responsibility of the installer.
Product failure due to improper installation is not covered under the Warranty.
READ CAREFULLY. KEEP THESE INSTRUCTIONS.
ME4000R_ME17R7021EB_AA_DE68-04584A-00_EN.indd 1 6/19/2019 4:17:23 PM
Question and Answer IconNeed help?

Do you have a question about the Samsung ME17R7021E and is the answer not in the manual?

Samsung ME17R7021E Specifications

General IconGeneral
Capacity1.7 cu. ft.
Power1000 W
Power Output1000 W
TurntableYes
Sensor CookYes
Cooking Levels10
ColorStainless Steel
Preset ProgramsYes
Convection CookingNo
Grill FunctionNo
Child LockYes
Turntable Diameter12.5 inches
Warranty1 Year

Summary

Before You Begin Installation

Important Safety Instructions

Electrical Requirements

Hood Exhaust

Damage During Shipment or Installation

Parts Included

Tools You Will Need

Mounting Space Requirements

Placement of the Mounting Plate

A. Removing the Microwave Oven from the Carton/Removing the Mounting Plate

Instructions on safely unpacking the microwave and detaching the mounting plate from the carton.

B. Finding the Wall Studs

Methods for locating wall studs using a stud finder or hammer to ensure secure mounting.

C. Determining Wall Plate Location Under Your Cabinet

Procedures for correctly positioning the mounting plate based on cabinet type (flat, recessed, overhang).

D. Aligning the Wall Plate

Steps for accurately marking and drilling holes on the wall for mounting plate installation using templates.

A. Outside Top Exhaust (Vertical Duct)

A1. Installation Procedure for Exhaust Adaptor and Proper Damper Operation Check

Step-by-step guide to install the exhaust adaptor and verify the damper functions correctly for top exhaust.

A2. Adjust the Exhaust Adaptor

Instructions on adjusting the exhaust adaptor to align properly with the house duct for connection in top exhaust systems.

B. Recirculating (Non-Vented Ductless)

B1. Adapting Microwave Blower for Recirculation

Steps to modify the microwave blower unit for operation in a recirculating, non-vented configuration.

B2. Installing the Charcoal Filter

Procedure for installing the charcoal filter, essential for air purification in recirculating mode.

C. Outside Back Exhaust (Horizontal Duct)

C1. Adapting Microwave Blower for Outside Back Exhaust

Steps to adapt the microwave blower for proper airflow in a horizontal, outside back exhaust system.

Installation Steps

A. Preparing the Rear Wall for Outside Back Exhaust

Guidance on cutting an opening in the rear wall as per the template for external back exhaust venting.

B. Attach the Mounting Plate to the Wall

Detailed instructions on securing the mounting plate to the wall using toggle bolts and screws, ensuring stud support.

C. Use Top Cabinet Template for Preparation of Top Cabinet

Instructions for using the top cabinet template to drill holes for support screws and power cord passage.

D. Mount the Microwave Oven

Steps for lifting and securing the microwave oven onto the mounted plate and into the cabinet.

E. Connecting Ductwork (only vertical duct)

Procedure for connecting the house duct to the exhaust adaptor and sealing the joints with tape.

Before You Use Your Microwave

7. Keep Installation Instructions for Inspector's Use

Instruction to retain installation documents for review by local inspectors.
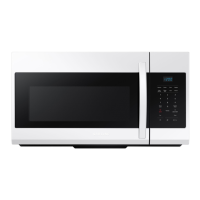
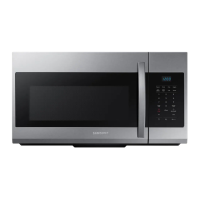
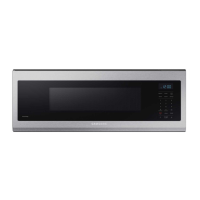
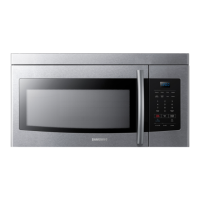
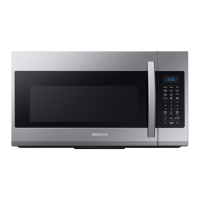
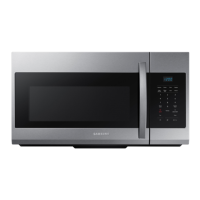
Related product manuals