EN-5
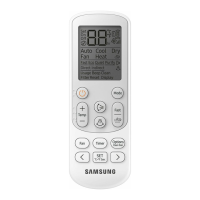
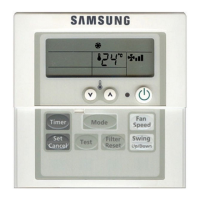
Receiver & Display Unit Installation
Accessories
Receiver & display
unit (1)
PH, +, 2, M2, L10
tapped screw (4)
TH, +, 1, M4, L20
tapped screw (2)
User & Installation
Manual (1)
Wire kit [Length:
10m (32.80ft)]
1
Remove the receiver & display unit cover by using the
tab on its bottom.
2 Open the receiver & display unit.
3
Connect the end of the connector wire to the receiver
& display unit and connect the other end of the wire to
the DISPLAY connector of Indoor PCB as shown in figure.
X
Do NOT keep the receiver & display unit cable with a
220V cable because the remote controller cables have
low voltage.
Receiver &
display unit
4
Secure the receiver & display unit on the wall with
two screws.
5 Reassemble the receiver & display unit cover.
X The receiver & display unit must be installed by an
installation specialist.
X Before installing the receiver & display unit, ensure that
you have turned off the main power.
X All receiver & display unit cables should be installed
according to the national wiring rules and you must install
it in the wall not to be touched by users.
SOL Receiver & Display Unit_IBIM_EN_DB68-03717A-05.indd 5 2016-05-12 오전 11:21:53
 Loading...