4
Deciding on where to install the indoor unit
Preparation for installation
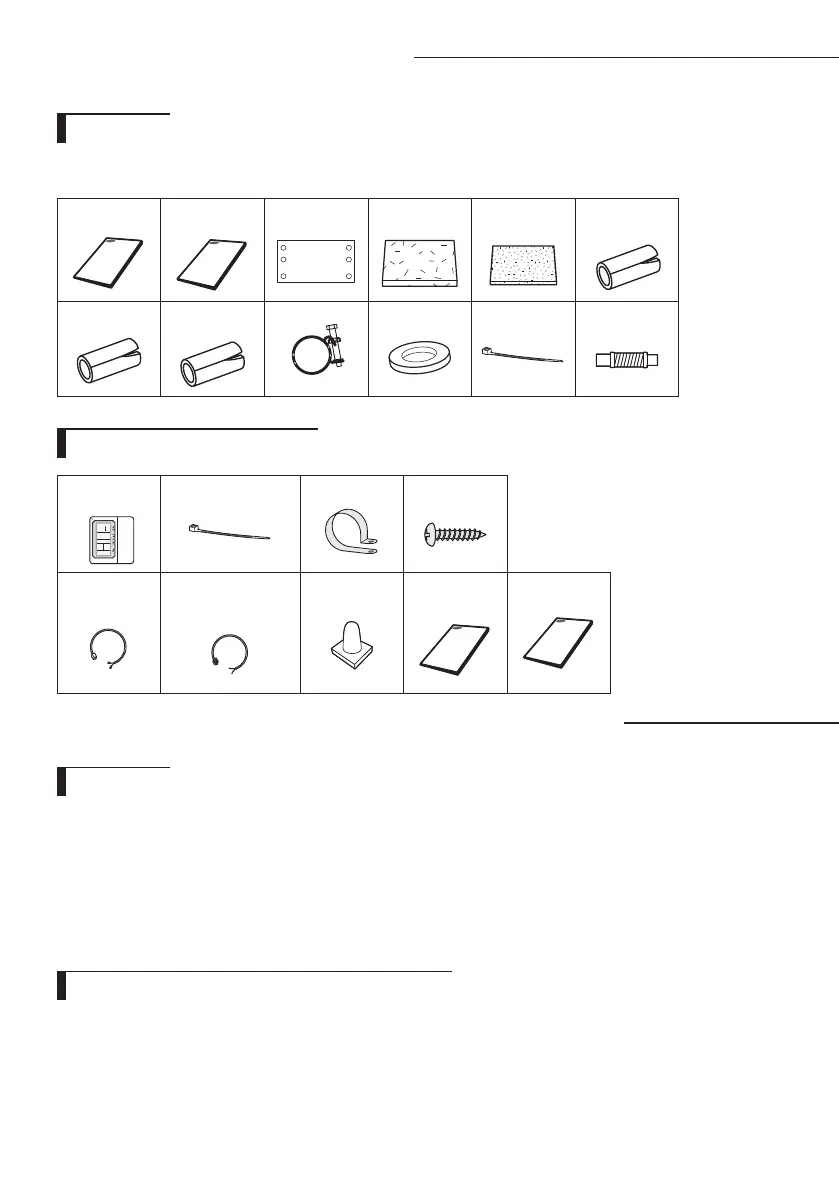
The following accessories are supplied with the indoor unit.
The type and quantity may dier depending on the specications.
Accessories
User’s
manual
Installation
manual
Pattern sheet Insulation
drain
Insulation
cover pipe
Insulation
cover pipe 2
Insulation
pipe
Insulation
drain pipe
Clamp hose Rubber Cable-tie Flexible hose
There must be no obstacles near the air inlet and outlet.
Install the indoor unit on a ceiling that can support its weight.
Maintain sufficient clearance around the indoor unit.
Make sure that the water dripping from the drain hose runs away correctly and safely.
The indoor unit must be installed in this way, that they are out of public access. (Not touchable by the users)
After connecting a chamber, insulate the connection part between the indoor unit and the chamber with t10
or thicker insulation. Otherwise, there can be air leak or dew from the connection part.
Construction Standard for Inspection Hole
1) In case, the ceiling is tex tile, Inspection hole dose not need.
2) In case, the ceiling is plaster board, Inspection hole depends on Inside height of the ceiing.
a. Height is more than 3.28ft(1m) : Only "B" [Inspection for PBA] is applied.
b. Height is less than 3.28ft(1m) : Both "A"&"B" are applied.
c. "A"&"B" are inspection holes .
Wired remote control accessories
Wired remote
control
Cable-tie Cable clamp M4x16
tapped screw
Indoor unit
power draw-
ing cable
Communication
cable of the wired
remote control
Wire joint User’s
manual
Installation
manual
Indoor unit
Space requirements for installation & service
 Loading...