- 2 -
Getting Started
Accessories
• Remote Control & Batteries (AAA x 2)
• Warranty Card / Safety Guide
• Owner’s Instructions
• Power Cord
• Cleaning Cloth
Input Cables (Sold Separately)
• RS232
• Audio
• HDMI
• HDMI-DVI
• Component
• Composite (AV)
• Coaxial (RF)
✎ Check the cable before plug-in
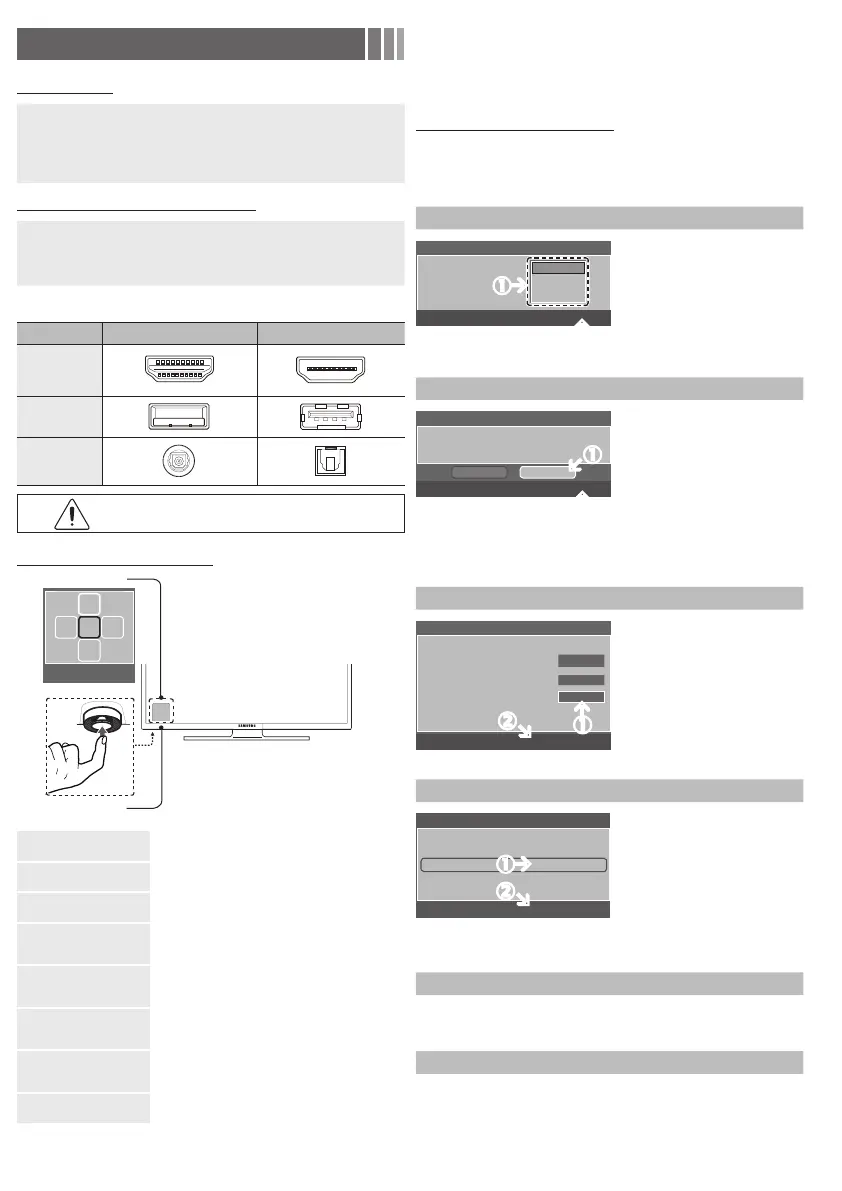
Cable Ports
HDMI
USB
Optical
Do not plug cable upside down.
Be sure to check before plug-in.
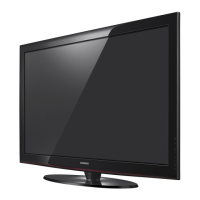
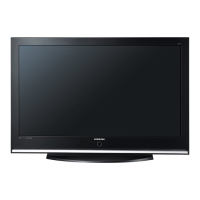
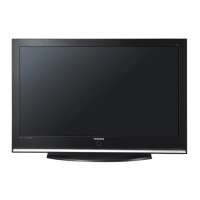
TV Controller (Panel Key)
Power on
Turns the TV on by pressing the controller in standby
mode.
Adjusting the volume
Adjusts the volume by moving the controller from side to
side when the power is on.
Selecting a channel
Selects a channel by moving the controller up and down
when the power is on.
Using the function menu
Press the controller when the power is on, then the
function menu screen appears. If you press it again, the
function menu screen disappears.
Selecting the Media Play
Selects the MEDIA.P by moving the controller in the
function menu screen. The Media Play main screen
appears.
Selecting the MENU (
)
Selects the MENU(
) by moving the controller in the
function menu screen. The OSD(On Screen Display) of
your TV’s feature appears.
Selecting the Source
List (s)
Selects the Source List (s) by moving the controller
in the function menu screen. The Source List screen
appears.
Power Off (
)
Selects the Power Off (
) to turn the TV off by moving
the controller in the function menu screen.
✎ Exits the menu when pressing the controller more than 1 second.
✎ When selecting the function by moving the controller to the up/down/
left/right directions, be sure not to press the controller. If you press it
first, you cannot operate it to move the up/down/left/right directions.
Plug & Play (Initial Setup)
When you turn the TV on for the first time, a sequence of on-screen
prompts will assist in configuring basic settings. Press the POWER
button. Plug & Play is available only when the Input source is set to TV.
✎ Connecting the power cord and antenna. (refer to ‘Connections’)
Selecting a language
Select Language of the OSD.
Language
U
Move
E
Enter
Plug & Play
English
Español
Français
Select the desired OSD (On Screen
Display) language.
Selecting a Home Use mode
Select ‘Home Use’ when installing this TV in your home.
L
Move
E
Enter
Plug & Play
Home Use
Store Demo
• Select the Home Use mode.
Store Demo mode is for retail
environments.
• When pressing TV controller, the
function menu screen appears.
Select the MENU(m) and press
it more than 5 seconds using the
controller. The Store Demo mode
is set. Cancel the Store Demo by
selecting Source List(s) and
pressing it more than 5 seconds.
Selecting an antenna
Select the Antenna source to memorize.
Air Start
Cable
Start
Auto Start
U
Move
E
Enter
Skip
Plug & Play
In Cable mode, you can select the
correct signal source among STD,
HRC, and IRC by pressing the ▲,
▼, ◄ or ► button.
Setting the Clock Mode
Set the Clock Mode.
Clock Mode : Auto
Plug & Play
E
Enter
m
Skip
Set the Clock Mode automatically
or manually.
• If you select the Auto, set the
DST(Daylight Saving Time).
• On the DST screen, press
ENTER
, then select whether to
turn DST (Daylight Savings Time)
on or off. Select the time zone
where you live.
Viewing the HD Connection Guide
The connection method for the best HD screen quality is displayed.
Enjoy your TV.
Press the ENTER
button.
Remote control sensor
TV Controller
Function menu
MEDIA.P
m R s
P
Return
 Loading...