Do you have a question about the Samsung RF28K9070 and is the answer not in the manual?
Place the unit into Self Diagnostic mode to retrieve any existing fault codes for troubleshooting.
Follow steps to disassemble the ice maker, including removing screws, cables, and ducts.
Disconnect the auger motor cable and remove the auger motor assembly.
Disassemble the auger drain and replace it with the improved part from the IM SVC Kit.
Seal any gaps found in the ice room sides and floor with RTV sealant for an airtight seal.
Install the new Main PCB from the IM SVC Kit, ensuring all connections are secure.
Press the "Test Mode" button and listen for a chime to start the 6-minute test.
Identify required IM SVC Kit parts based on model number and production range.
Identify required IM SVC Kit parts for full size models based on serial number.
This document outlines the service preparation, repair steps, and parts required for addressing common issues with Samsung French Door Direct Cool Ice Makers, specifically "No Ice, Frozen, Frost, Ice Bucket Stuck." This guide applies to models produced between 2014 and 2018.
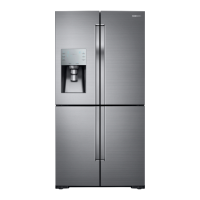
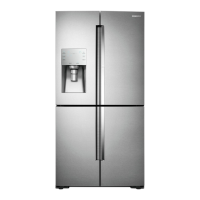
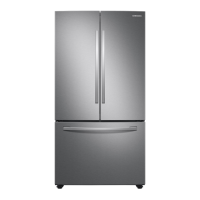
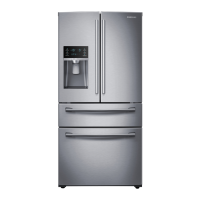
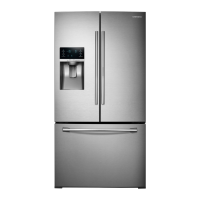
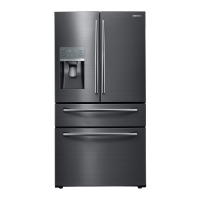
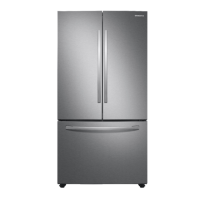
The Samsung French Door Direct Cool Ice Maker is designed to produce and dispense ice in compatible refrigerator models. It is an integrated system that includes an ice maker assembly, an auger motor for dispensing, an ice bucket for storage, and a cooling loop to facilitate ice production. The system relies on a precise balance of temperature, water flow, and mechanical components to function correctly. When operating optimally, it provides a convenient source of ice for household use.
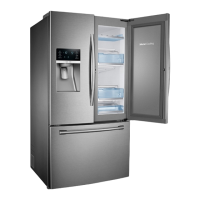
The ice maker system is typically controlled through the refrigerator's main display panel, allowing users to select ice types (cubed/crushed) and manage ice production. The ice bucket is designed for easy removal and re-insertion, enabling users to access stored ice or clean the bucket. The dispenser chute allows for convenient access to ice and water. The refrigerator also features a self-diagnostic mode to help identify potential issues, and a forced defrost mode to aid in maintenance and repair.
Regular maintenance is crucial for the proper functioning of the ice maker. The document emphasizes several key maintenance steps:
The document emphasizes that all steps and parts included in the IM SVC Kit must be followed and installed. Failure to do so can result in a failed repair and subsequent return visits. For validation of repair, Asurion Tech Line requires specific photos, including the model and serial tag, ice chute leak test, dispenser water test, correctly positioned "Y" clips, correctly positioned water inlet hose, updated ice maker, assembled drain line, neatly applied silicone sealant, and the updated main PCB board.
| Total Capacity | 28 cu. ft. |
|---|---|
| Cooling System | Twin Cooling Plus |
| Ice Maker | Yes |
| Water Dispenser | Yes |
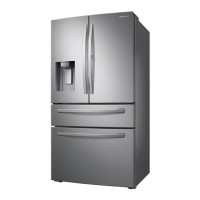
| Color | Stainless Steel |
| Counter Depth | No |
| Door Alarm | Yes |
| Energy Star Certified | Yes |
| Type | French Door |
| Width | 35 3/4 inches |
| Depth | 36 1/4" |