EasyManua.ls Logo

Samsung SMH1816B User Manual

Samsung SMH1816B
40 pages
To Next Page IconTo Next Page
Page #1 background imageLoading...
Page #1 background image
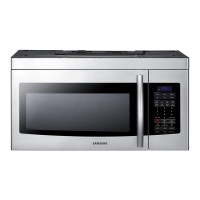
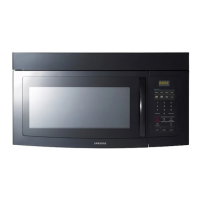
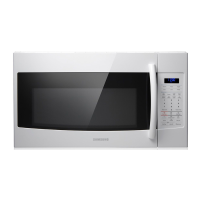
Installation Instructions
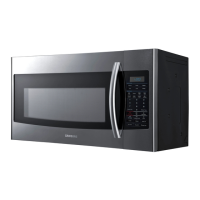
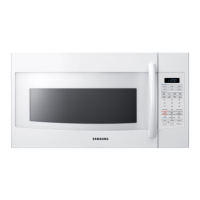
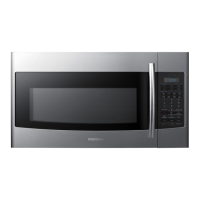
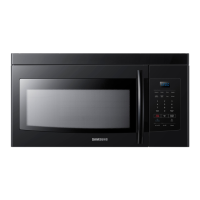
Over The Range Microwave Oven
BEFORE YOU BEGIN (Read these instructions completely and carefully.)
IMPORTANT
Save these instructions for local inspector’s use.
IMPORTANT
Observe all governing codes and ordinances.
  
  
  
 
 

This manual is made with 100% recycled paper.
SMH1816_XAC_DE68-03943B-01_EN_120725.indd 1 2012-07-25 �� 7:50:44

Table of Contents

Question and Answer IconNeed help?

Do you have a question about the Samsung SMH1816B and is the answer not in the manual?

Samsung SMH1816B Specifications

General IconGeneral
BrandSamsung
ModelSMH1816B
CategoryMicrowave Oven
LanguageEnglish

Summary

Before You Begin Installation

Installer and Consumer Information

Notes for installers and consumers regarding instructions and responsibilities.

Important Safety Instructions

Grounding and Electrical Safety

Ensures proper grounding, checks outlet safety, and warns against cord modification.

Mounting and Installation Safety

Covers mounting surface capacity and location restrictions like islands.

Electrical Requirements

Hood Exhaust Options

Outside Top Exhaust Example

Details equivalent lengths for top exhaust ductwork using various components.

Outside Back Exhaust Example

Details equivalent lengths for back exhaust ductwork using various components.

Maximum Duct Length and Airflow

Ductwork Resistance Factors

Explains how elbows, transitions, and caps add resistance to airflow.

Damage and Responsibility

Handling Shipment Damage

Procedures for returning units damaged during shipment or by customer/installer.

Included Parts and Hardware

Hardware Packet Contents

Lists screws, bolts, and grommets found in the hardware packet.

Additional Parts List

Lists additional components like templates, instructions, and filters.

Tools Required for Installation

Essential Tools List

Lists necessary tools like screwdrivers, drills, tape measures, and safety gear.

Mounting Space and Clearance Requirements

Cabinet Clearance Specifications

Details required spacing between cabinets and from the cooking surface.

Mounting Plate Placement

Removing Oven and Mounting Plate

Steps for unboxing the microwave and detaching the mounting plate.

Finding Wall Studs

Methods for locating wall studs using a stud finder or hammer.

Determining Wall Plate Location

Guide to positioning the mounting plate under various cabinet types.

Aligning the Wall Plate

Instructions for drawing lines and drilling holes for wall plate alignment.

Ventilation Type Selection

Outside Top Exhaust (Vertical Duct)

Details on installing the exhaust adaptor and checking damper operation.

Recirculating (Non-Vented Ductless)

Steps for adapting the blower for ductless operation and installing filters.

Outside Back Exhaust (Horizontal Duct)

Instructions for adapting the blower for horizontal duct installation.

Installation Steps Overview

Preparing the Rear Wall

Instructions for cutting an opening in the rear wall for outside exhaust.

Attach the Mounting Plate to the Wall

Securing the mounting plate using toggle bolts and wood screws.

Prepare Top Cabinet

Drilling holes in the top cabinet for support and power cord clearance.

Mount the Microwave Oven

Steps for lifting, tilting, and securing the microwave to the mounting plate.

Connecting Ductwork

Connecting the house duct to the exhaust adaptor and sealing joints.

Final Checks Before Use

Installation Completion Check

Verifying installation is complete and removing packing materials.

Power Connection and Final Steps

Installing turntable, restoring power, plugging in, and keeping instructions.

Related product manuals