Do you have a question about the Samsung WF337AAR/XAA and is the answer not in the manual?
This document provides comprehensive information for the Samsung WF337AAG/XAA, WF337AAR/XAA, WF337AAW/XAA, and WF337AAL/XAA washing machine models, covering troubleshooting, service modes, component checks, error codes, and general maintenance. It is intended for technicians with electrical, electronic, and mechanical experience.
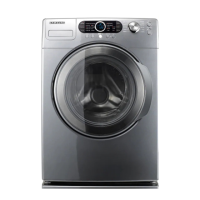
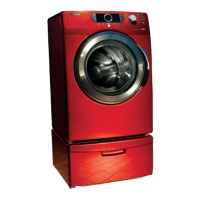
The Samsung WF337 series washing machine is designed to efficiently clean laundry using various wash cycles and features. It incorporates advanced control systems for precise operation, including water temperature regulation, motor control, and water level sensing. The machine offers multiple wash options such as Heavy Duty, Normal, Quick Wash, Sanitize, Whites, Perm Press, Delicates, Wool, and Bedding, catering to different fabric types and soil levels. Special features like "Ag+" (Silver Care) provide enhanced cleaning and sanitization. The machine also includes a "Delay Start" function for scheduled operation and a "Child Lock" feature for safety.
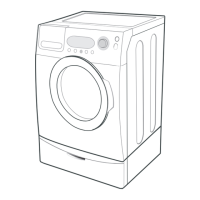
The washing machine's operation is managed through a control panel with a dial and several buttons.
Quick Test Mode: This mode allows for rapid testing of various components. To enter, simultaneously press the "Spin," "Silver Care," and "Power" buttons when the power is off. Upon entry, all LEDs illuminate, the washer beeps, and the software version is displayed, followed by the EEPROM clearing. If "EEEE" is displayed, the PCB assembly is defective.
Service Mode: This mode offers more detailed operational tests and troubleshooting. To enter, simultaneously press the "Signal" and "Extra Rinse" buttons when the power is on.
EEPROM Clear Check: To clear all memory, including fault codes, power off the machine and simultaneously press "Delay Start," "Signal," and "Power." This should be performed when a new Main PCB is installed. A "Good" display indicates success, while "FAIL" indicates failure.
Component Checks and Troubleshooting: The manual provides detailed checks for various components, including:
Error Codes: The document lists various error codes (LED and LCD displays) with detailed explanations and troubleshooting steps.
| Brand | Samsung |
|---|---|
| Model | WF337AAR/XAA |
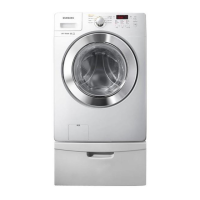
| Type | Front Load Washer |
| Color | White |
| Energy Star Certified | Yes |
| Spin Speed | 1300 RPM |
| Steam Function | Yes |
| Number of Wash Cycles | 10 |