Do you have a question about the Samsung WF419AAW/XAA and is the answer not in the manual?
Safety notice for technicians regarding repair risks and liability.
Provides links for training, help, and product support resources.
Procedure to enter Quick Test Mode for component testing and memory reset.
Procedure to enter Service Mode for advanced troubleshooting and tests.
Diagram of the Main Printed Wiring Board and its connections.
Diagram of the Sub Printed Wiring Board (Display) and its connections.
Checks the water temperature sensor for proper function.
Verifies the operation of the door switch.
Tests the water level sensor and its voltage/resistance.
Checks the hall sensor for motor rotation detection.
Tests motor operation and checks its wiring connections.
Verifies the AC power supply to the unit.
Checks door lock and unlock circuits for proper operation.
Tests drain motor operation and resistance.
Checks operation and resistance of water inlet valves.
Checks heater relay operation and resistance.
Checks steam heater relay operation and resistance.
Details LE8 error for water level sensor issues.
Details 3E, E3, bE25 errors related to motor drive.
Details nF3 error for low water pressure or supply issues.
Details nF1 error for reversed fill hose connections.
Details SF1, SF2, SF3 errors, often requiring PCB replacement.
Details nD1 error for draining issues.
Details 2E, 91, 92, PF errors related to voltage supply.
Details AE error for communication issues between PBAs.
Details 11 error for EEPROM issues.
Details E2, 15, SR errors related to switches or relays.
Details dS22, dL18, LO2, FL4 errors related to door lock/open.
Details Hr36, 9E1 errors related to heater circuit.
Details OE error for continuous water supply.
Details 29 error for washing heater temperature sensor.
Details dC10 error for unbalanced load situations.
Details 7E error for Silver Care Kit PCB failure.
Details 8E error for MEMS PCB or harness issues.
Details SUdS/Sd error for excessive suds detection.
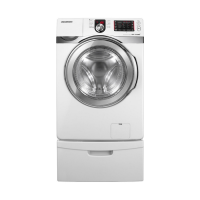
Lists items included with the washer purchase.
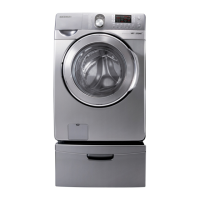
Information about optional stacking kits for washers and dryers.
Steps to select the desired language on the washer display.
Explains unit pauses during Sanitize/Pure Cycle for temperature control.
Advice on installing the washer in suitable environments.
| Brand | Samsung |
|---|---|
| Model | WF419AAW/XAA |
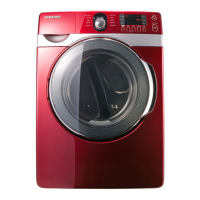
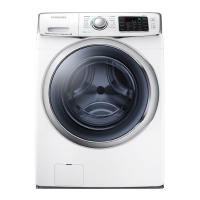
| Type | Front Load Washer |
| Color | White |
| Energy Star Certified | Yes |
| Number of Wash Cycles | 12 |
| Steam Function | Yes |
| Maximum Spin Speed | 1200 RPM |