5
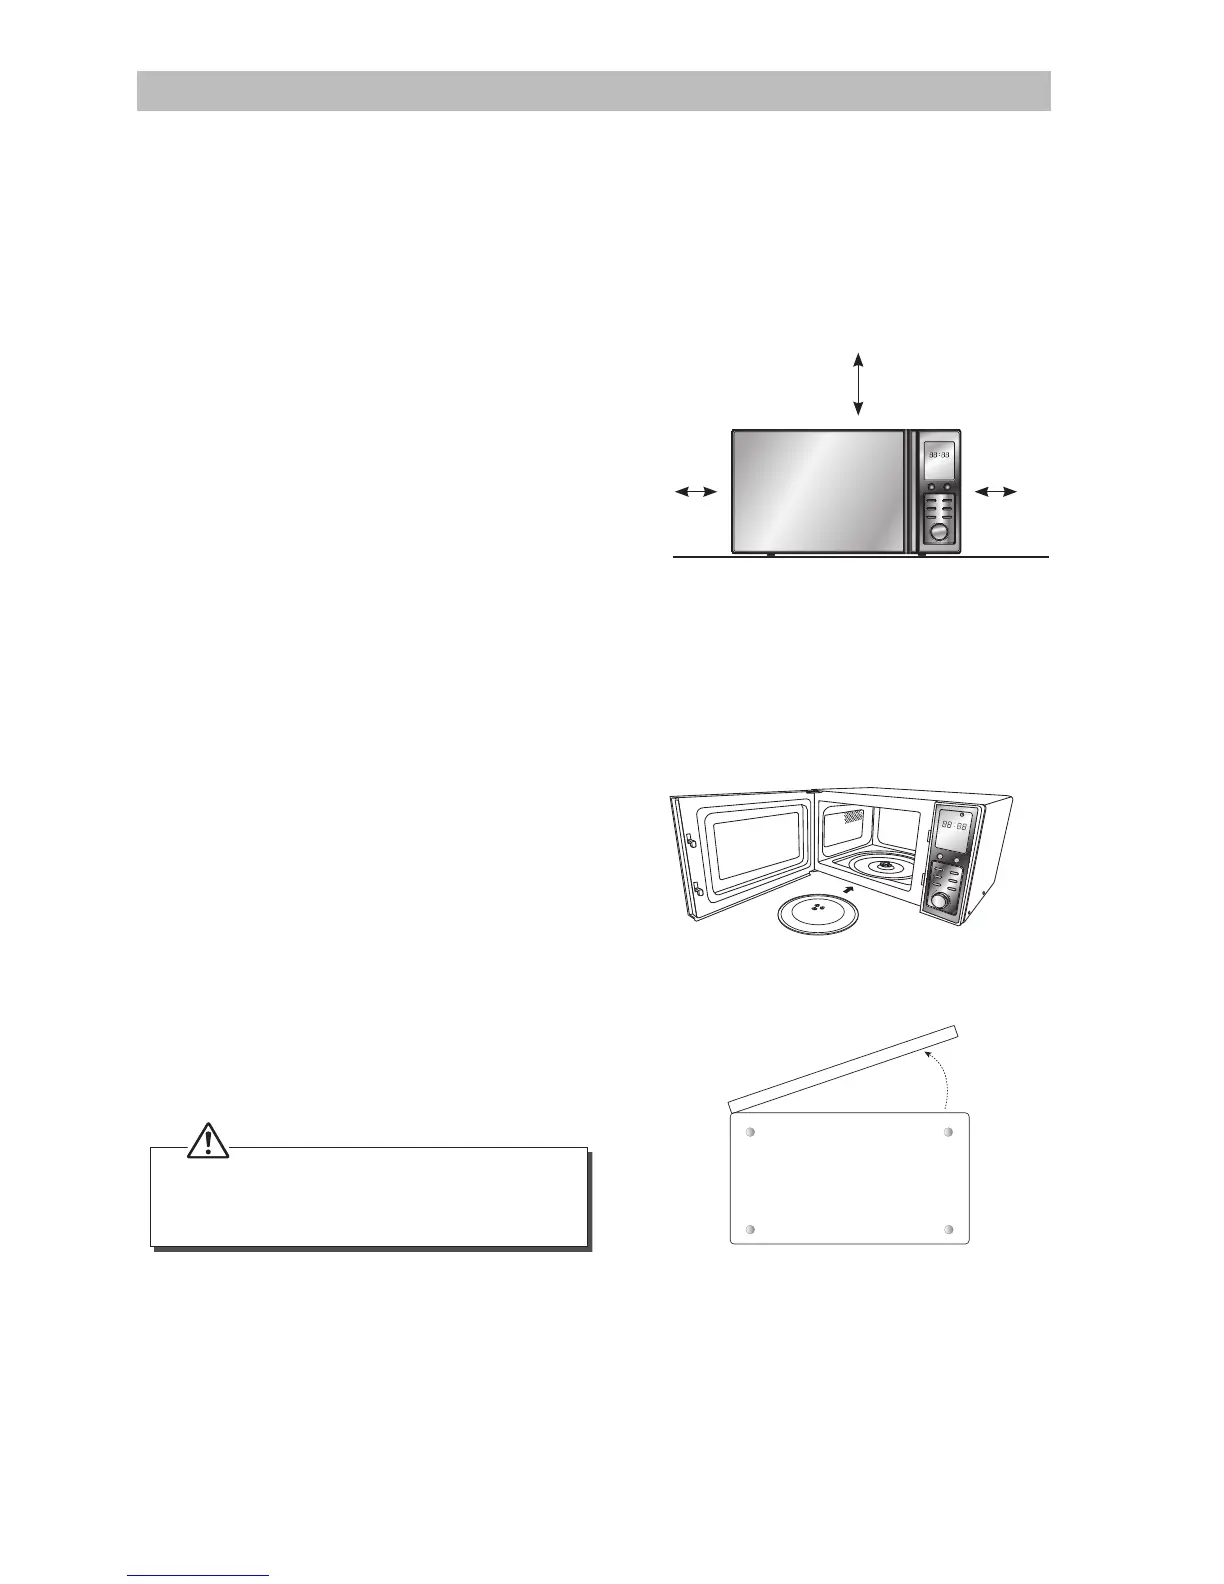
2. Choose a at work surface for your microwave
away from heat sources such as radiators or
res and away from cold areas. You should
allow a 10cm space all around the microwave
and 30cm above so that warm air can
escape from the vents during cooking – This
microwave is not designed to be built in.
Getting Ready
This microwave is designed for home use only. It should not be used for commercial catering.
1. After unpacking your microwave, check that it has not been damaged whilst in the box. Make sure
there are no dents on the microwave, and the door closes properly. A dented or damaged microwave
could allow microwave energy to escape. Make sure that you have taken all the packaging from inside
the microwave. Please dispose of the plastic wrappings or bags safely and keep out of the reach of
babies and young children.
3. Plug your microwave into a standard
household electrical socket. Avoid using a
socket that also has an adaptor and other
equipment plugged in. Do not use a multi-
adaptor.
4. Put the turntable support inside the
microwave and place the glass turntable plate
on top of the support. The turntable support
is shaped to sit securely on the spindle. You
must always use the turntable plate and
support whenever you use the microwave.
30cm
10cm10cm
Weight Adjust
Multi Stage
Cooking
Speed Defrost Auto Defrost
Start/
Quick Start
Stop/Cancel
Power Level Clock
M
e
n
u
/
T
i
m
e
Power Level
Clock
Weight Adjust
Multi Stage
Cooking
Speed Defrost
Auto Defrost
Start/
Quick Start
Stop/Cancel
M
e
n
u
/
T
i
m
e
5. To protect your work surface, we recommend
that you x some non-slip cushion pads (not
included) to the underside of the microwave.
Underside View
Remove the turntable plate and turntable
support before turning the microwave
upside down.
S25MB12_IB_120514.indd 5 14/05/2012 5:48 PM
 Loading...