
T
Tonya GilmoreSep 23, 2025
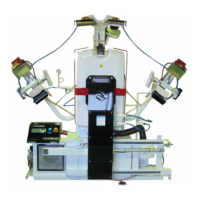
What are possible solutions for E52 error on Sankosha Power Tool?
- RRick DuffySep 23, 2025
To resolve error E52 on your Sankosha Power Tool, first fix the underlying problem, then press the blue Reset Bar of the Magnetic Contactor.