Sanus Systems 2221 Hwy 36 West, Saint Paul, MN 55113 5.11.05
Customer Service: 800.359.5520. See complementary Sanus products at www.sanus.com
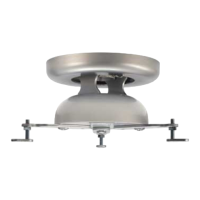
Step 10: Yaw Adjustment
First, lower the Top Cover (f) to expose the Lag Bolts (t). Make sure the Lag Bolts in ceiling are slightly loose until projector is aligned.
Next, adjust projector to the desired yaw position. Proceed to tighten the Lag Bolts in the slotted holes. (see Diagram 10). Place Top
Cover over Ceiling Plate (c) in the same manner as you did in Step 6.
Diagram 10
t
f
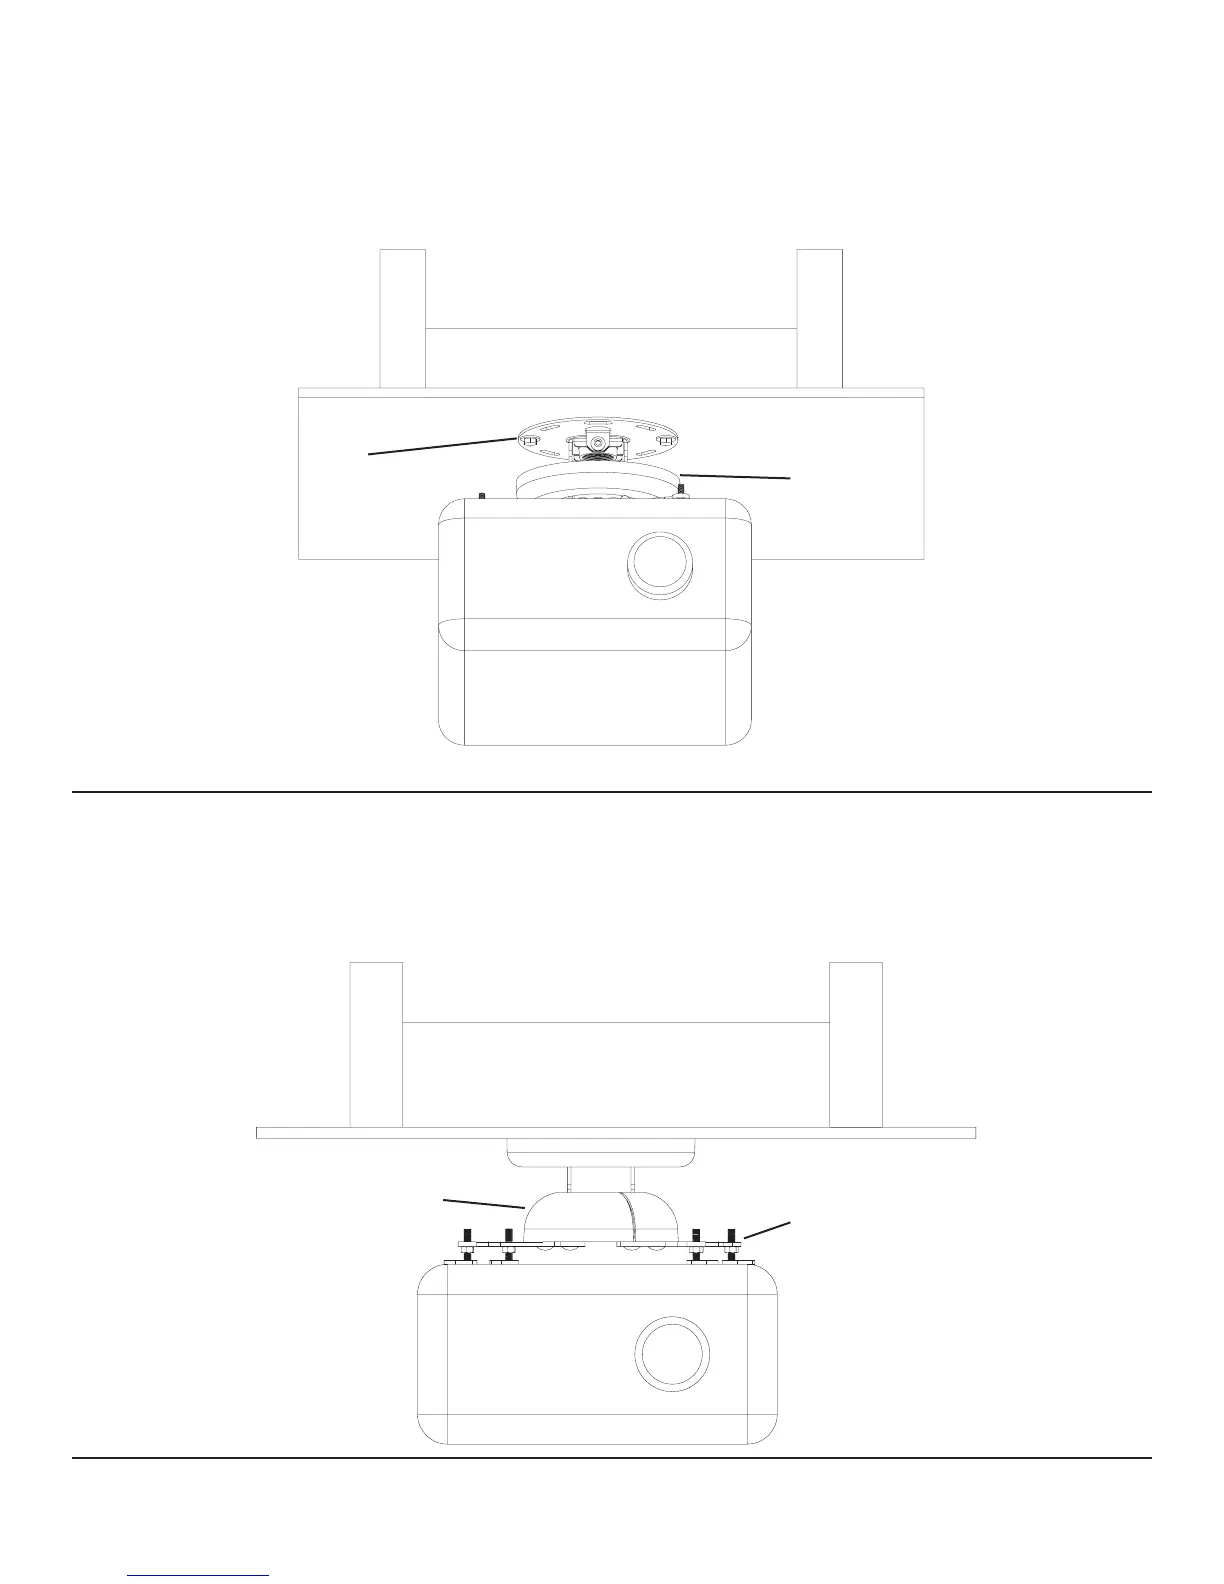
Step 11: Add Bottom Cover
Flex Bottom Cover (e) at the seam just enough to t around the mount. Sanus suggests aligning the seam in the least visible location and
installing a small piece of tape inside to secure the seam.
Diagram 11
e
a
 Loading...