− 10 −
2-1. Computer preparation
1. Install the adjustment software (Camapi32.dll and
DscCalDi.exe) to "Same folder".
2. Save the updated firmware into the computer.
2-2. Overwriting the firmware
1. Use an interlink serial cable to connect the RS-232C
connector of the overwriting tool (VHJ-0141) to the RS-
232C connector of the computer.
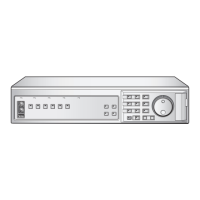
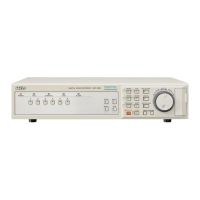
2. Remove the top cover of the digital video recorder, and
connect the socket of the writing tool to the CN251 socket
on the CP-1 circuit board.
3. Turn on the power for the digital video recorder and the
computer, and start Windows.
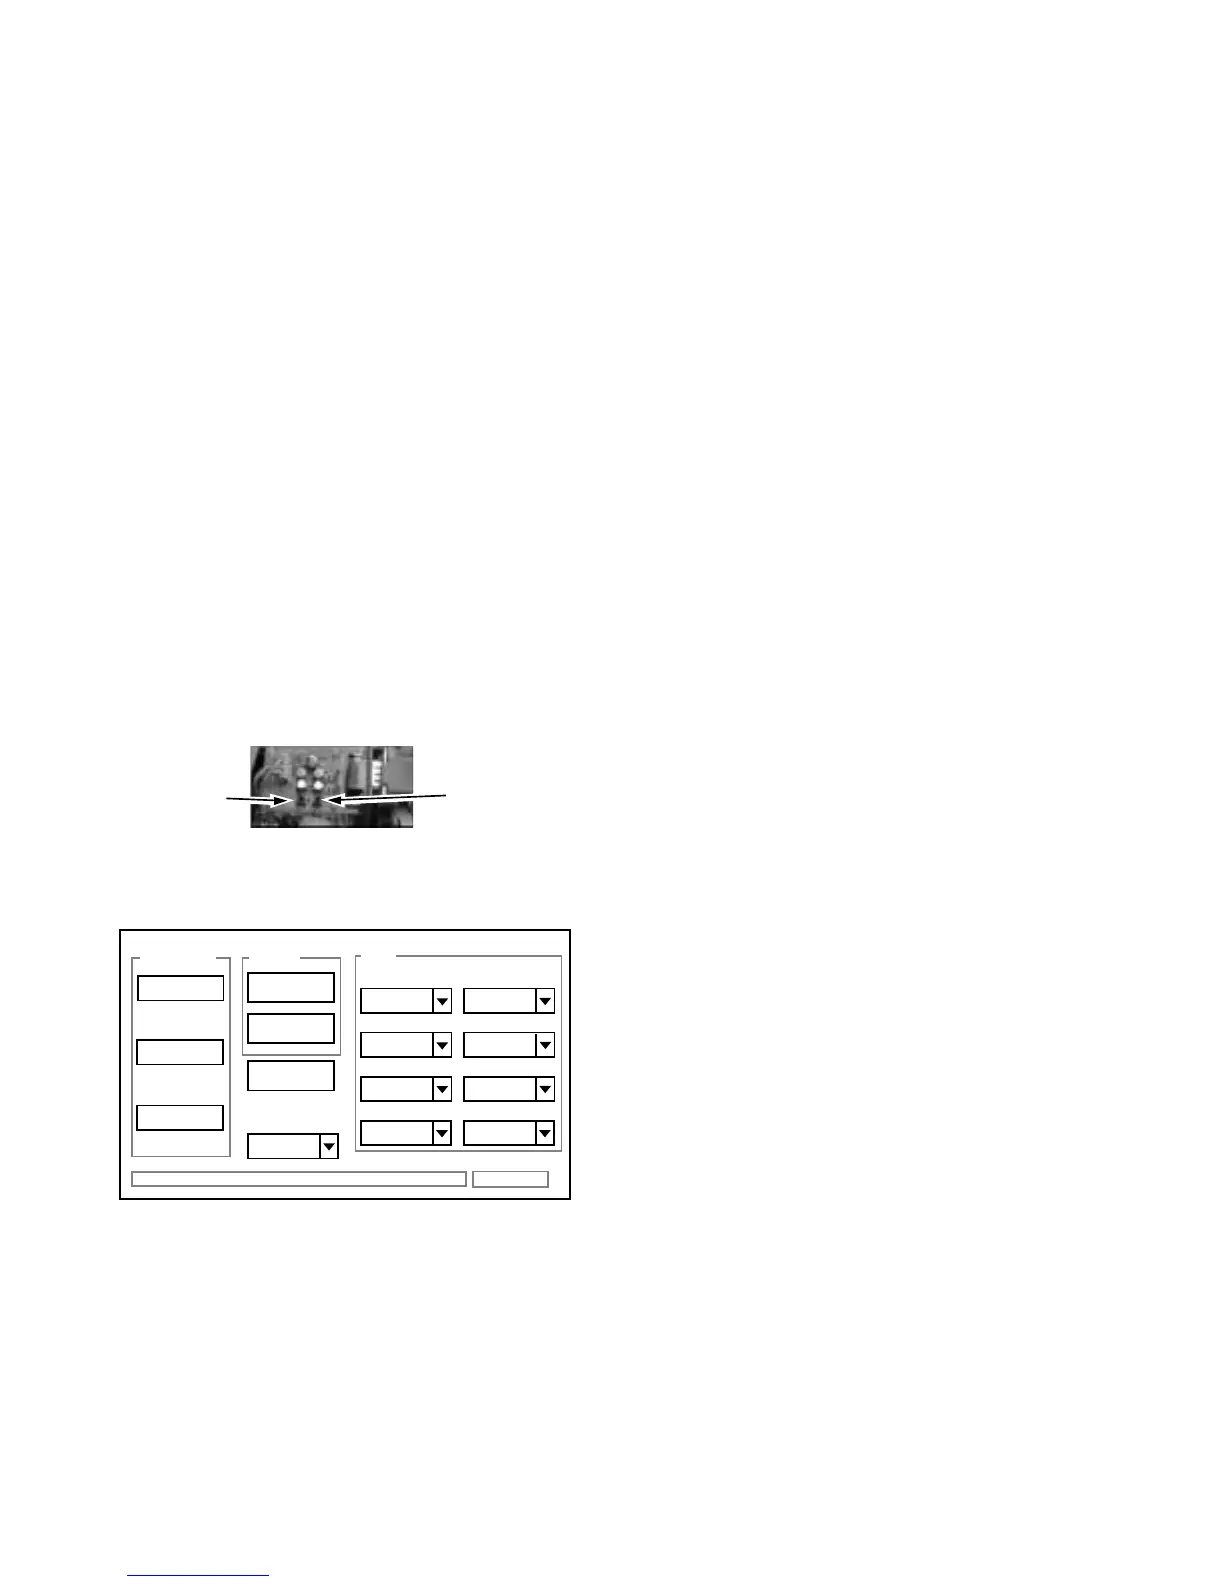
4. Press the boot switch (S0002) and the reset switch
(S0001) of the writing tool simultaneously. Release the
reset switch first, and then release the boot switch.
The boot LED of the digital video recorder will flash.
5. Double-click the "DscCalDi.exe" filename on the computer
screen.
6. Click "Firmware" in the Adjustment window on the computer
screen, select the updated firmware, and then click "Open".
7. Click "Yes" in the firmware upload confirmation screen.
8. When "OK" is displayed, overwriting of the firmware is com-
plete.
2. Overwriting the main firmware (use the RS-232C method instead)
S0001
S0002
Firmware
Image
AWB
Focus
UV Matrix
R Bright
RGB Offset
Tint
B Bright
Gain
Phase
LCD
Calibration
Upload
Initialize
LCD Type
H AFC Test
9. While pressing the MENU button at the front of the digital
video recorder, press the ALL RESET button at the rear to
turn it back on.
10. Display the POWER FAILURE/USED TIME sub-menu,
and check that the firmware version has been updated.
 Loading...