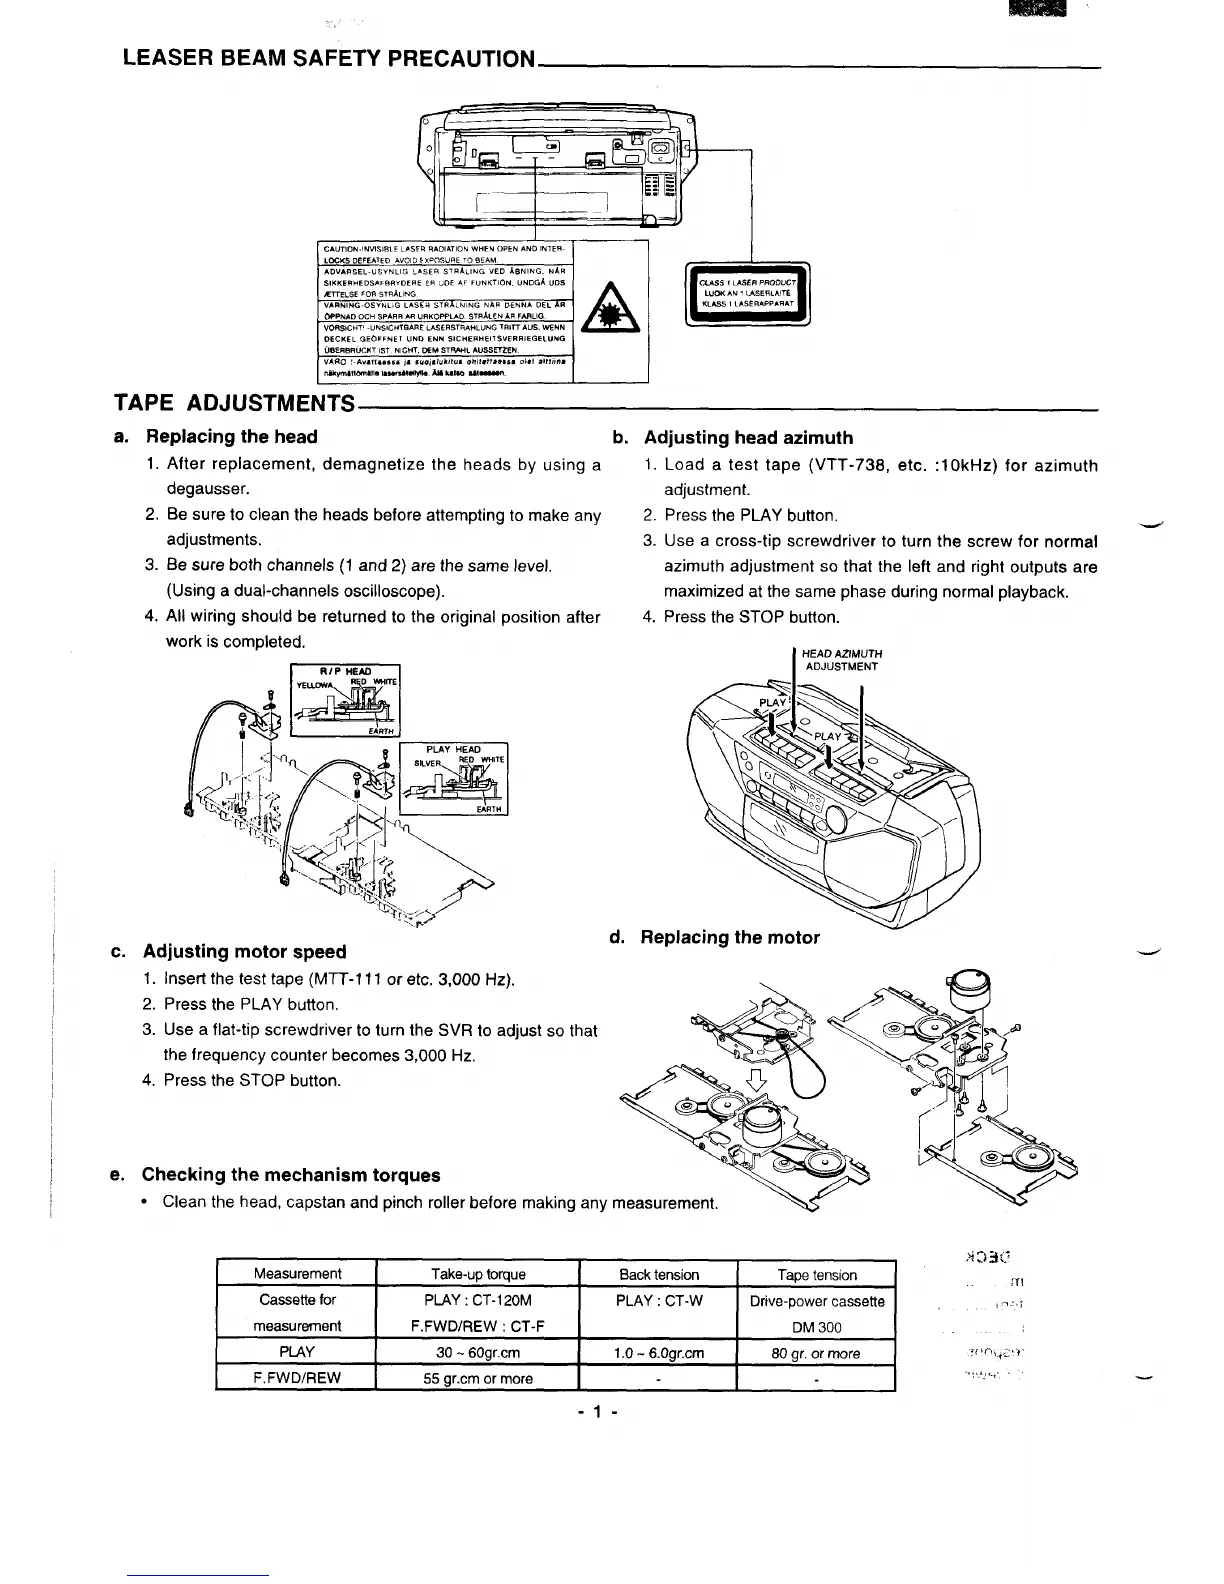
LEASER BEAM SAFETY PRECAUTION
c
–1
1
[
CAUT!ON.l?W!SIBLELASERRADIATIONWHENOPkNANDINTER
I
I
I
VJ/Q/
[-,,
LOCKS DEFEATED AVOID EXPOSURE TO BEAM
ADVARSEL.USY. L16 LASER ST RALING VED A8NING, NLR
SIKKERHEDSAFBRYDERE Eli uOE kF FUN KTION, UNDGA LIDS
VAnNING.0SYNLI12 LA558 STR LMING NAB DENNA DEL R
OPPNAD OCH SPAR. AR “MOPPIAO STRhLEN AR FARLIG
VORSICHT’ -UNSICHT13ARE LASERSTRAHLUNG TRITT AUS, WEMN
DECKEL GEOFFNE1 UNQ ENN SIC HERHEII SVERRIEGELUNG
U9SRBRUCKT 15T NIGHT.
CEMSTWL AUSSET2EN
VARO‘-Avaf,ae,sa @ s“.a,,l”k(l”,
.Il,t,tt..,.a0),1.1!1),”.
n4kWll&n111alamsUWb AMIUUUUI-.
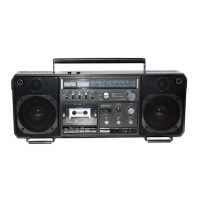
TAPE ADJUSTMENTS
a.
Replacing the head
b. Adjusting head azimuth
1. After replacement, demagnetize the heads by using a
degausser.
2. Be sure to clean the heads before attempting to make any
adjustments.
3. Be sure both channels (1 and 2) are the same level.
(Using a dual-channels oscilloscope).
4. All wiring should be returned to the original position after
work is completed.
I
RIP HEAD
I
1. Load a test tape (VTT-738, etc. :lOkHz) for azimuth
adjustment.
2. Press the PLAY button.
d
3. Use a cross-tip screwdriver to turn the screw for normal
azimuth adjustment so that the left and right outputs are
maximized at the same phase during normal playback.
4. Press the STOP button.
I
HEAD AZIMUTH
ADJUSTMENT
c. Adjusting motor speed
1.
Insert the test tape (MTT-
2. Press the PLAY button.
3. Use a flat-tip screwdriver
e.
d. Replacing the motor
11
or etc. 3,000 Hz).
\
I turn the SVR to adjust so that
the frequency counter
becomes 3,000 Hz.
4.
Press the STOP button.
Checking the mechanism torques
● Clean the head, capstan and pinch roller before making any
,4:) if (.i
Measurement
Take-up torque Back tension
Tape tension
:1!
Cassettefor
PLAY : CT-120M
PLAY : CT-W
Drive-power cassette
,-“.,;
measurement
F.FWD/REW : CT-F
DM 300
PIAY
30- 60gr.cm
1.0- 6.Ogr.cm
80 gr, or more
yin,+.].
F, FWDIREW
55 gr.cm or more
..:,,,,,.,.
-1-
 Loading...