Do you have a question about the Sanyo SR-4310 and is the answer not in the manual?
Wash interior liner with warm water and baking soda solution, then rinse. Avoid harsh cleaners.
Wash ice cube trays, drip tray, and shelves with mild detergent and dry.
Wipe exterior with a damp cloth and clean door gasket with mild soapy water only.
Avoid acids, thinners, gasoline, benzene, and boiling water; use mild soapy water for gasket.
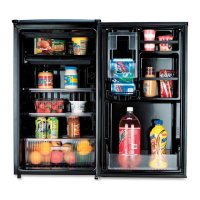
Compartment used for making ice cubes.
Tray to catch melted water during defrosting.
Knob to adjust refrigerator temperature and defrost.
Removable tray, resistant to odor and rust.
Rack for storing small items.
Rack designed for storing bottles.
Foot used to level the refrigerator.
Tray for making ice cubes.
Compartment for vegetables and produce.
Upper surface of the refrigerator.
Dispenser for holding cans.
Wait 3 minutes before restarting or replugging the unit after it's turned off.
Adjust temperature using the cold control knob; vary based on food and door openings.
Set cold control to 'OFF' when ice layer reaches 1/4 inch thick; remove food and use drip tray.
Avoid sharp instruments, boiling water, or heaters. Do not puncture the evaporator.
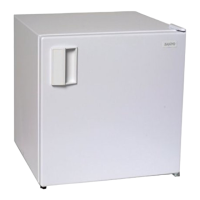
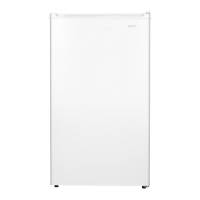
Choose a free-standing, level, and well-ventilated location away from heat and direct sunlight.
Maintain adequate space around the unit for air circulation: 4 inches rear, 1 inch sides, 12 inches top.
Use a grounded three-prong plug and outlet; do not use an extension cord.
Set control to 'OFF', plug in; motor should not run.
Set control to 'MAX' for 20 mins; check for frosting and smooth motor operation.
Rotate control counter-clockwise to 'MIN'; motor should stop before reaching 'MIN'.
Twist the flexible tray to release ice cubes.
Do not use hot water or metal tools like knives to remove tray to prevent damage.
| Interior Light | Yes |
|---|---|
| Energy Star Certified | No |
| Voltage | 115 V |
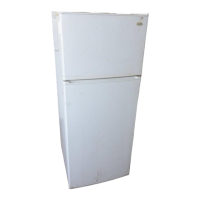
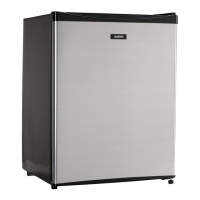
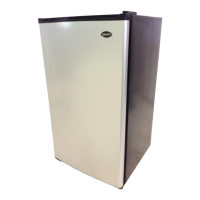
| Type | Top Freezer |
| Shelves | 2 |