1 SET : Click this button when finished configuring the camera settings you accessed by clicking each
sub menu item.
2 CANCEL : Click this button before clicking SET to restore the previous settings.
3 DEFAULT : Click this button to reset the settings on the camera configuration screen to the defaults (factory
settings).
4 HELP: Click this to display a menu from which you can display the explanation of each configuration
screen on the HELP screen.
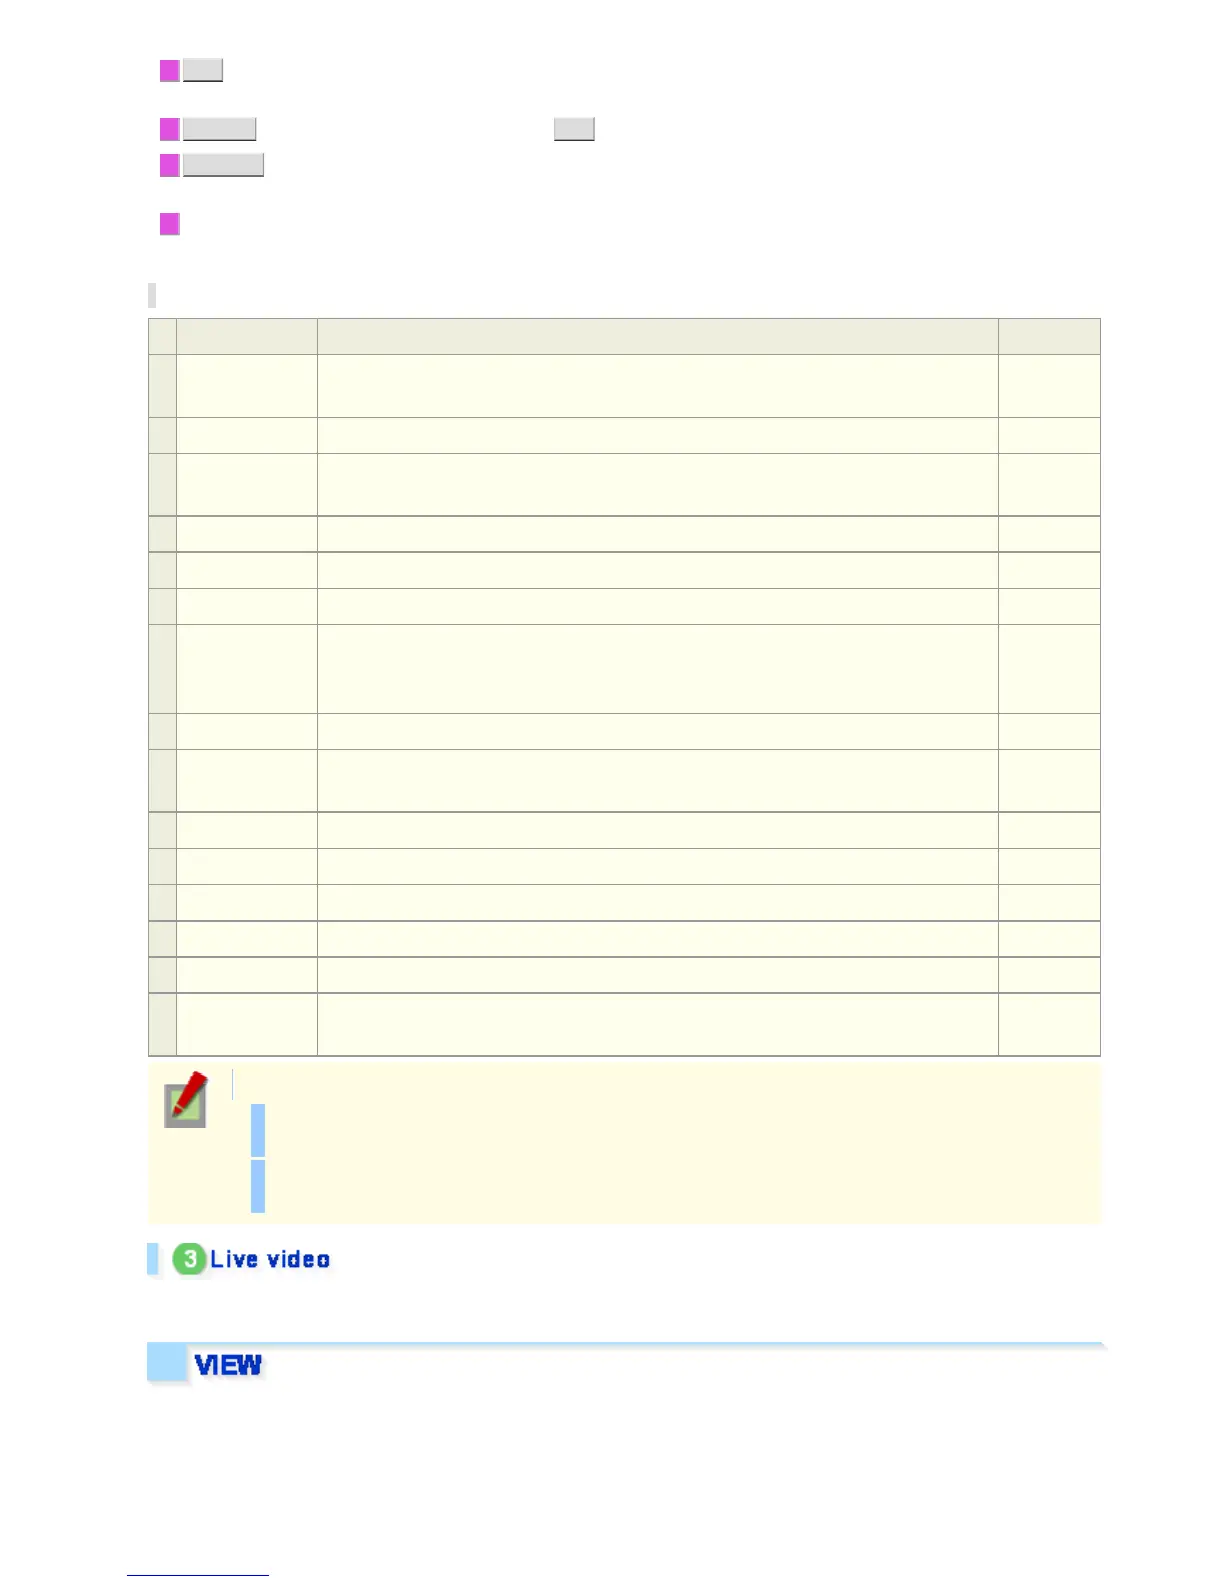
Configuration Summary for Each Sub Menu Item
Sub Menu Operation Application
1
VIEW You can have two patterns of view settings (CAM1/CAM2) by configuring the monitoring
conditions through sub menu items “2 IRIS” to “11 PRIVACY MASK”.
VIEW
2
IRIS Configure the lens iris. VIEW
3
WHITE
BALANCE
Adjust the white balance. VIEW
4 BLC Configure the backlight compensation function. VIEW
5 SHUTTER Configure the electronic shutter. VIEW
6
AGC Configure the gain of the video signal. VIEW
7
DAY/NIGHT Configure whether to use a fixed mode (color or black-and-white) or to automatically
switch from the color mode (daytime) to black-and-white mode (nighttime) in order to
increase sensitivity for darker images in night time.
VIEW
8
APERTURE Corrects the profile of the target object. VIEW
9
VIVID COLOR
EFFECT
Increases the saturation of images. VIEW
10 GAMMA Adjusts the contrast and brightness level. VIEW
11 FOCUS Configure the lens focus settings. Common
12
ZOOM Configure the optical zoom speed, electronic zoom, and other zoom settings. Common
13 DNR Reduces automatically the image noise in low illuminance conditions. VIEW
14 MIRROR Inverts images vertically and horizontally. Common
15
PRIVACY
MASK
Configure the privacy mask settings to mask portions of the subject you want to hide for
privacy protection.
Common
“Application” in the above table means the following:
VIEW: The configured settings will be applied to “CAM1” or “CAM2”, whichever you selected under
[VIEW].
Common: The configured settings will be applied commonly to “CAM1” and “CAM2” selected
under [VIEW].
You can view how your changes affect the video image in real time.
You can configure two patterns of monitoring conditions.
For example, select “CAM1” to configure the normal live monitoring conditions for daytime use and select “CAM2”
to configure the monitoring conditions with the Day/Night function for nighttime use, respectively. Thus, you can
switch the monitoring conditions depending on your needs.
Workin