2
! CAUTION
Partsmayhavesharpedges.Itis
recommendedthatyouweargloves
duringtheassemblyprocess.
Removeprotectiveplasticfilmfromall
stainlesssteelpartsbeforeassembly.
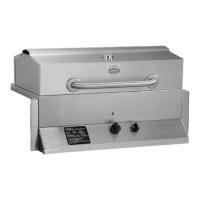
Each SARKA grill is packaged in durable shipping
cartons. If, during assembly, you find that a component
is damaged in any way, please consult your local
dealer.
Island opening should measure 18.5” x 35.5”
Location (please see Istallation Safety).
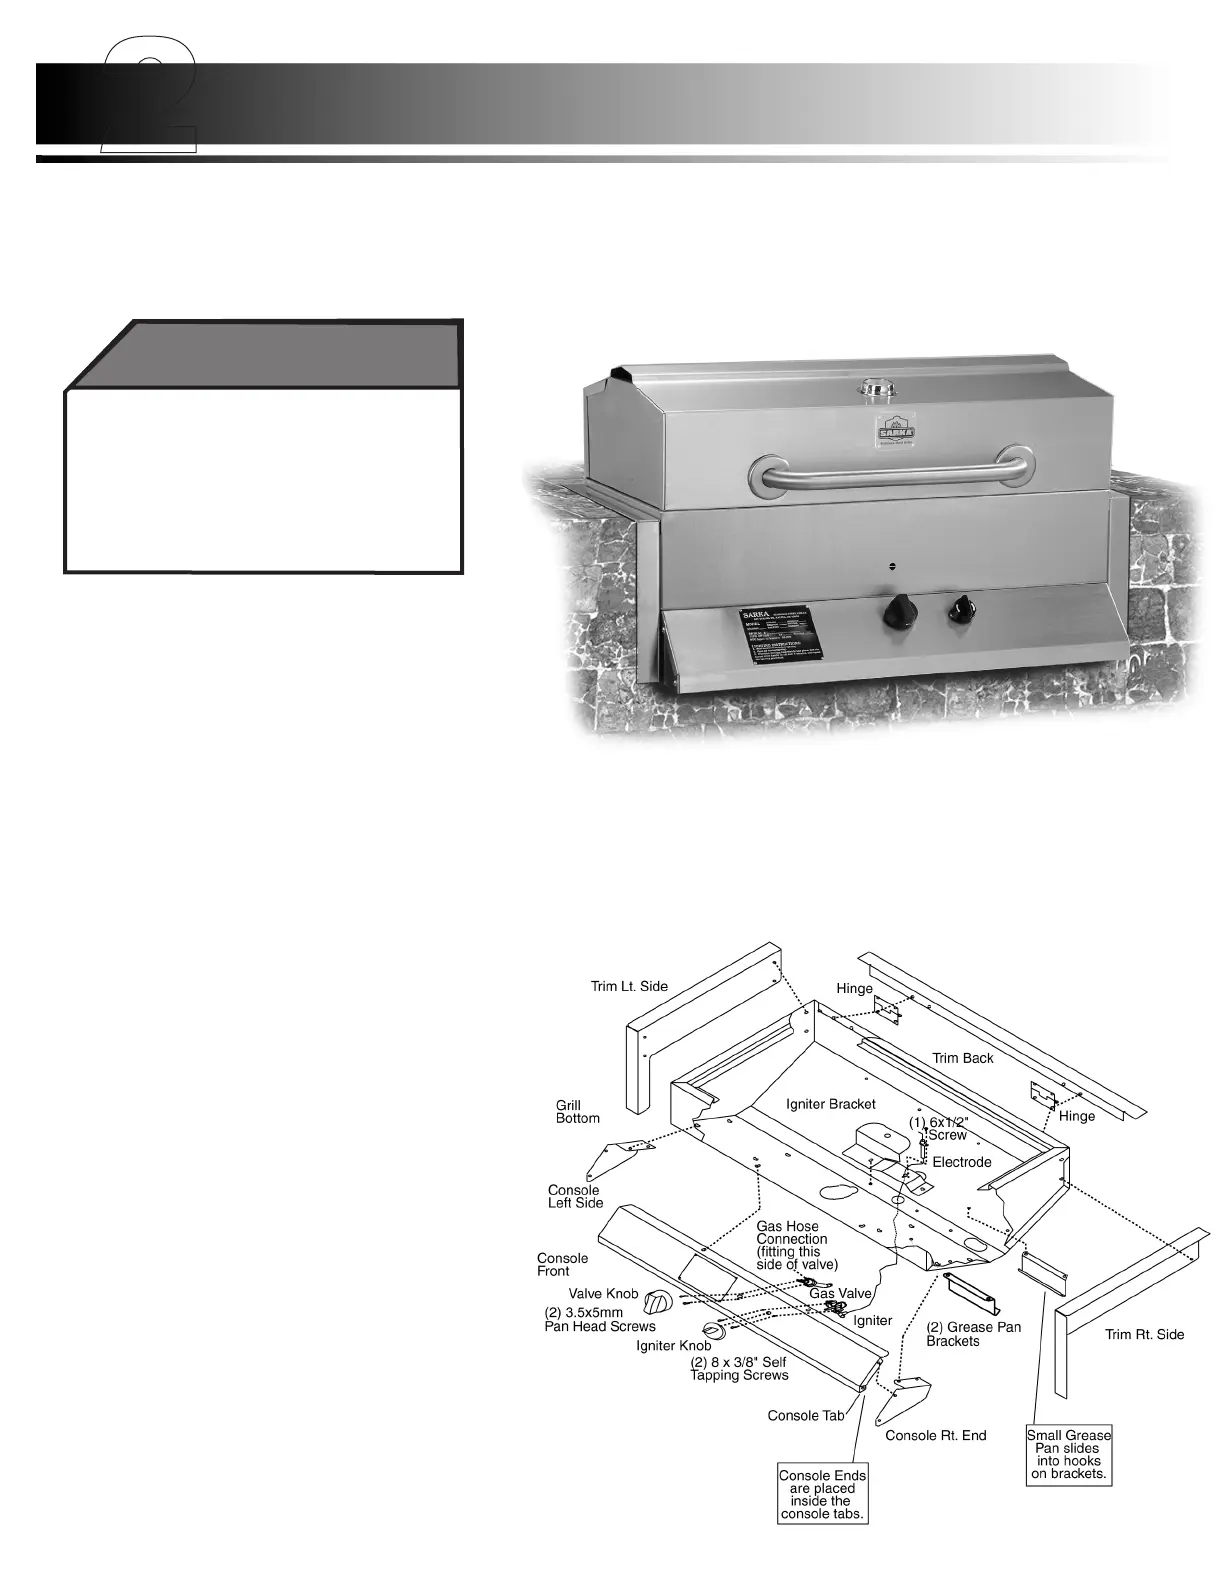
STEP 1 - Island Requirements
STEP 2 - Grill Bottom Assembly
Assembly Procedures
AssemblyTips:
1.Attachthesidetrimpiecestothebottomgrillbodyfirst.Fastenthe
backtrimpieceandhingestothegrillbodyatthesametime.The
hingeswillfitbetweenthegrillbodyandthetrimpiece.
2.Attachthegasvalveandtheignitertotheconsolefront.
3.Fastentheconsoleendstotheconsolefront.Theendsareplaced
insidethetabsontheconsolefront.Attachtheconsoletothegrill
body.Tightenallconsoleboltswhenalignmentisgood.
COMPONENTS REQUIRED
(1)GrillBottom
(1)Console-(2)1/4-20bolts,lockwashers,nuts
(1)ConsoleRt.End-(4)1/4-20bolts,lockwashers,nuts
(1)ConsoleLt.End-(4)1/4-20bolts,lockwashers,nuts
(1)Igniter-(2)#8x3/8”screws
(1)TrimRt.Side-(4)1/4-20bolts,lockwashers,nuts
(1)TrimLt.Side-(4)1/4-20bolts,lockwashers,nuts
(1)TrimBack-(4)1/4-20bolts,lockwashers,nuts
(2)Hinges-Usesameboltsandnutsasbacktrimpiece
(1)GasValve-(2)6-32nuts
(2)GreasePanBrackets-(4)1/4-20bolts,lockwashers,nuts
(1)IgniterBracket-(2)1/4-20bolts,lockwashers,nuts
(1)Electrode-(1)#6x1/2Selftappingscrew
(1)GasValveKnob
(1)IgniterKnob
•
•
 Loading...