Micromotor connection
Connecting the micromotor to its lead is done by
simply screwing it in.
The two red reference marks must be lined up.
COCOON SPRAY
Attach the tube delivered with the contra-angle
to the small L-shaped outlet connector on the
micromotor (1).
Spray adjustment is achieved via the front panel
(Fig. 1-4).
In the case of prophylaxis contra-angle utilisation,
close the front spray valve in order to stop the
flow of irrigation.
On the front panel there is a three position button
(Fig. 1-5) for reversal of the motor rotation :
Left selector : clockwise rotation
Right selector : anti-clockwise rotation
Centre selector : no rotation
II - MAINTENANCE AND
STERILISATION
The following maintenance and/or sterilization
instructions must be performed prior to any
initial use of the handpiece or of the tip
provided with the instrument.
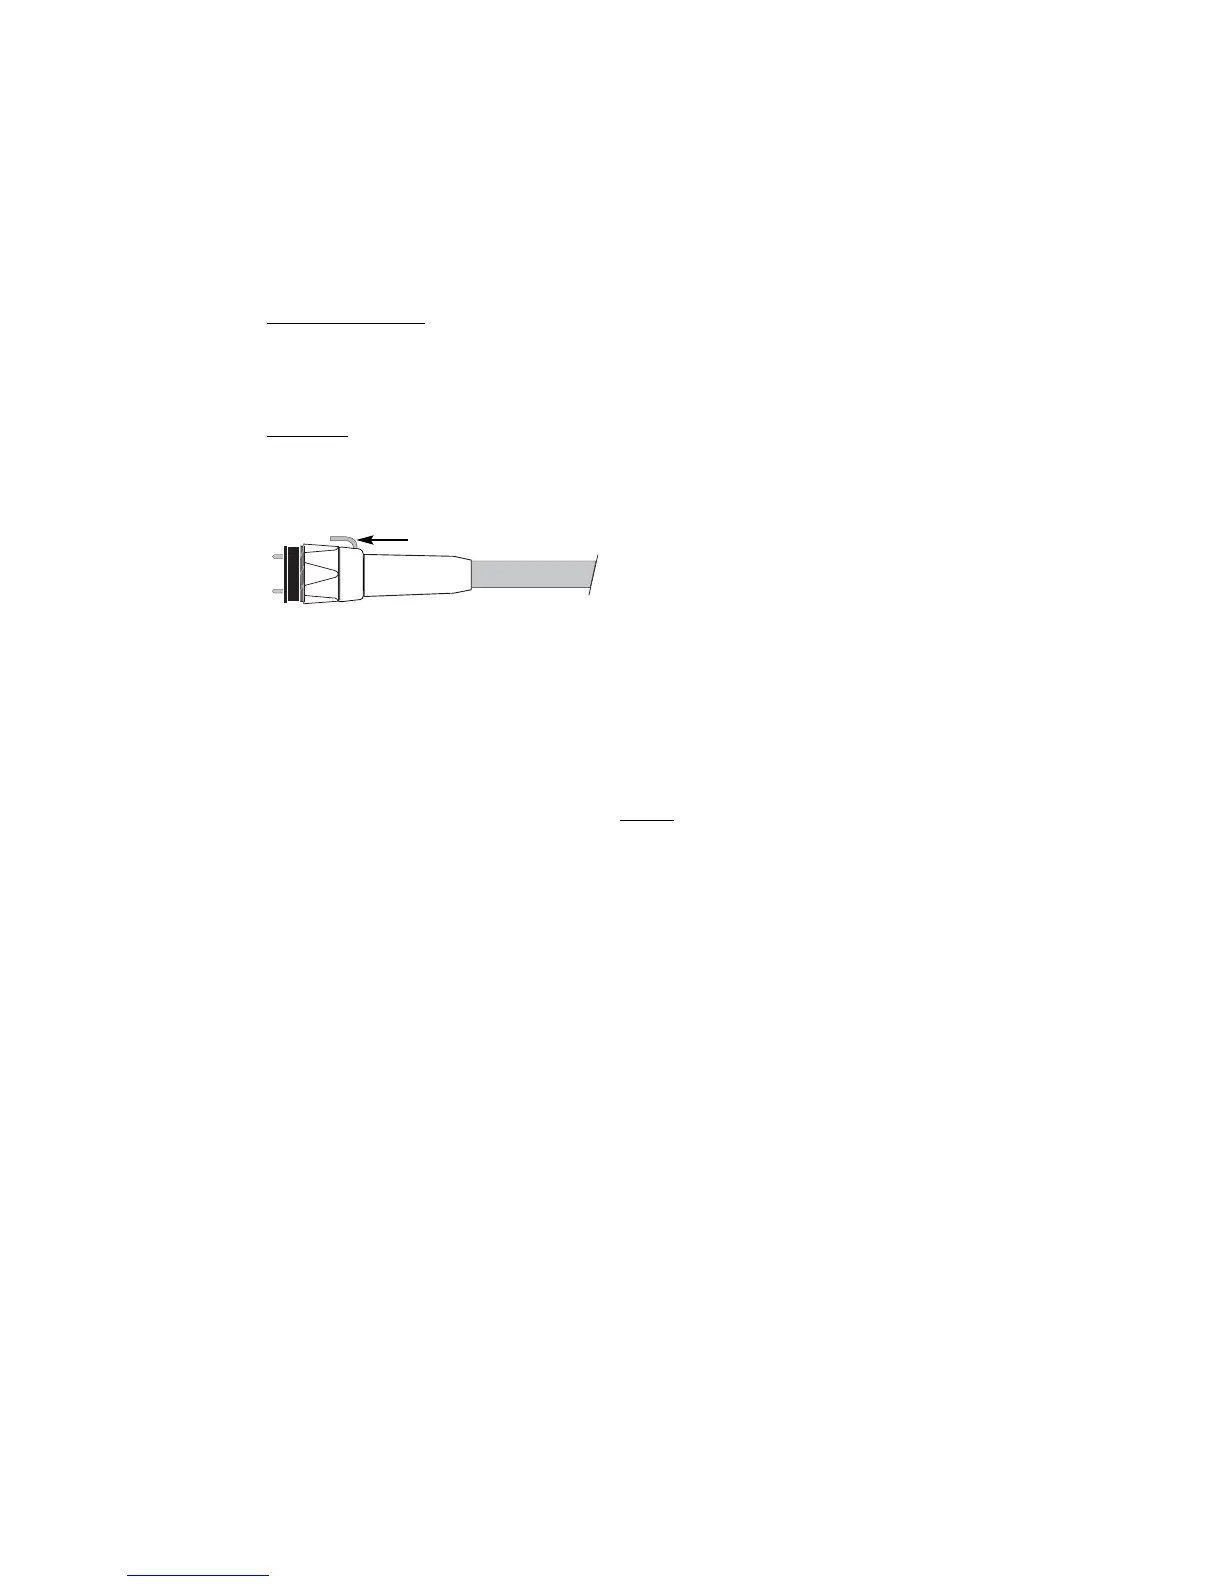
2. 1 SUPRASSON HANDPIECE MAINTENANCE
a) Maintenance of the Suprasson handpiece
(Fig. 5)
Handpiece body must be cleaned and disinfected
(e.g. with alcohol : 96% V/V ethanol or dental
disinfecting towelettes). The threaded cavity can
be cleaned by means of a cotton swab soaked in
alcohol. The handpiece must not be cleaned in an
ultrasonic bath.
Caution : DO NOT disconnect the handpiece
while the instrument is powered and the
control pedal is activated.
b) Sterilization of the Suprasson handpiece
Sterilization conditions and cycles according to
equipment:
Equipment : autoclave
Wet heat sterilization:
134°C under 2 bar (200 kPa) for 20 min.
• Detach the handpiece from its connecting cord
and remove the tip.
• Wrap the handpiece in a sterilizable cloth or
pouch, as required.
• Remove the handpiece from the autoclave as
soon as sterilization is complete.
• Carefully dry the electrical contacts of the
handpiece and cable connector before
connecting them.
8
1