Step
å
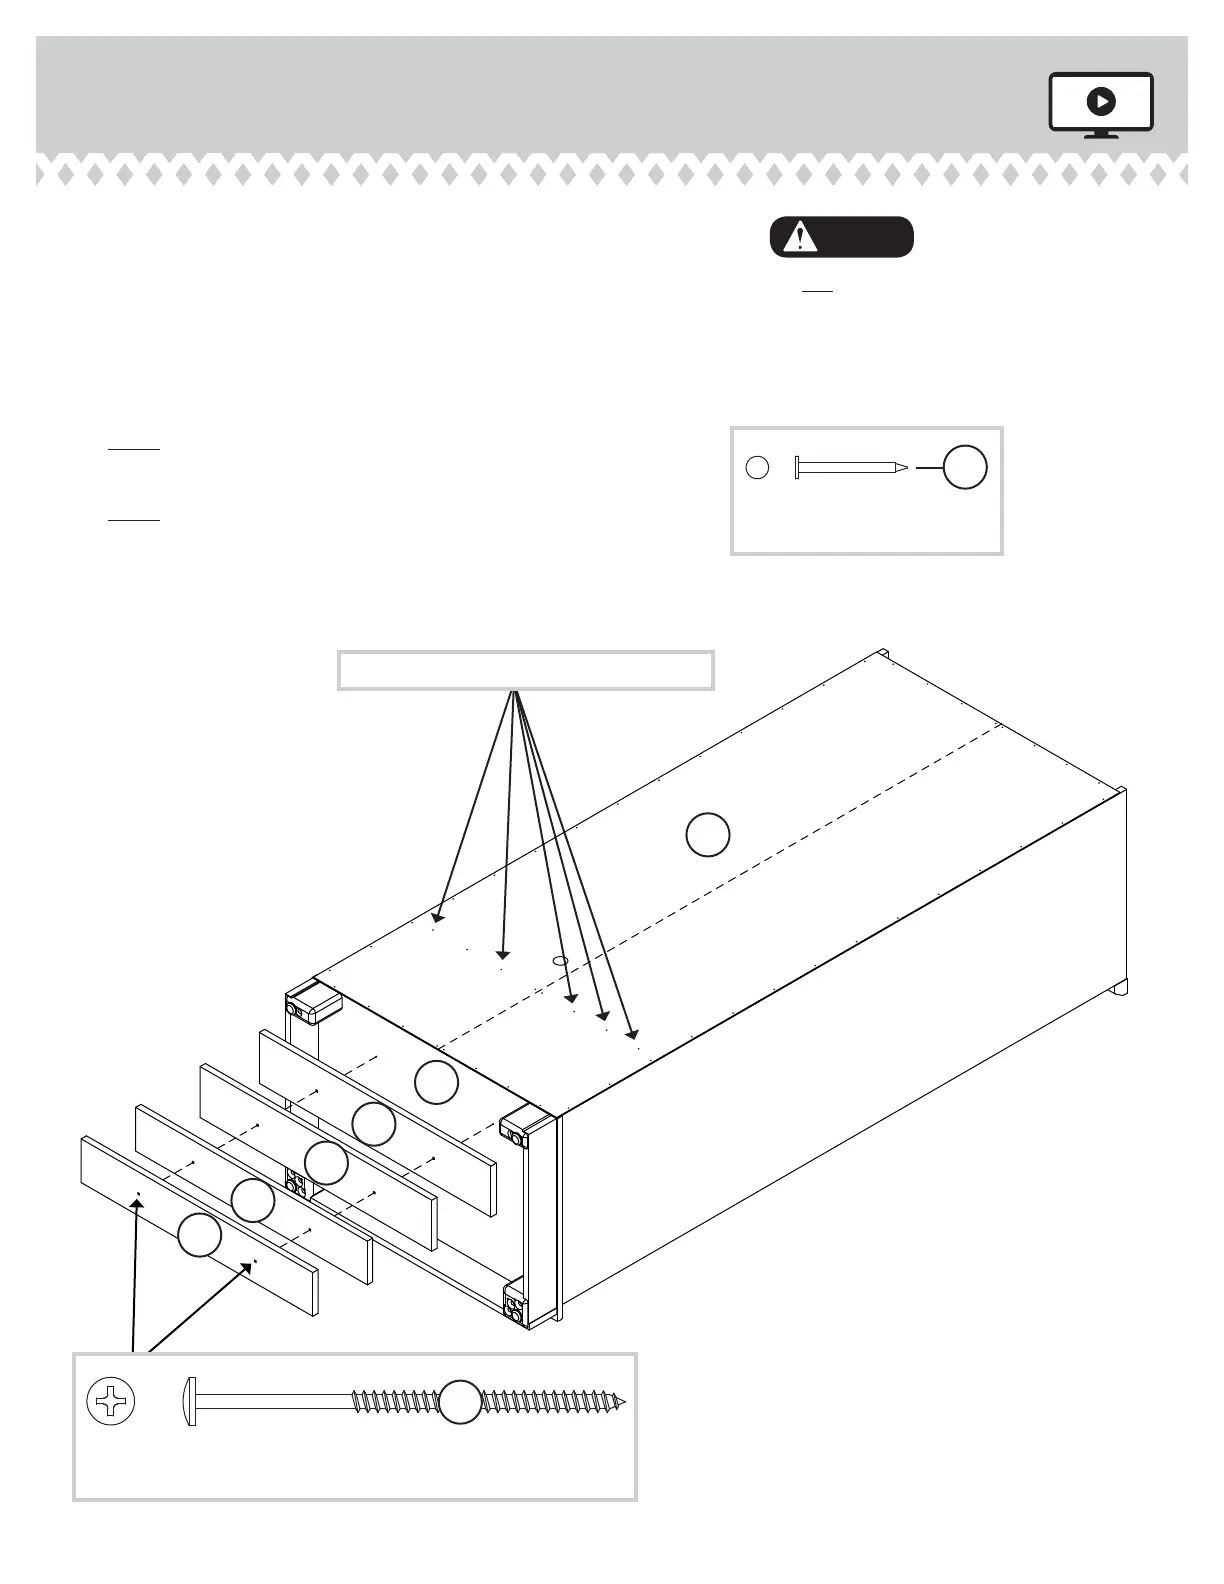
Carefully turn your unit over onto its front edges. Unfold the
BACK (E) and lay it over your unit.
å
Make equal margins along all four edges of the BACK (E).
Push on opposite corners of your unit if needed to make
it "square".
å
Fasten the BACK (E) to your unit using the NAILS (1N).
å
NOTE: Be sure to tap NAILS into the holes that line up over
the SHELF (F).
å
NOTE: Perforations have been provided for access through
the BACK. Carefully cut out the hole if needed.
å
Fasten the BALLASTS (VV and WW) to the BOTTOM (D2).
Use two BLACK 3" PAN HEAD SCREWS (84S).
Step 7
Page 12
Do not stand the unit upright without the
BACK fastened. The unit may collapse.
Caution
NAIL
(52 used in this step)
1N
E
These holes must line up over the SHELF (F).
VV
VV
WW
WW
BLACK 3" PAN HEAD SCREW
(2 used in this step)
84S
D2