å
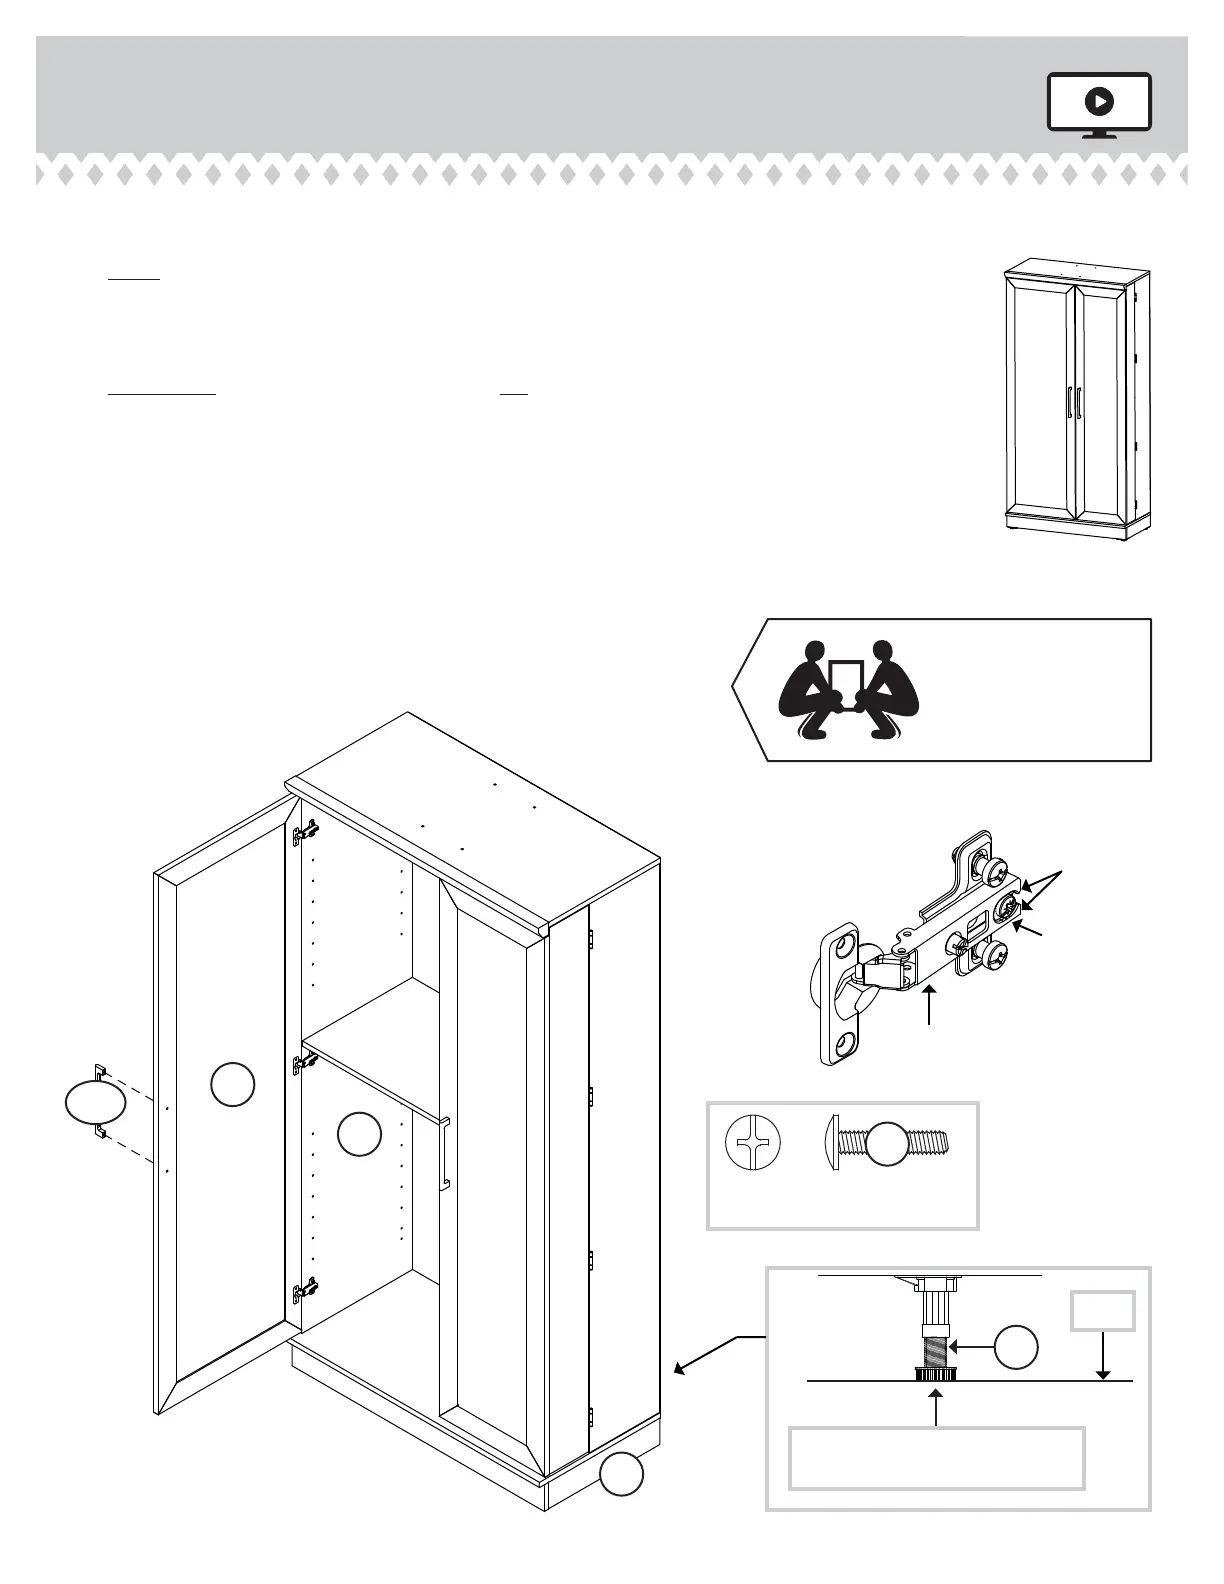
Carefully stand your unit upright and position in its fi nal location.
å
NOTE: To lift a corner of the unit, rotate the ADJUSTABLE GLIDE to the left.
To lower a corner, turn the ADJUSTABLE GLIDE to the right.
å
Turn the ADJUSTABLE FEET (25E) downward until they touch the fl oor.
å
IMPORTANT: The ADJUSTABLE FEET should not extend beyond the bottom
edges of the ADJUSTABLE GLIDES.
å
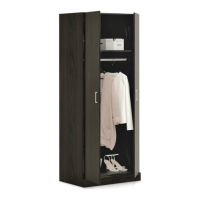
Before fastening the DOOR to your unit, be sure the mounting screw is
against the stops as shown in the diagram. If it isn't, loosen the mounting
screw to slide it against the stops. Then tighten the mounting screw.
å
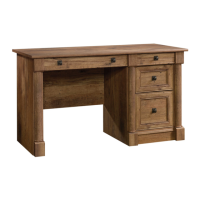
Fasten the LARGE DOOR (L2) to the LARGE END (B2) as shown in the lower
diagram. Use the screws in the HINGES. You should start each SCREW a few
turns before completely tightening any of them.
å
Fasten a PULL (102K) to the LARGE DOOR (L2). Use two
SILVER 3/4" MACHINE SCREWS (20S).
å
See the next step for
DOOR adjustments.
Step 13
B2
L2
422427www.sauder.com/services
Page 19
Turn the ADJUSTABLE FEET
downward until it touches the fl oor.
25E
Floor
R
SILVER 3/4" MACHINE SCREW
(2 used for the PULL)
20S
Stop
Hinge
Mounting
screw
LARGE DOOR ON LEFT
Pro Tip: Lift with your
legs. And, you know,
your arms.
102K