30
V. 4.0
BAL 876.10 / .02
OPERATING INSTRUCTIONS
For Electronic Polarity Reversing Control Units
WORKHOLDING AND AUTOMATION
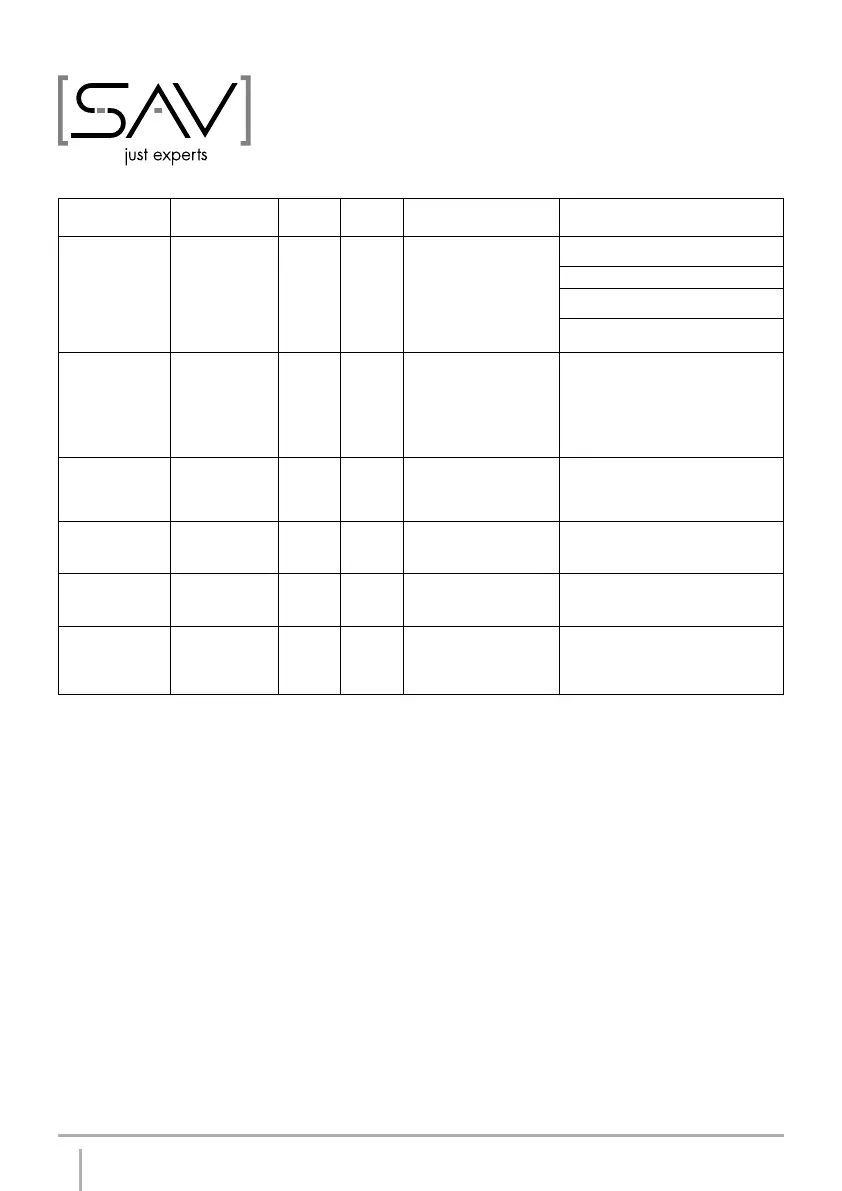
Additional parameters can be set in the demagnetized situation like listed:
function display test range
standard
setting
discription remark
Setting
demagnetisation
level
”Einstellung
Entm.-Stufe”
0 - 15 9
Changing of demagne-
tisation to chuck and
workpiece, raw setting.
For chucks 243.74 / .77 / .78 ->
Prog. 0 - 2
Short time programs -> Prog. 3 - 7
For small grinding chucks ->
Prog. 9 + 10
For large grinding chucks ->
Prog. 8 + 11
Fine-setting
demagnetisation
”Einstellung
Entm.-Fein E.”
0 - 15 0
Changing of dema-
gnetisation to chuck
and workpiece. Fine
setting for high alloyed
work pieces. Change
of the two last demag.
impulses
After raw setting. Try from 0 - 15.
Setting
characteristic of
step regulator
holding forces
”Einstellung
Haftkraftkurve”
0 - 3 1
Selection characteristic
of coded switch for hol-
ding force, step 1 to 8
or 1 to 16, respecivelly
Setting 0 for flat curves.
Setting 3 for rapidly increasing
curves.
Setting number
of magnetising
impulsen
”Einstellung
Anzahl Impulse”
1 - 3 1
Setting number of
magnetising impulses
For applications, that must be save,
lifting magnets for more than one
work piece, uneven work pieces.
Setting time of
magnetising
impulses
”Einstellung
Impulsdauer”
0 - 60 48
Setting of time for
magnetisation impulses
For applications, that must be save,
lifting magnets for more than one
work piece, uneven work pieces.
Setting of
minimum
holding force for
machine release
”Einstellung
min. Haftkraft”
0 - 15 5
Setting of level for
holding force, at which
the machine release
will close.
For milling, lifting and applica-
tions, that must be save, use
always 15. For grinding according
to your requierements.
Setting of Parameters:
In case of delivery for control-unit and magnetic chuck together, all settings are optimized.
The controller can be adapted to individual requirements of use. With luffing-switch ”function”,
the menu can be chosen. The different parameters are selectable by the luffing-switch
”value”. After passing the menu, a system-test will be done and the values are memorized.
The presetting of chuck type is done before delivery according to the type label. In case of
a need to change the type of magnetic chuck, it can be done as followed:
a) Switch off mains voltage
b) Disconnect magnetic chuck
c) If a change of mains voltage is needed the internal jumper behind the terminals for
the mains voltage has to be set to 230V or 400V respectively
d) Direct press both buttons , - , simultaneously during switching on mains voltage until
the message “Systemtest” appears
e) Press both buttons, +, simultaneously until the message “Einstellung Magnetart”
(selection magnet type) appears.
f) Scroll to required setting by using the “Value” buttons , + and –
g) Press “Function” buttons, + or -, to leave the menu until system test is done automatically
and the message “Fehler Magnet” (magnet failure) appears
h) Switch off mains voltage
i) Connect the chuck cables
j) Display shows “Systems OK” and is ready to work


 To Next Page