6
If you have any difficulty in recognising where to fit the sensor, or the cables at the meter are
confusing or loose, then immediately consult a qualified electrician before going any further
If you require more guidance and examples of typical installations please visit
www.saveometer.com/installation.
If your electricity meter is located in a distant external meter box or a basement, or you have a
large house or commercial premises, you may wish to consider employing a qualified
electrician to attach the sensor clip and to lead the sensor wire from the meter cupboard
through any intervening wall to the transmitter. In this way the optimum range can be
achieved within a building between a transmitter and the wireless display.
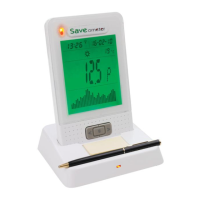
4 Plug the sensor jack into one of the 3 connecting sockets located on the
underside of the transmitter. (There are 2 extra sockets on the underside of the transmitter –
used for multi phase installations, each requiring the removal of a small cap). The transmitter
may be mounted using the self adhesive Velcro pad provided. The transmitter must be kept
completely dry at all times.
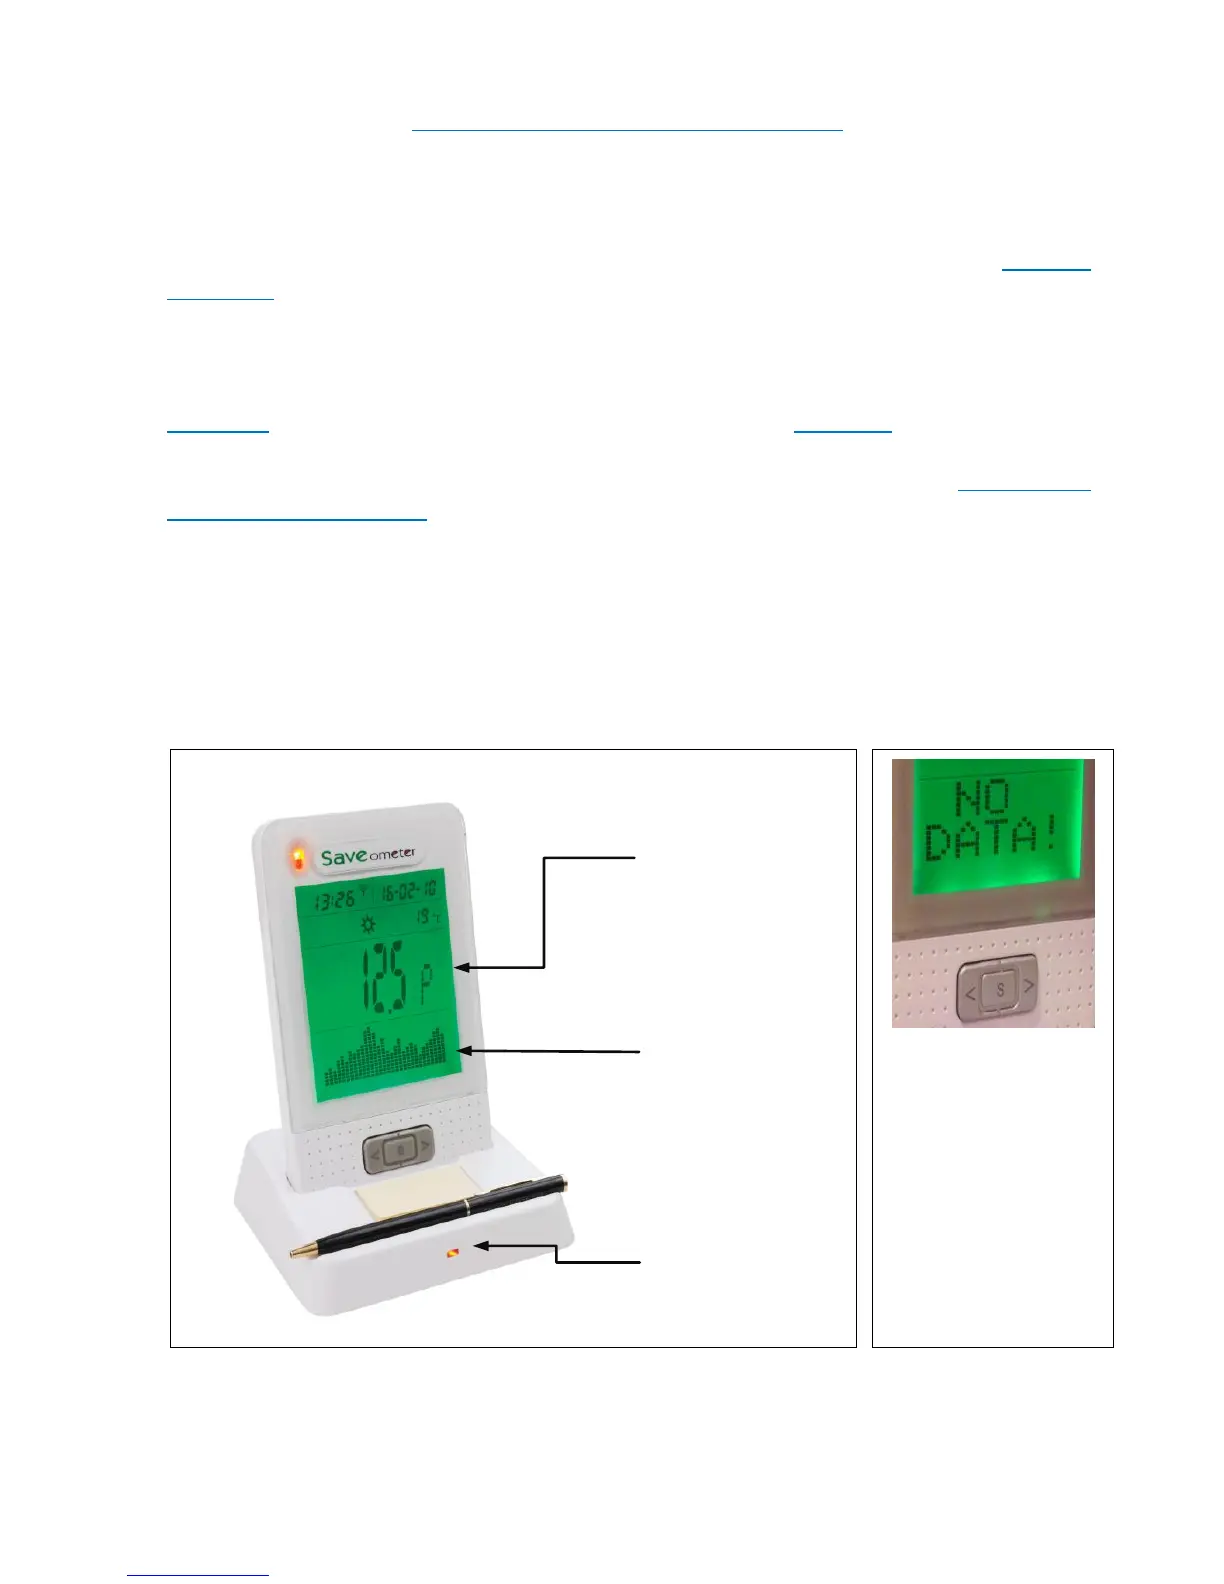
5 When the sensor clip has been correctly connected to the transmitter, the
display will stop showing “NO DATA” and show a default 28 day bar chart, and also how much
per hour you are currently spending on electricity. If “NO DATA” continues to show, check
the sensor clip jack is properly inserted. If “NO DATA” still continues to show, it may be
necessary to re-establish the wireless link between your display & the transmitter – please
refer to mode 14 “Linking a display to an existing electricity transmitter” on page 13. Up to 25
additional displays may be linked to a single transmitter!
The display now shows the cost of the electricity you are using per hour. Every 45 seconds the
cost of electricity you have used in the CURRENT WEEK, followed by the cost for the
 Loading...