Do you have a question about the Savic Zeno 3 Empire and is the answer not in the manual?
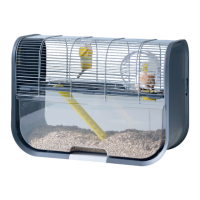
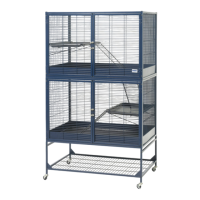
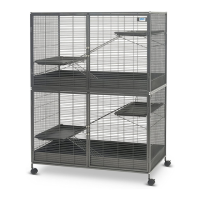
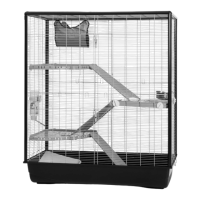
Lists all components included in the Zeno 3 Empire cage box and offers initial assembly recommendations.
Instructions to fill the drinking bottle 100% to avoid leakage and rinse the spout before first use.
Attaching the 4 corner pieces to the vertical profiles to begin the cage structure.
Sliding the two side panels into the vertical profiles, ensuring closures face outwards.
Sliding the back panel with hooks into the vertical profiles, with hooks facing upwards.
Turning the cage 180° and sliding the front panel with hooks into the profiles.
Inserting platforms with fixings, ensuring they are placed correctly and screws are not overtightened.
Repeating the platform attachment process for the opposite corner of the cage.
Sliding the top back panel into the profiles, ensuring vertical wires are on the outside.
Attaching the last platform to the cage structure, starting from the top.
Inserting the top front panel into the profiles, ensuring its closure faces outwards.
Placing the roof panel on top of the assembled cage structure.
Attaching the hammock, placing the corner toilet, and connecting platforms with the ladder.
Finally installing the drinking bottle and feeding bowl, making the cage ready for use.
| Suitable for | Rats, Ferrets |
|---|---|
| Dimensions | 100 x 50 x 116 cm |
| Bar spacing | 9.5 mm |
| Material | Metal, Plastic |
| Assembly Required | Yes |
| Type | Cage |
| Product Type | Cage |
| Color | Black |
| Door Type | Front and Top Access |