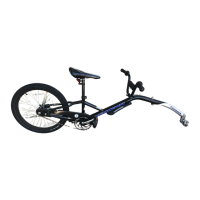
UNFOLDING THE TRAILER
1. Un-fold the arm and screw the quick release pin into the threaded
hole.
2. Continue to tighten the lever until sufficient tension is achieved to
allow the lever to allow the lever to flip easily 90 degrees. Then force
the lever to the frame locking it in place.
3. Insert the flag into the flag pocket.
1. Attaching the Trailer To The Bike
This hitch is designed to adjust to a wide range of seat post sizes. The
hitch has a quick release cam lever that locks the hitch clamp to the
seat post. The seat post size needs to be initially set with a 5mm allen
wrench for each unique size seat post.
Initial Hitch Set-Up
1. Inspect the seat post on the lead bike for dents,
cracks, scrapes and deep scratches replace the
seat post if any of these conditions exist. Also note
the seat post must have a wall thickness of at least
1/8". Remove the seat post to check the wall
thickness. See Fig. 3
2. Open the seat post clamp by flipping the quick release lever away
from the center of the hitch you may need to loosen the quick release
adjusting nut several turns to remove the lever
assembly from the slot.
3. Position the hitch around the seat post.
See Fig. 4
4. Re-attach the quick release lever in the slot
and tighten the nut about 1/2 the way down the
threaded lever assembly bolt and close the quick
release lever by flipping the lever 180 degrees towards the center.
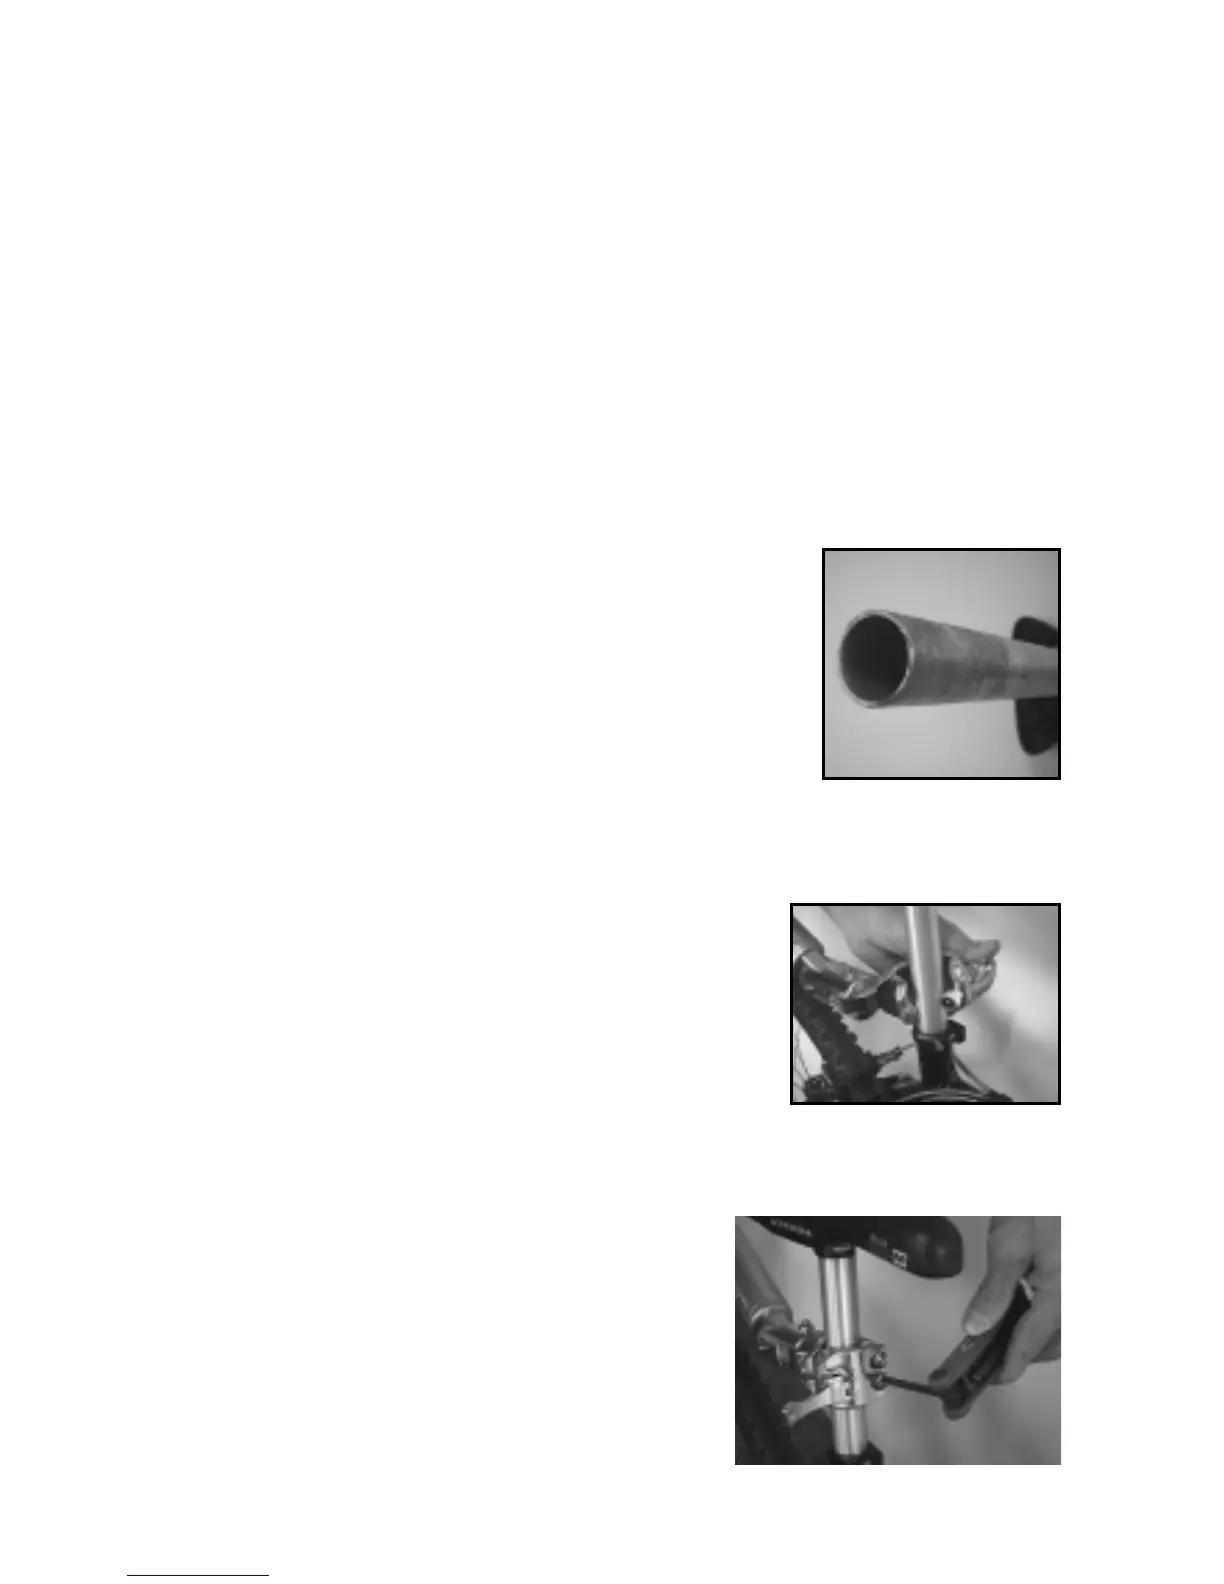
5. Using a 5mm allen wrench, evenly adjust
the 2 range limit screws so the hitch is tight
to the seat post. Note: The hitch should not
rotate around the seat post. See Fig. 5
7
Fig. 3
Fig. 4
Fig. 5