©2010
GEAR OPERATION
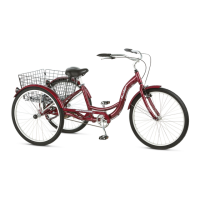
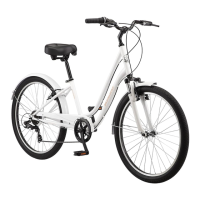
Mul speed bicycles can have internal or derailleur gear systems.
WARNING: Improper shiing can result in the chain jamming,
or becoming derailed resulng in loss of control or a crash.
Always be sure the chain is fully engaged in the desired gear
before pedaling hard.
Avoid shiing while standing up on the pedals or under load.
To shi properly, pedal the bicycle with lile pressure on the pedals, and
move the shier (1) gear at a me, ensuring that the chain is fully engaged
in that gear before applying more pressure on the pedals. For bicycles with 3
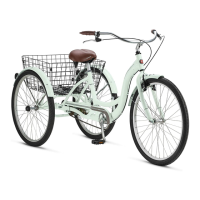
front chain rings; avoid “Cross Chaining”, which is the posion when the chain
is in the smallest cog in the rear combined with the inner or smallest chain
ring in the front, or the largest cog in the rear and the outer or largest chain
ring in the front. These gear posions put the chain at the most extreme angle
and can cause premature wear to the drivetrain. Bicycles with 3 front chain
rings have enough gear “overlaps” that these gears are not needed. (Fig. 2.13)
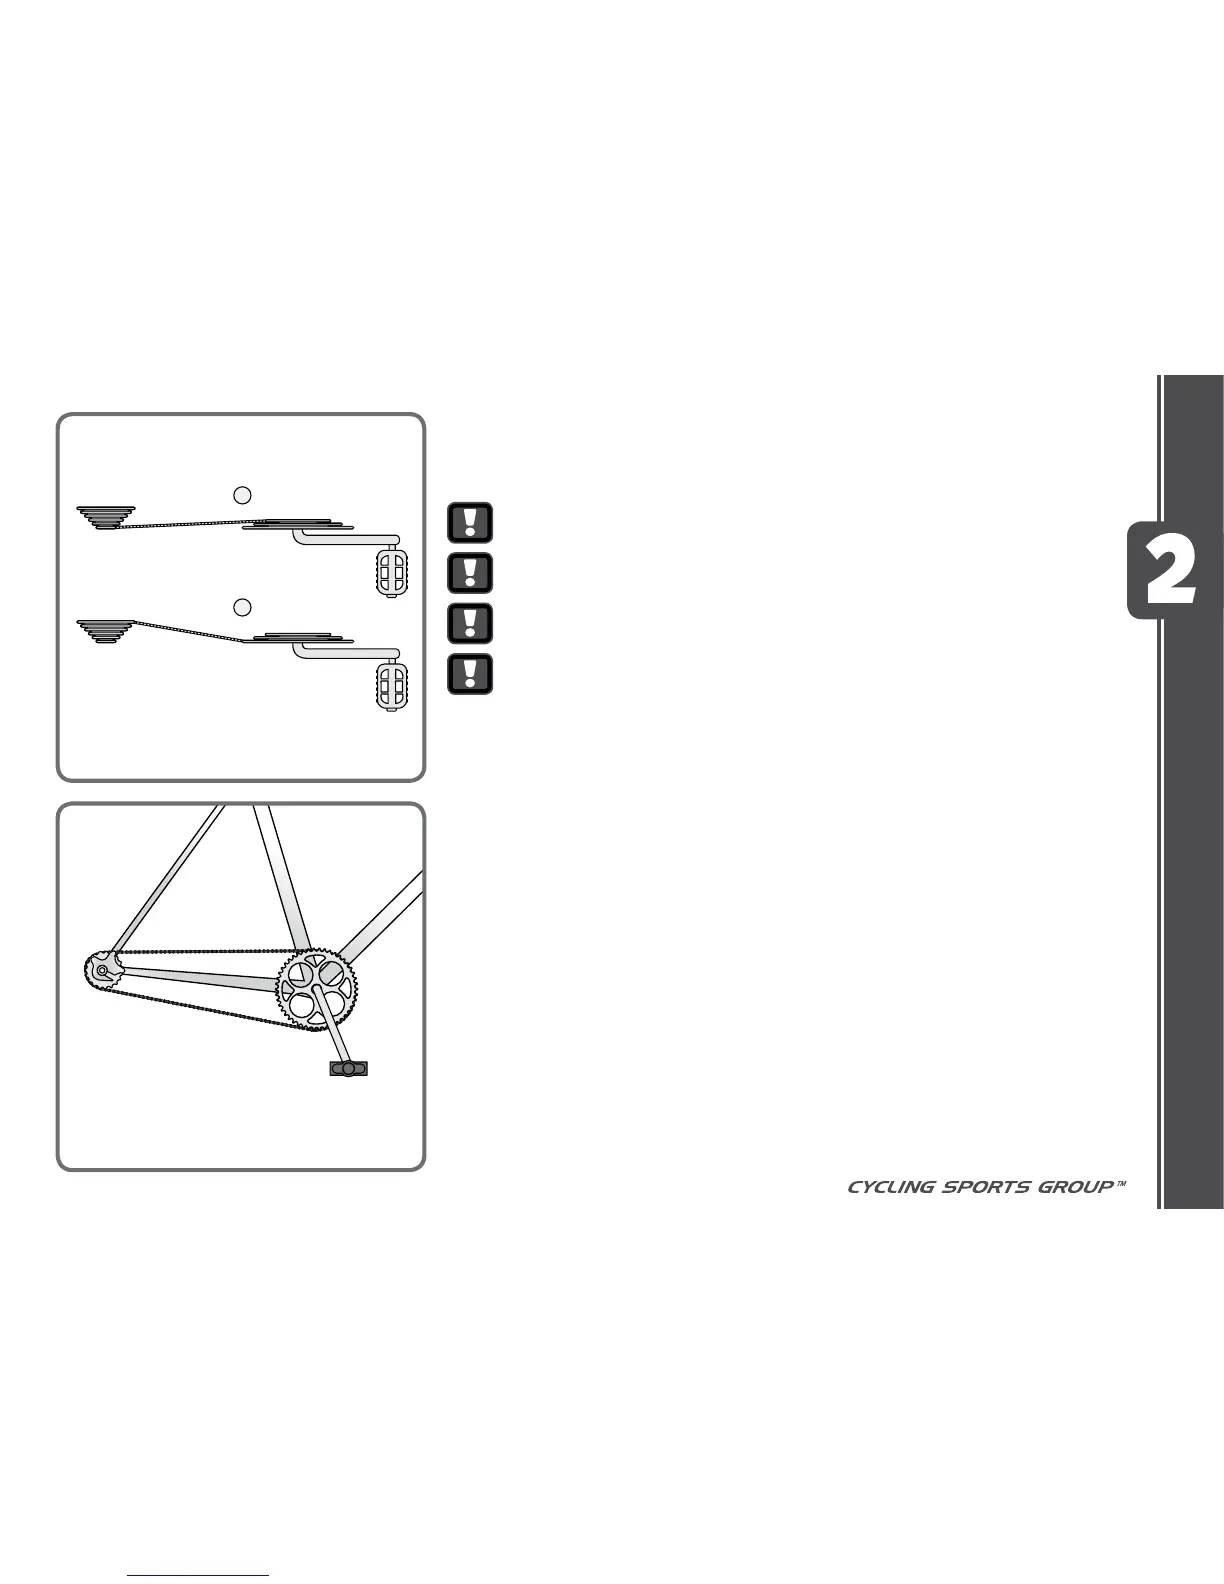
Internal Gears (no derailleur)
An internal gear system is one where the gears are housed within the rear hub of the
bicycle. With internally geared bicycles, it is recommended to STOP pedaling while you
shi gears. The bike may be sing sll or rolling to shi. Shier designs vary, you will
either twist or operate a push buon to change gears. The shier will indicate either
“low to “high” or a series of numbers from 1 up. Low or “1” is the lowest gear. This is
used for slower riding, hill climbing, or to allow for easier pedaling. It is recommended
to start o in this gear and move through the gears as speed increases as needed,
or comfortable. It is OK to ride the whole me in only one gear if this is comfortable.
Backpedaling should have no eect on an internally geared bicycle (unless it is equipped
with foot acvated brakes), however, backpedaling should not be necessary when
riding, and invites the possibility of clothing being caught in the chain, and should
be avoided. See Assembly and Maintenance for further informaon on proper
gear adjustment. (Fig. 2.14)
BEFORE YOU RIDE
 Loading...