THESE INSTRUCTIONS MUST BE FOLLOWED FOR US TO
GUARANTEE OUR FULL SUPPORT OF YOUR CLAIM FOR
PROTECTING AGAINST LOSS FROM CONCEALED DAMAGE.
THE FORM FOR FILING SUCH A CLAIM WILL BE PROVIDED
BY THE CARRIER.
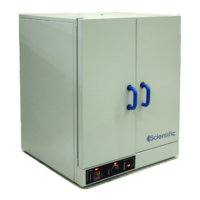
UNPACKING
Unpack the product and check for any damage incurred during
transit. This should be reported to the responsible carrier, railway or
postal authority, and a request for a damage report should be made.
GENERAL INSTALLATION AND OPERATION INFORMATION
1. Position the unit on a stable bench.
2. Ensure that the unit is at least 100mm-200mm from the wall to
ensure that the exhaust air duct on the rear of the unit can
vent adequately.
3. Before switching on the unit, remove all leaets and contents
from the inside of the oven/incubator.
4. The oven door is opened by a 90º anti-clockwise turn of the
handle and then pull to open.
5. There are two chrome plated steelwire shelves provided, plus 4
shelf runners. Once unpacked, clip the shelf runners rmly
into position via the hooks, which clip into the recessed rails
on the inner side walls of the oven/incubator. Ensure that they
are rmly clipped into the desired position and slide the shelf
into the U-prole of the shelf runner.
6. Uniformly load the shelves and observe the maximum shelf
loadings given in the technical specication.
7. Pushing the door slightly against the silicon frame seal and
then running handle clockwise through 90º closes the oven/
incubator door.