10
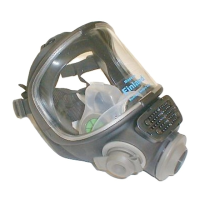
4.7 Check the tightness of the mask (two alternative methods):
1) Cover the exhalation opening of the mask with your hand. Exhale gently to create overpressure.
There must be no leakage between the face and the faceseal.
2) Cover the filter opening with your hand. Inhale to make the mask press onto your face.
If you fail to get a tight fit (=potential leakage), adjust the head harness and filter, or use another
size of the mask.
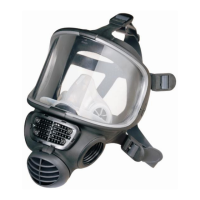
4.8 Using the drinking device
Use water or clear liquids (=avoid non-soluble particles).
Open the lids of the drink device and the bottle, insert the nozzle into the drinking device.
Take the mouth piece in the mouth and press it with the teeth to make water pass through.
o The bottle cap can also be connected to a standard PET bottle (thread Ø 28 mm).
5. Maintenance and storage
5.1 Test for function and leak-tightness
If components have been replaced (visor, valve discs or speech diaphragm), a test for function and
leak-tightness must be carried out with an appropriate test device (e.g. Pro-Tester, code 141080).
The test is also done in case of a mask stored unused for a longer period, and at least once a year.
Check also that the faceblank has maintained its shape, the head harness is reasonably elastic, the
visor and the faceseal are undamaged, and that the valve discs and the speech diaphragm’s O-ring
are good and well in position. Damage must be repaired.
5.2 Replacing the visor
The visor is available in polycarbonate or polycarbonate with a chemical-resistant and scratch-proof
coating. The material code is found at the left edge of the visor. Replace visor if damaged, dirty or
scratched.
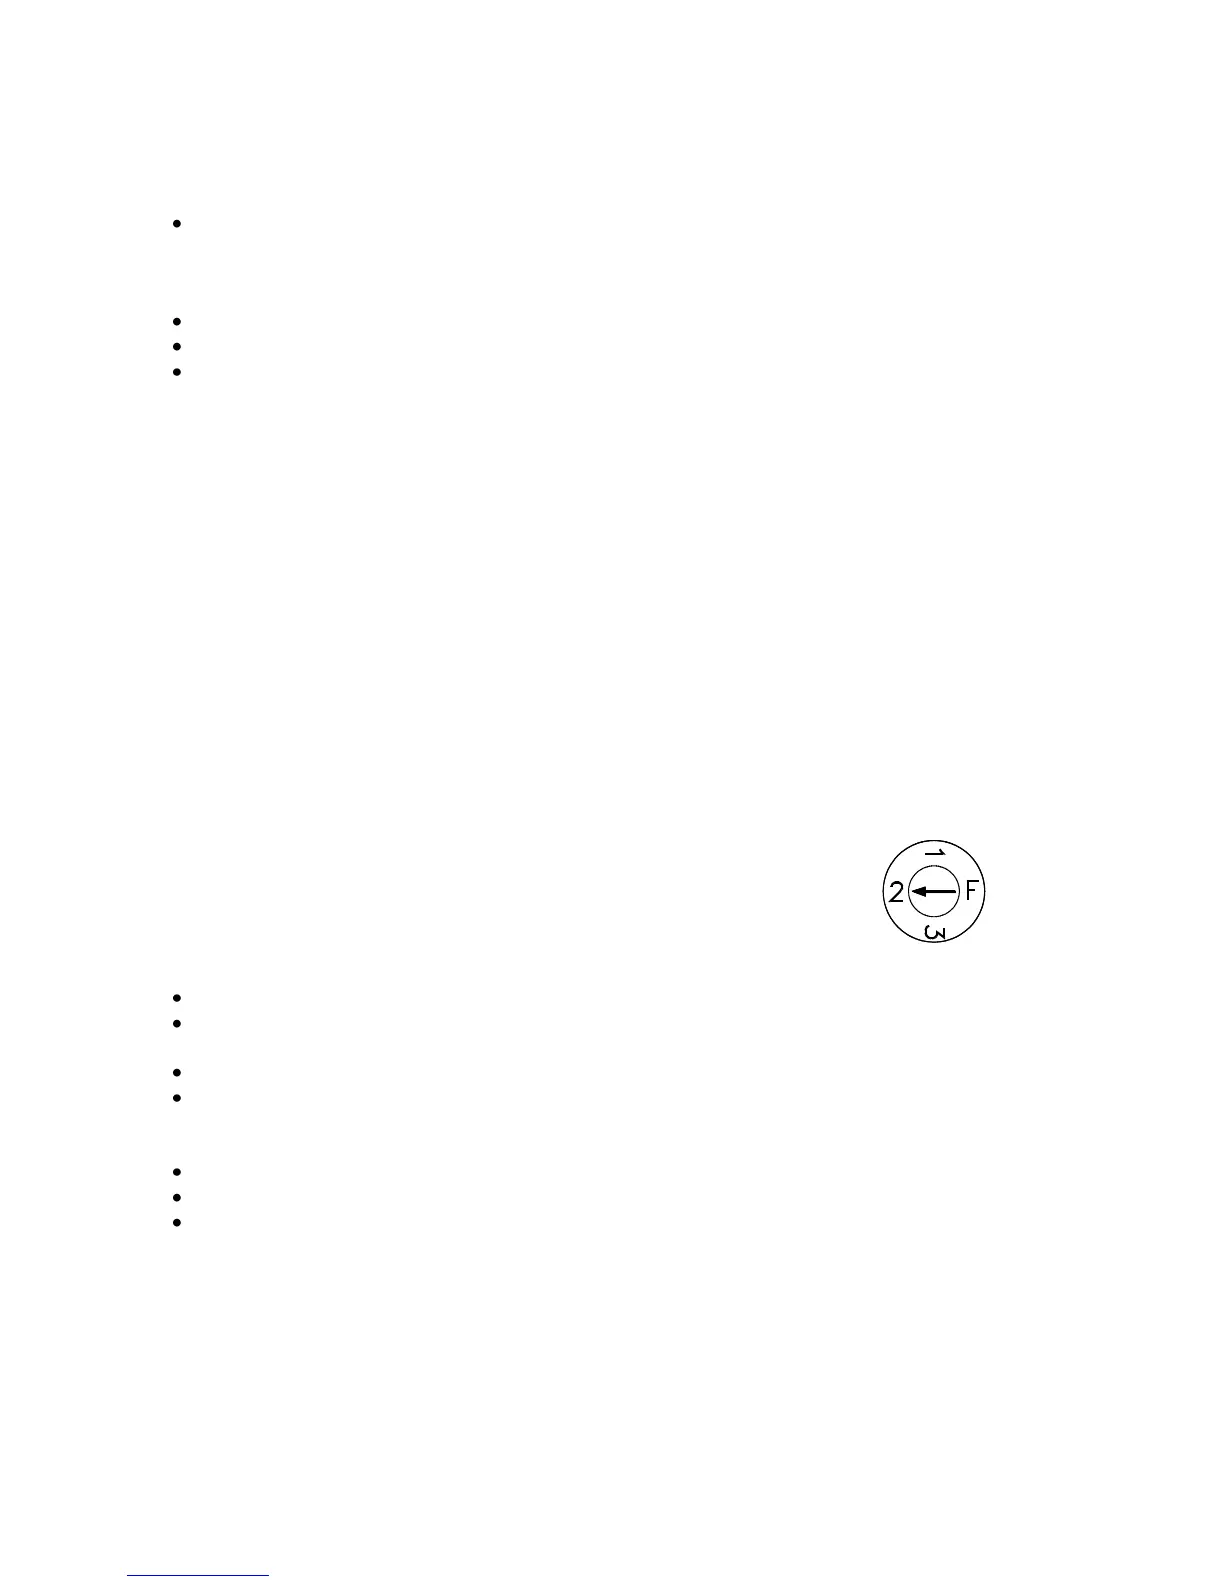
Material code is shown by an arrow:
1 (not in use)
2 hard coated polycarbonate (HC)
3 (not in use)
F polycarbonate (PC)
Unscrew the screws (Torx 20), loosen the visor frames, and remove the visor (Fig. A)
Place a new visor in the faceblank (with the marking “UP” on the visor showing upwards). Align
the check marks of the visor and faceblank with each other (Fig. B).
Position the visor frames and tighten both screws (Fig. C).
Carry out the leak-tightness test (point 5.1).
5.3 Replacing the exhalation valve disc
Pull out the valve cover (Fig. D).
Separate the valve assembly from the valve cover and pinch on the edge of the disc (Fig. E).
Replace the disc. Press lightly on the tip of the disc to secure a good fit (Fig. F).
 Loading...