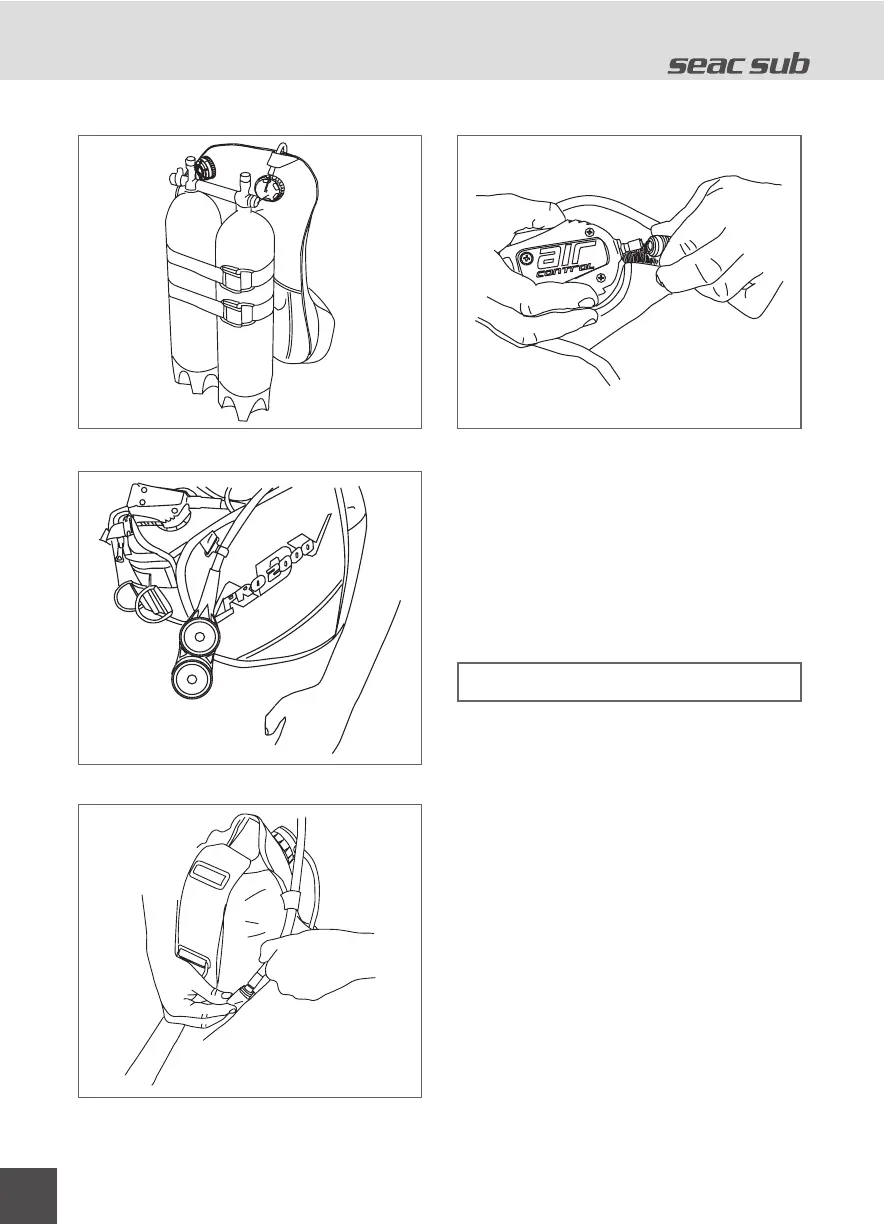
Drawing 17 Dual tank kit assembled
Drawing 18 Assembled pressure gauge hose
Drawing 19 Correct assembly of the hose through
the loops
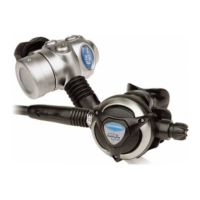
Drawing 20 Connection to rapid fastener
Assemble the connection hose with the rapid
attachment to a low pressure outlet of your
regulator, taking care not to tangle the pressure
gauge hose with those of the regulator.
We advise positioning the service hose
(pressure gauge, jacket hose, and the dry
suit hose) to the left and the breathing hoses
(main and secondary regulator) to the right.
Carefully screw the stabilizer jacket hose to a low
pressure outlet of the first stage of the regulator!
An eventual intake of high pressure in the hose
may cause breakage or serious problems!
Verify that the pressure gauge hose and the
regulator hoses are positioned correctly and
eventually held in the special snap hook
(Drawing 18). After opening the tank valve,
connect the quick-attachment to the power
inflator, taking care to pass the hose through
the special containment rings (Drawing 19).
To connect the quick attachment of the hose
to the power inflator, do as follows: Hold the
metal collar at the end of the hose between
your thumb and index finger and push it
back; push the quick attachment onto the
male connection of the power inflator and
release the collar (Drawing 20).
Attention!
ENGLISH
38