2.3 Display of the Seal One ID
The Seal One ID is needed in order to enroll the Seal One device with an acceptance partner.
To see it on the display complete the following steps:
2SDOØ
Make sure that the device is ready for use and there is no transaction displaying
on the device. When in this state, you see the following:
2SDOØ
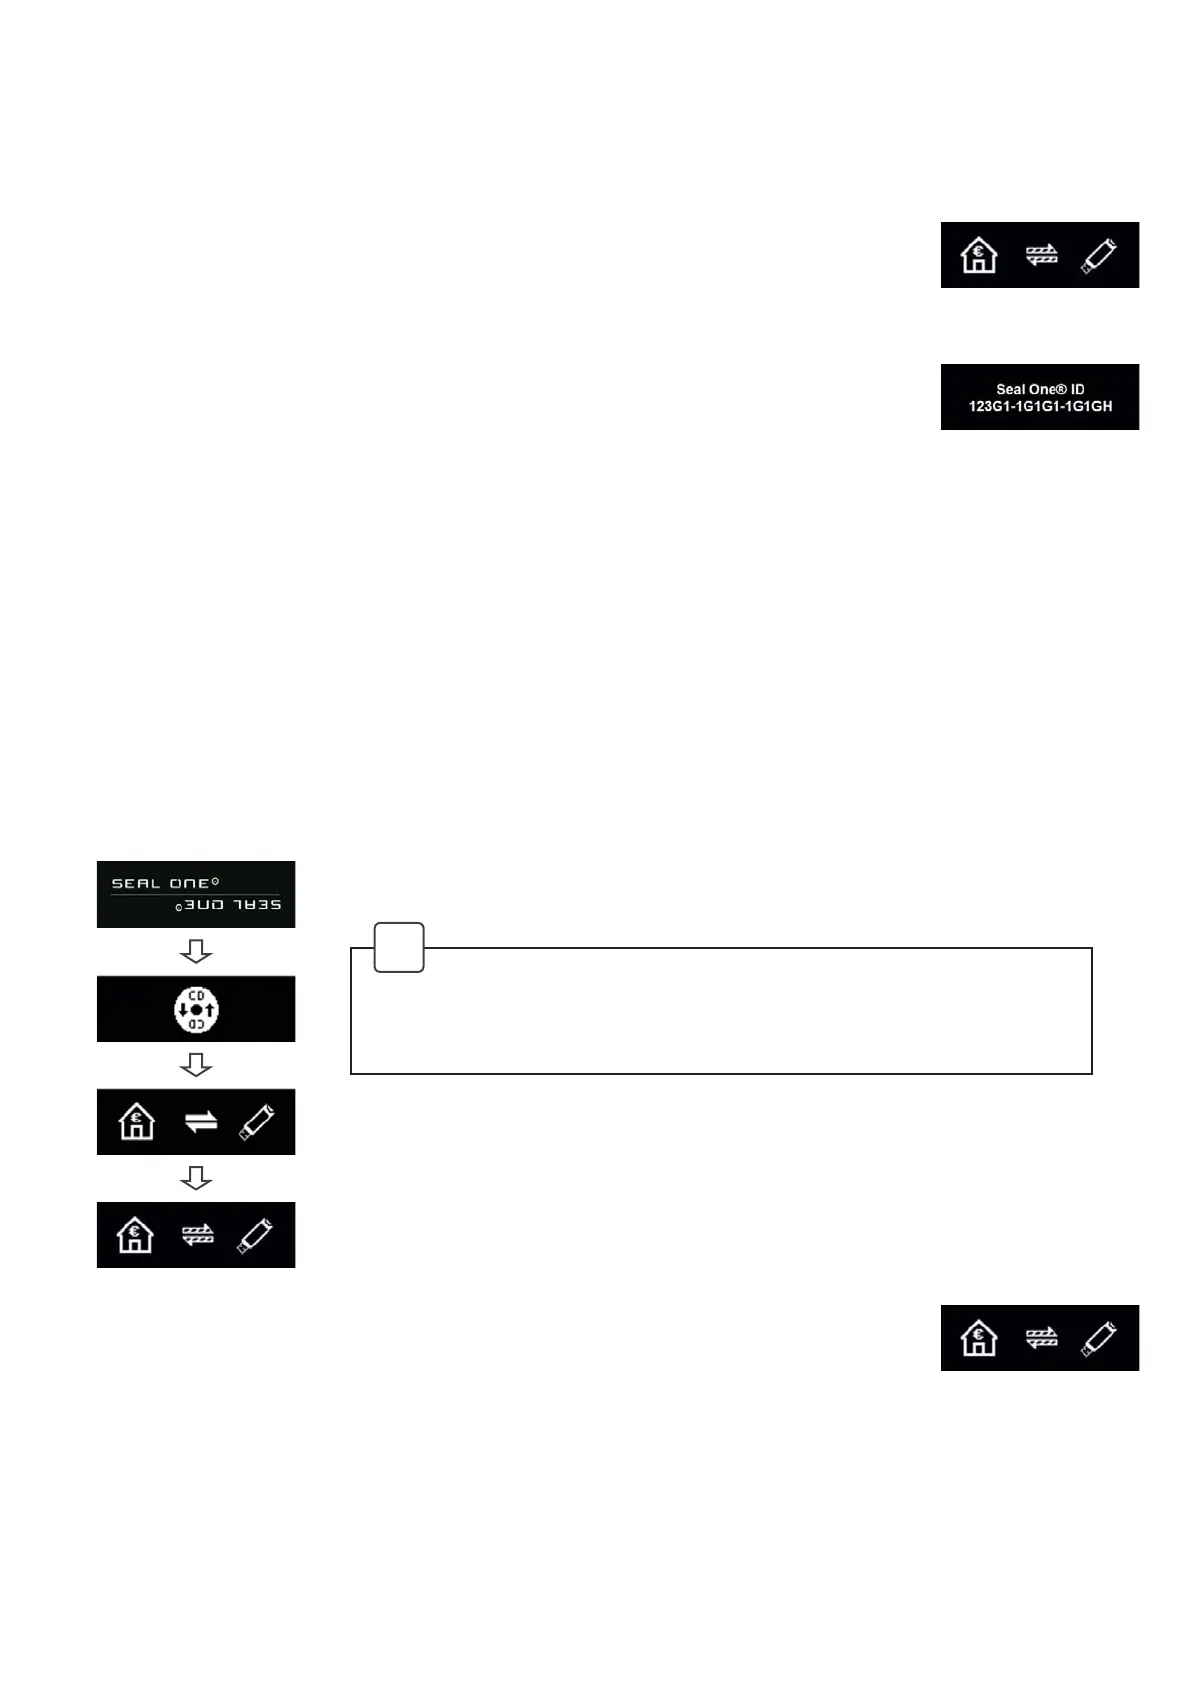
Press and hold the button on your Seal One device for at least 3 seconds until
the Seal One ID appears on the display. The Seal One ID is shown in
EORFNVRIFKDUDFWHUVDVH[DPSOLÛHGKHUH
During the registration process with an acceptance partner, the Seal One ID must be displayed on the
6HDO2QHGHYLFH$VVRRQDV\RXU6HDO2QHGHYLFHLVVXFFHVVIXOO\UHJLVWHUHGLWFKDQJHVWRWKHPRGH
„ready to use“.
N.B. To avoid mistakes the letters are NOT used: I (India), M (Mike), O (Oscar), W (Whiskey)
3 Seal One Usage
2SDOØ Make sure that your PC / laptop is connected to the internet.
2SDOØ Connect your Seal One device to an available USB port on your PC / laptop.
The device will display the following symbols one after another as shown below:
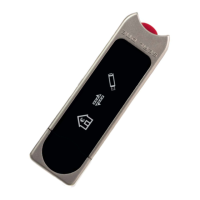
Once you have successfully established a connection to your PC / laptop, you will
be directed to a screen informing you that your Seal One is ready for use. The
following symbols will appear on the display of your Seal One device.
N.B. The animation of the arrows is moving.
If the CD icon continues to show (e.g. because auto start is disabled),
you need to start the Seal One application manually.
Refer to section 3.1.1 / 3.2.2 for more information.
!
 Loading...