4.1. Mode Description.
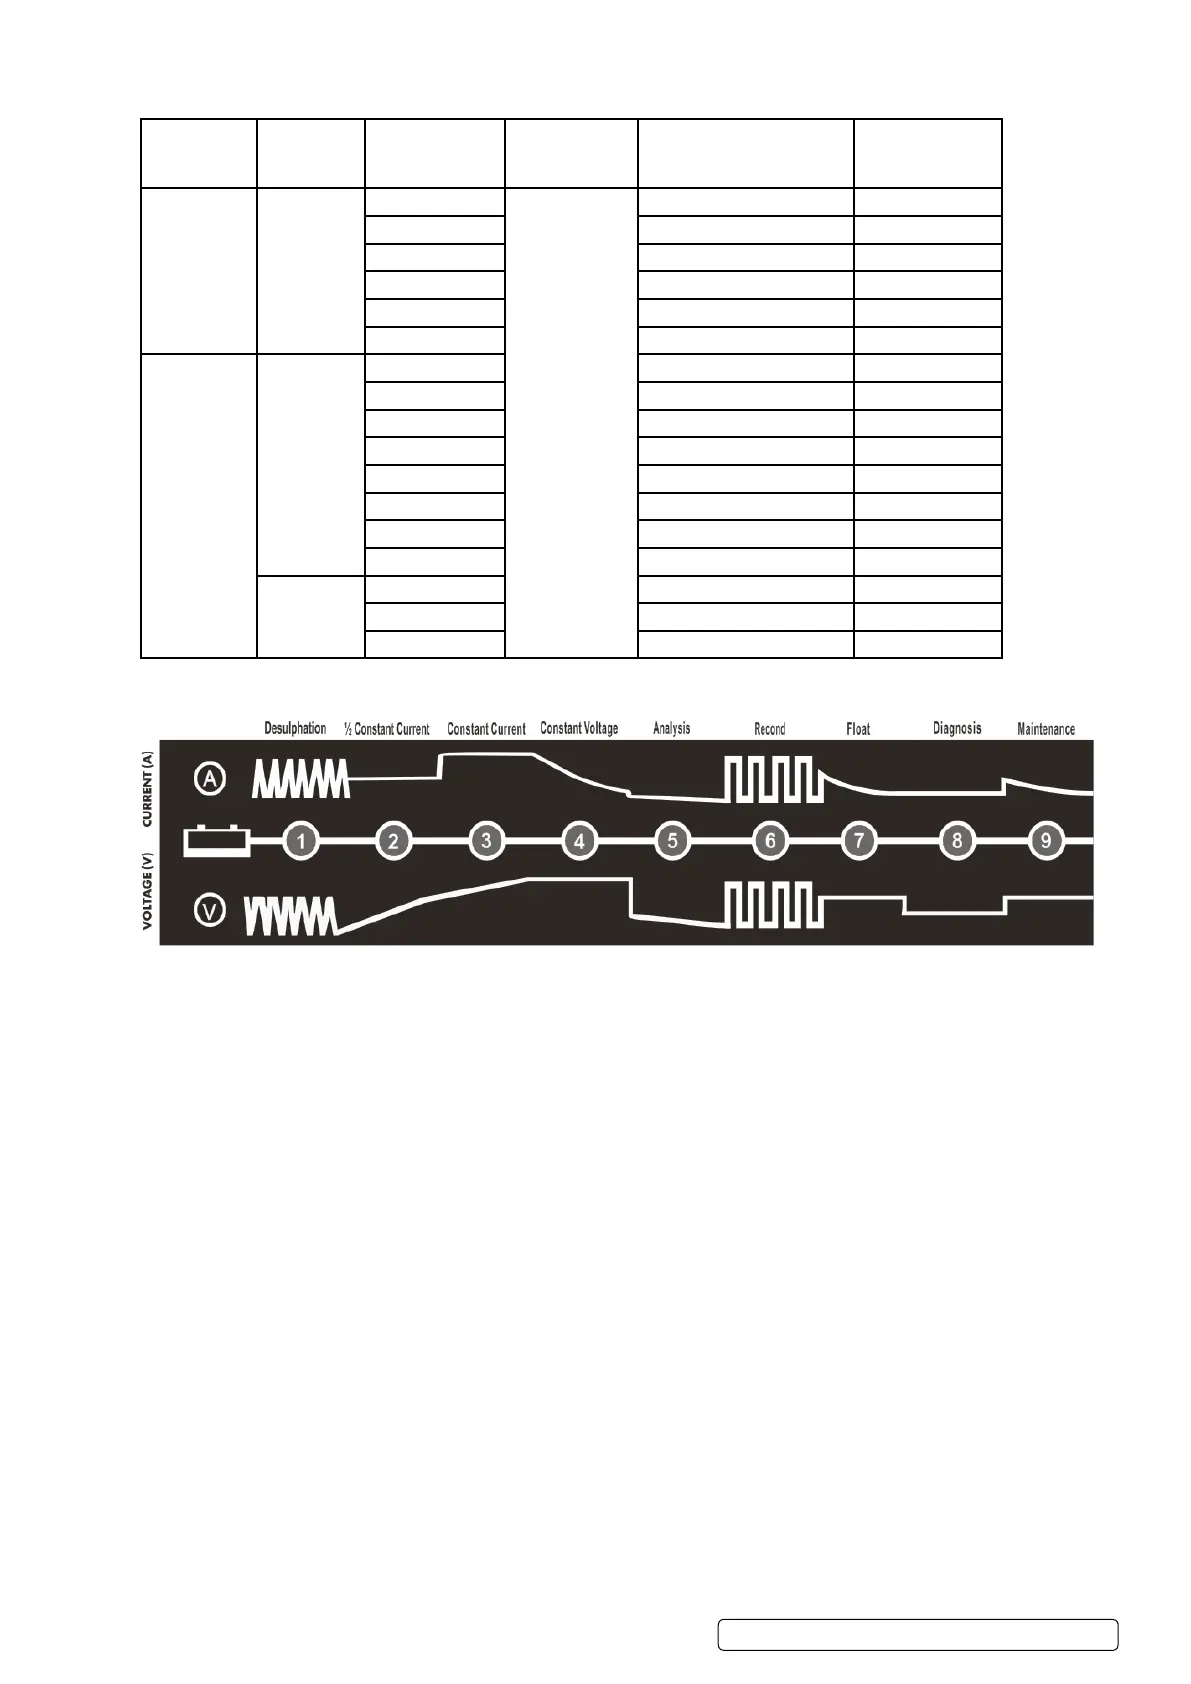
4.2. 9 Stage charging.
Stage 1: Desulphation: Pulses of current and voltage.
Stage 2: Battery charge to 25% capacity using 50% constant current.
Stage 3: Battery charge to 50% capacity using max. current.
Stage 4: Battery charge to 75% capacity using constant voltage.
Stage 5: Analysis: Analysing power capacity.
Stage 6: Recond: If power capacity is low use Recond to attempt recovery.
Stage 7: Battery charge to 100% capacity using constant voltage.
Stage 8: Diagnosis: Check battery for 100% charged.
Stage 9: Maintenance: Battery fully charged.
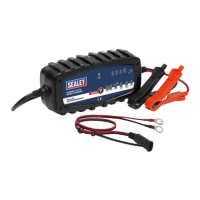
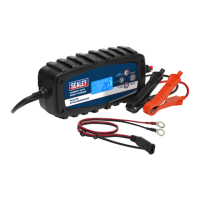
4.3. CONNECTING TO THE BATTERY.
NOTE: the charger should be connected to the battery before connecting to mains supply.
4.3.1. The output cable from the charger terminates in a polarity conscious socket into which the two alternative leads can be connected.
4.3.2. One lead set has two colour coded battery clamps which can be quickly attached to and detached from the battery posts.
The second lead is for semi permanent connection to the battery via eyelets.
4.4. CHARGING A NEGATIVE EARTHED BATTERY.
4.4.1. Ensure that the black clamp on the clamp lead is not touching the battery or the fuel line.
4.4.2. Connect the positive (+) red clamp to the positive (+) battery post and connect the negative (-) black clamp to the negative (-) battery
post or vehicle chassis.
4.5. CHARGING A POSITIVE EARTHED BATTERY.
4.5.1. Ensure that the red clamp on the clamp lead is not touching the battery or the fuel line.
4.5.2. Connect the negative (-) black clamp to the negative (-) battery post and connect the positive (+) red clamp to the positive (+) battery
post or vehicle chassis.
4.6. BATTERY NOT CONNECTED TO A VEHICLE.
4.6.1. Connect the (+) red clamp to the positive (+) battery post and connect the (-) black clamp to the negative (-) battery post.
4.7. PERMANENT CONNECTION TO VEHICLE USING EYELET LEAD.
4.7.1. Connect the eyelet on the red (+) wire to the positive (+) battery terminal and connect the eyelet on the black (-) wire to the negative (-)
battery terminal.
4.8. CHARGING MODE SELECTION (SEE CHART SECTION 4.1).
4.8.1. Choice of charging mode depends on battery rated voltage and battery type.
4.8.2. When charging mode is selected, enter charging by pressing Enter/Exit button.
4.8.3. When charging is complete disconnect the unit from the mains power supply before disconnecting from the battery.
Original Language Version
© Jack Sealey Limited
AUTOCHARGE650HF Issue 1 22/08/18
Step 1 -
Voltage
Selection ‘V’
Step 2 -
Battery
Selection
Step 3 -
Charging Mode
Selection (A)
Step 4 -
Start charging
Charging status Applicable battery
capacity (Ah)
6V GEL
AGM
STD
2A ENTER / EXIT 6V 2A Charging Mode 1.3 -60Ah
4A 6V 4A Charging mode 2.6-120Ah
6.5A 6V 6.5A Charging mode 3.3-200Ah
AUTO 6V Auto mode /
WINTER 6V Winter mode /
MAINTENANCE 6V Maintain mode /
12V GEL
AGM
STD
2A 12V 2A Charging mode 1.3-60Ah
4A 12V 4A Charging mode 2.6-120Ah
6.5A 12V 6.5A Charging mode 3.3-200Ah
AUTO 12V Auto mode /
RECOND 12V Maintain mode /
WINTER 12V Winter mode /
SUPPLY 12V Supply mode /
MAINTENANCE 12V Maintain mode /
LITHIUM 4A 12V 4A Charging mode 2.6-120Ah
AUTO 12V Auto mode /
MAINTENANCE 12V Maintain mode /
 Loading...