9 Before attempting to move the unit, empty the contents of the water tank. Use carrying handle (g1.10)when moving unit.
9 Switch o and disconnect unit from the mains before attempting any cleaning or other maintenance work.
9 Ensure that the unit is turned o correctly when not in use, and stored in a safe, dry area, out of reach of children.
NOTE: This appliance can be used by children aged from 8 years and above and persons with reduced physical, sensory or
mental capabilities or lack of experience and knowledge if they have been given supervision or instruction concerning use of
the appliance in a safe way and understand the hazards involved. Children shall not play with the appliance. Cleaning and user
maintenance shall not be made by children without supervision.
2. INTRODUCTION
Thermostatically controlled unit with extendible exhaust hose and window kit - ideal for home or oce environments. Features
two-speed fan and electronic remote control. Air conditioning temperature range 16-30°C. Also features a dehumidifying
function capable of removing up to 24L/day. Refrigerant is R290. Mounted on castors for manoeuvrability. Cable storage keeps unit
tidy when not in use.
3. SPECIFICATION
Model No.:..............................................................SAC9002
Cooling capacity: ................................................... 9000Btu/hr
Discharge side pressure: ...........................................3.8MPa
Energy rating: ...................................................... A (Cooling)
IP rating: .........................................................................IP20
Mass of refrigerant: ........................................................ 270g
Max. airow: ............................................................. 360m³/hr
Max. exhaust hose length: ............................................. 1.5m
Max water extraction rate: ......................................... 24L/day
Noise level: .............................................................. 65db (A)
Power: .........................................................................1010W
Rated capacity: ...........................................................2640W
Refrigerant: ................................................................... R290
Suction side pressure: ............................................... 1.3Mpa
Supply: ................................................................ 230V~50Hz
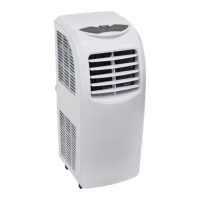
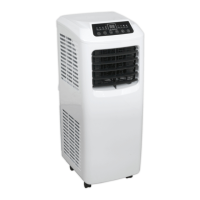
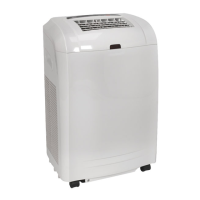
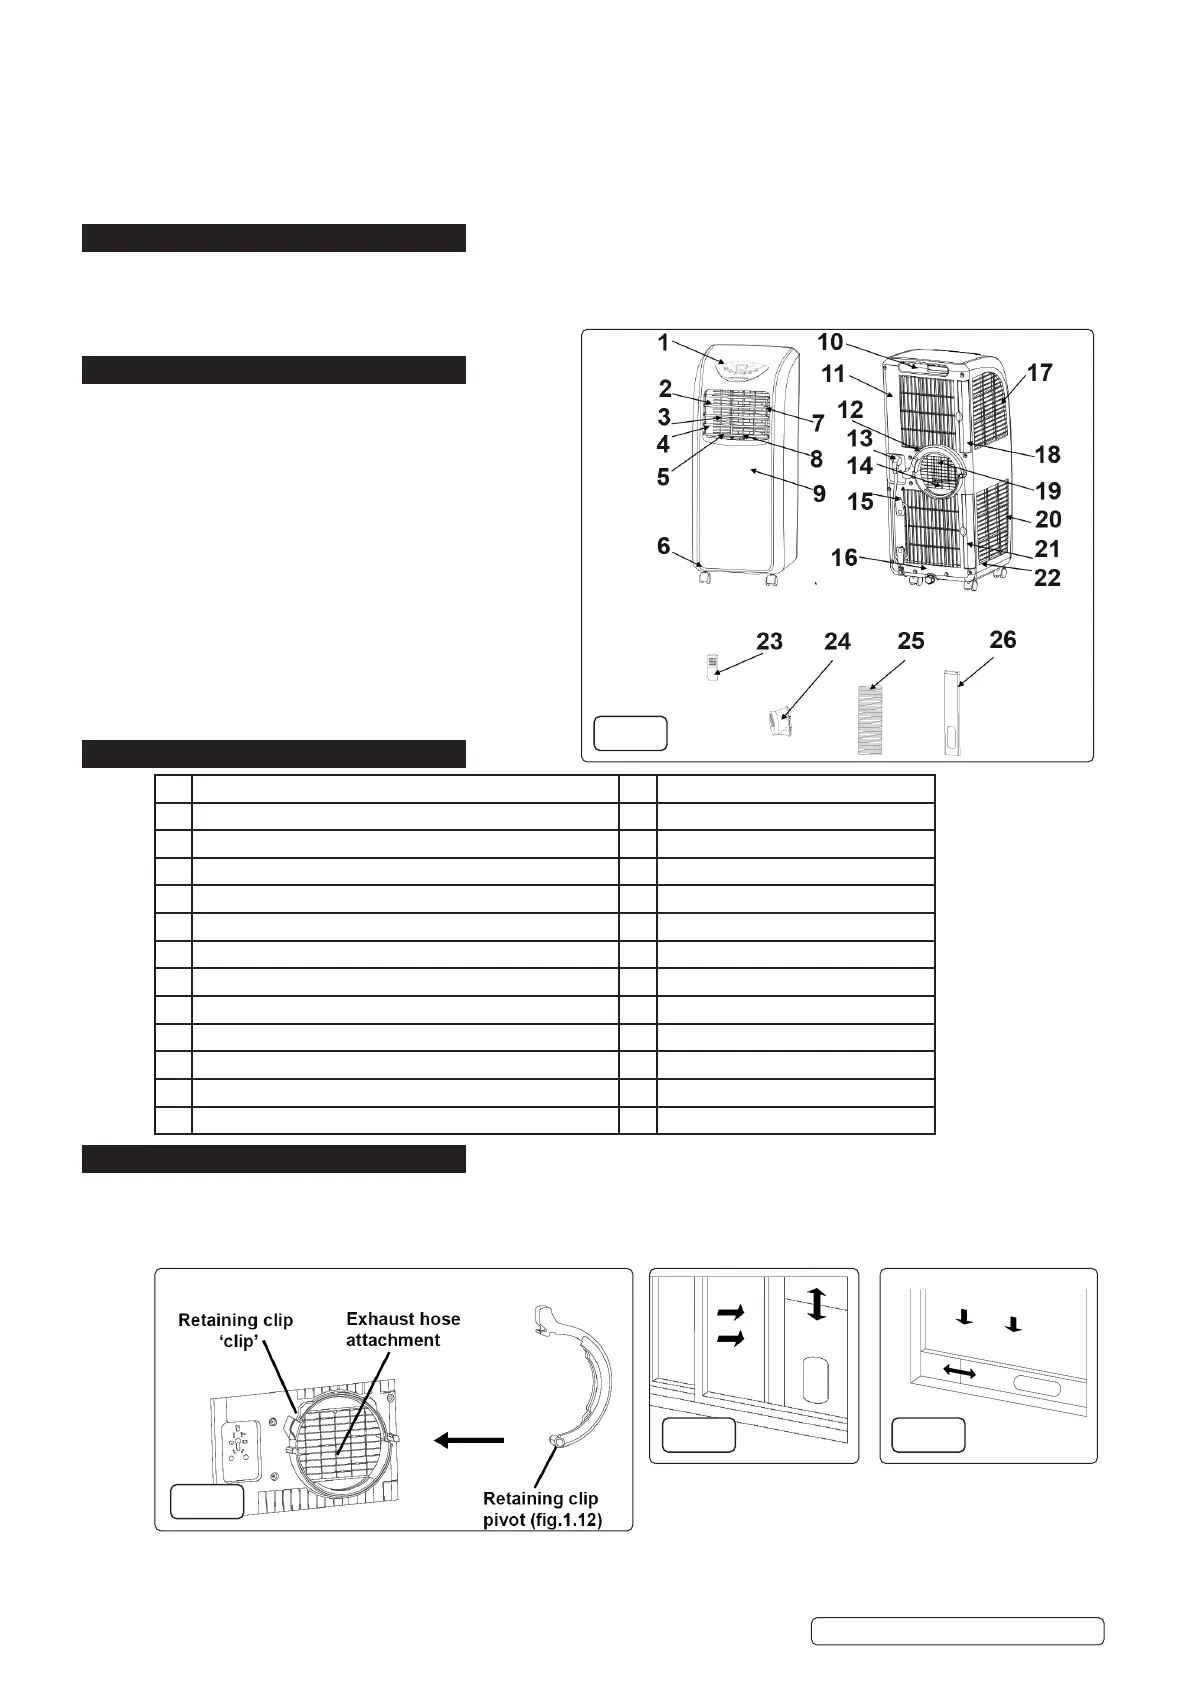
4. CONTENTS (SEE FIG.1)
5. INSTALLATION
WARNING! leave this mobile air-conditioner in an upright position for at least 2 hours before rst use. Ensure that the air
conditioner remains in an upright position whilst it is being moved. Place the air-conditioner on a at ground surface.
5.1. Connector g.1.24 and Window sealing board assembly g.1.26 are tted to Exhaust Hose g.1.25. Place 25 and 26 at each end of
the hose and screw clockwise onto the hose to connect.
5.2. Select the exhaust hose retaining clamp.
5.3. Fit the exhaust hose to the circular aperture at the rear and secure with the retaining clip.
5.4. Rotate the retaining clip anticlockwise and snap the retaining clamp closed to secure the heat exhaust hose.
Original Language Version
© Jack Sealey Limited
SAC9002 Issue 1 19/03/20
1 Control panel 14 Lower air duct bottom
2 Horizontal louvre 15 Wire-winding post
3 Vertical louvre 16 Drain cap
4 Air outlet frame 17 Evaporator lter mesh
5 Vertical Louvre connecting lever 18 Evaporator lter frame
6 Caster 19 Radiating ne mesh
7 Horizontal louvre connecting lever 20 Condenser lter mesh
8 Main vertical louvre 21 Condenser lter frame
9 Front shell 22 Base plate
10 Handle position (right side: remote control storage area) 23 Remote control
11 Back shell 24 Heat exhaust hose short connector
12 Retaining clip (exhaust hose) 25 Exhaust hose
13 Power cord 26 Window sealing board assembly
fig.1
fig.2
fig.3 fig.4
 Loading...