Model no: ........................................................ START560.V2
Output: ........................................................................12/24V
Output charge peak(EN): ........................................ 95A(65A)
Output start peak(EN): ........................................ 560A(360A)
Battery range: .......................................................50-1000Ah
Input charge: ................................................................. 11.5A
Input start: ........................................................................ 44A
Charging rates: .................................................................... 6
Supply: ......................................................230V - 32A Supply
Polarity protection: ........................................ Fuse (2 x 110A)
Consumable parts:
................ START360.F10 (Pack of 10) START360.F (Single)
Note: Performance dependent on connection to an adequate
good clean electric supply.
4. OPERATION
Refer to g.1
4.1. ASSEMBLY
4.1.1. Slide the axle through the casing at the bottom rear
corner. Slide a wheel on to each end of the axle and
retain them with the circlips provided.
4.2. PREPARATION
4.2.1. It is important to correctly prepare for charging ensuring
that you follow Section 1 safety requirements carefully.
4.2.2. Check that the capacity of the battery is compatible with
charger output.
4.2.3. Follow any vehicle manufacturer’s instructions regarding
battery charging. Note special instructions for the
charging of non-removable vehicle batteries.
4.2.4. CheckbatterytoensurethatthePOSITIVEandNEGATIVEterminalsareclearlyidentiablebeforeremovingthebatteryfromthe
vehicle.
4.2.5. Disconnect and remove the battery from the vehicle and place in an appropriate safe area ready for charging.
4.2.6. Remove the battery electrolyte cover or caps to allow the gases produced by charging to escape.
4.2.7. Checkthattheelectrolyteuidlevelinthebatteryisabovetheplates.Ifnot,adddistilledwatertocoverthemby5-10mm.
DO NOTtouchthebatteryuidasitiscorrosive.
4.2.8. Thecorrectchargingstatusofthebatterymaybedeterminedbyusingahydrometerwhichwillmeasurethespecicdensityofthe
electrolyte.Thefollowinggures(kg/ltr)applyat20°C:
1.28 = Fully charged, 1.21 = Half charged, 1.14 = Fully discharged.
WARNING! Be cautious and vigilant as the electrolyte is highly corrosive sulphuric acid.
4.3. CONNECTING CHARGER TO BATTERY
4.3.1. For chargers with dual voltage output, set the charger voltage to match that of the battery (i.e. 12 or 24 volts) by connecting the
positive (red) clamp lead to either the 12 volt + output terminal or the 24 volt + output terminal as appropriate.
4.3.2. Check the charger clamps and battery terminals to ensure that they are clean and free from oxidation.
4.3.3. First connect the charger POSITIVE (Red or +) lead to the POSITIVE (+) terminal of the battery and then the NEGATIVE (Black or -)
lead to the NEGATIVE (-) terminal of the battery.
4.4. CHARGING THE BATTERY
4.4.1. Connect the charger to the mains power supply and set the rate of charge according to your model type as follows:
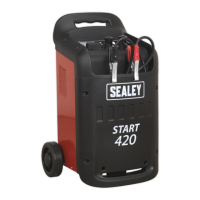
START320 and START420(seeg.2)
Set the mode switch to the ‘charge’ function indicated by the battery symbol.
LOW charging rate:- select min & 1
MEDIUM charging rate:- select min & 2
HIGH charging rate:- select Boost only (please note that when Boost is selected the switch marked 1 & 2 is over-ridden)
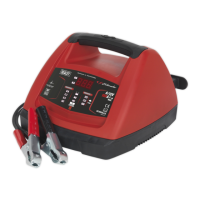
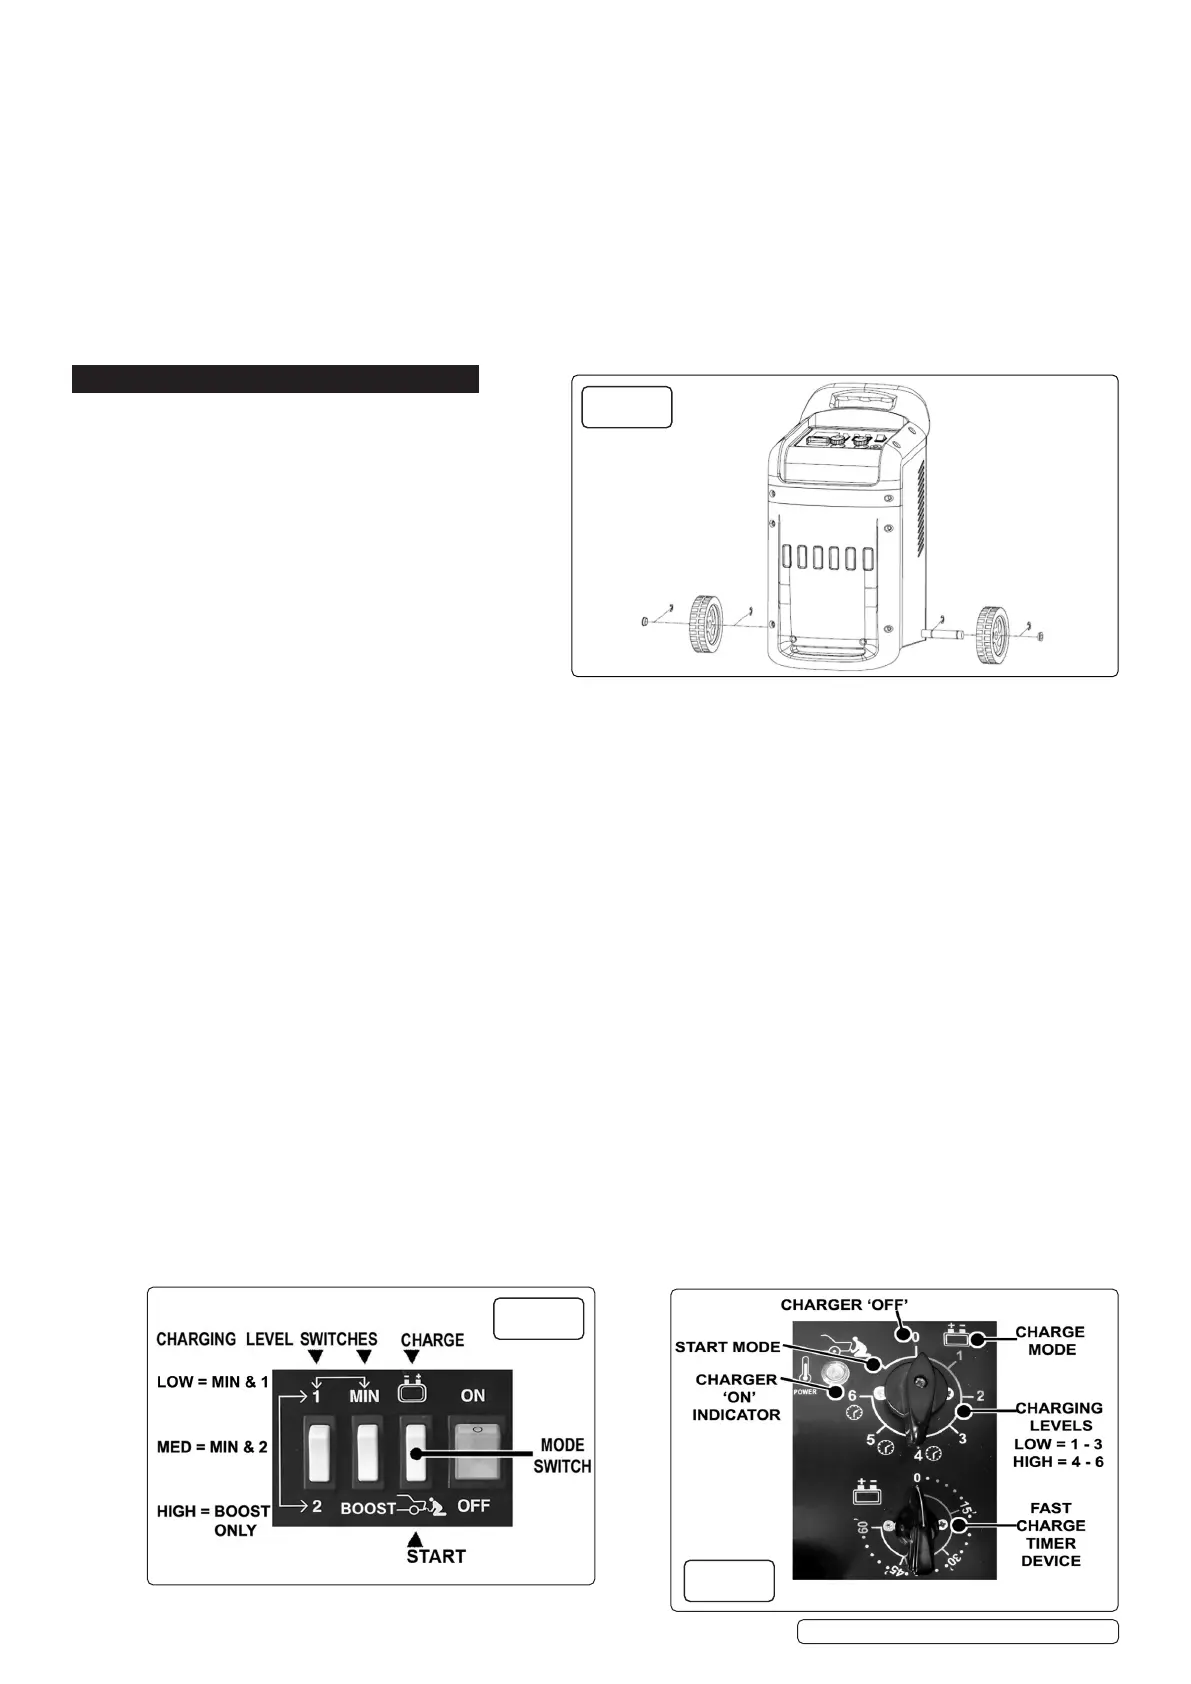
START560.V2 and START660 (seeg.3).
Select charge level 1,2,3,4,5, or 6 using the rotary switch above the timer.
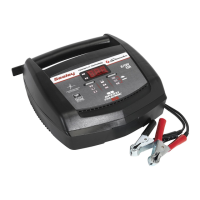
4.4.2. Checkthecurrentdeliverytothebatterybyreadingtheammeteronthefrontofthebatterycharger(g.4,ammeterfacemayvaryby
model). Initially, there will be a high rate of charge which will slowly decrease according to the capacity and condition of the battery.
NOTE: If the charger is connected to a fully charged battery the ammeter will show a low output, no charging is necessary.
Fig.2
Fig.3
Fig.1
Model no: ..............................................................START660
Output: ........................................................................12/24V
Output charge peak(EN): ...................................... 100A(70A)
Output start peak(EN): ........................................ 660A(400A)
Battery range: .......................................................50-1200Ah
Input charge: .................................................................12.5A
Input start: ........................................................................ 46A
Charging rates: .................................................................... 6
Supply: ......................................................230V - 32A Supply
Polarity protection: ....................................... Fuse (2 x 110A)
Consumable parts:
START360.F10 (Pack of 10) - Fuse, START360.F (Single) - Fuse
Note: Performance dependent on connection to an adequate
good clean electric supply.
Original Language Version
© Jack Sealey Limited
START320, 420, 560.V2, 660 Issue:3 (1) 26/06/20
 Loading...