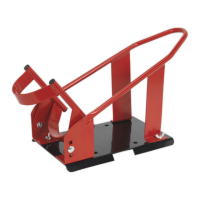
5. ASSEMBLY
5.1. From the underside of the wheel chock place the Steel Threaded Studs (D) into the front holes. Secure in position from the top surface
usingthe1/4”x5/8”screws(E),seeg.1.
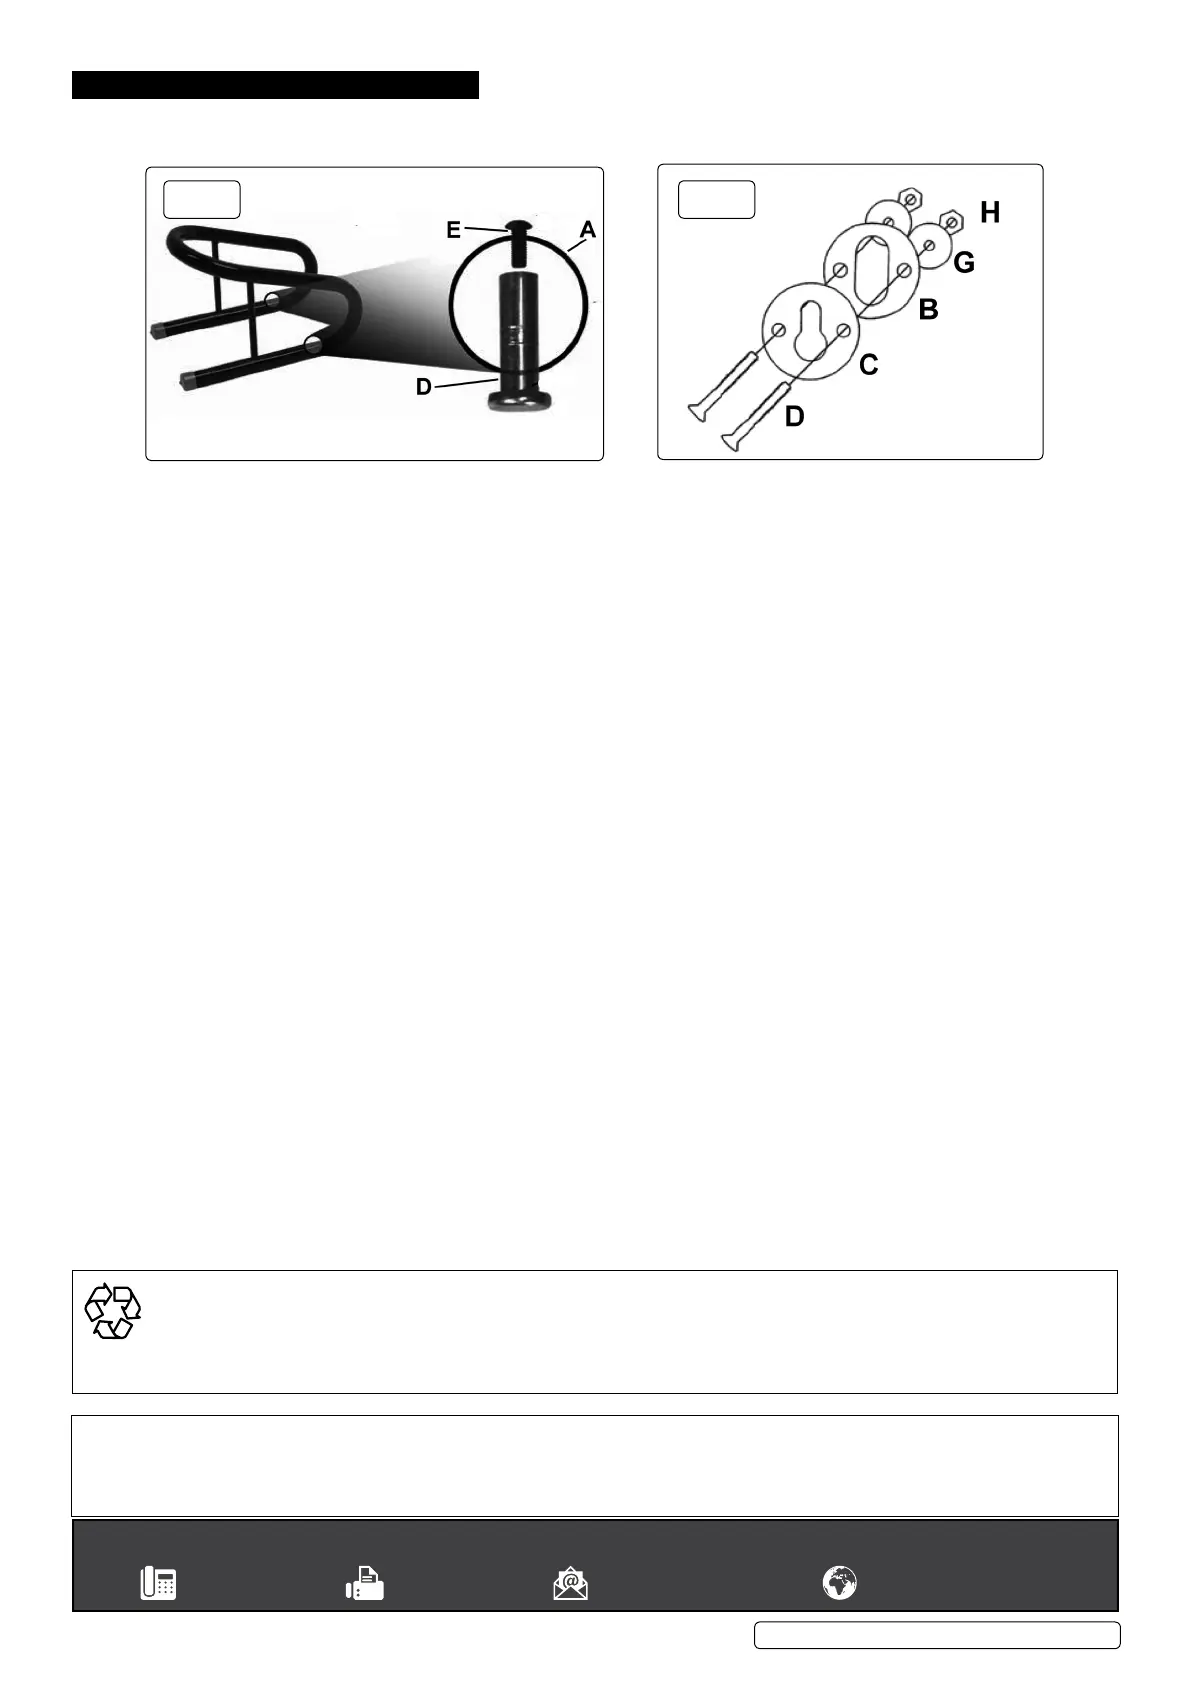
5.1.1. Identifythephysicallocationforthexingsontheintendedmountingsurfaceandcheckforanyobstructions.Drilltherequiredholes
using a 1/4” drill.
5.1.2. SpacerMountingPlate(A)islaiddirectlyonthetopofthexingsurfaceandalignedwithxingholes,seeg.2.
5.1.3. PlaceSlottedMountingPlate(C)ontopofSpacerMountingPlate(A)andsecurewiththe2”screws(F)xedfromtheundersideusing
Washers (G) and Locking Nuts (H).
WARNING: Ensure that the round hole in the Slotted Mounting Plate (C) is nearest to the direction of loading of the wheel into the
chock.Thiswillensurethatthechockissecuredwhenpushedforward.Ifadditionalxingisrequiredtoensuresafeoperationthere
aretwofurtherpossiblexingholesateitherendoftheWheelChock.
Original Language Version
© Jack Sealey Limited
fig.
1
fig.
2
WC06, WC07, WC08 | Issue 1 30/11/17
ENVIRONMENT PROTECTION
Recycle unwanted materials instead of disposing of them as waste. All tools, accessories and packaging should be sorted, taken to
a recycling centre and disposed of in a manner which is compatible with the environment. When the product becomes completely
unserviceable and requires disposal, drain any fluids (if applicable) into approved containers and dispose of the product and fluids
according to local regulations.
Note: It is our policy to continually improve products and as such we reserve the right to alter data, specifications and component parts without prior
notice.
Important: No Liability is accepted for incorrect use of this product.
Warranty: Guarantee is 12 months from purchase date, proof of which is required for any claim.
Sealey Group, Kempson Way, Suffolk Business Park, Bury St Edmunds, Suffolk. IP32 7AR
01284 757500 01284 703534 sales@sealey.co.uk www.sealey.co.uk

 Loading...