Latest products and information available at www.sealite.com
7
SL-60
2–3NM+ Solar Marine Light
Installation
Charging the Battery
New lanterns should be left in the sun for 1-2 days to ensure battery is charged before placing
in service. Please note, lantern will re-charge even when toggle switch is turned to ‘OFF’
position.
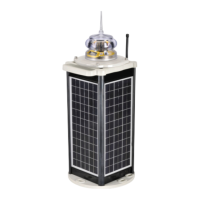
Preferred Installation Location
For best lantern performance, ensure solar modules are not covered and are in clear view
of the sun with no shadows.
Lantern Operation
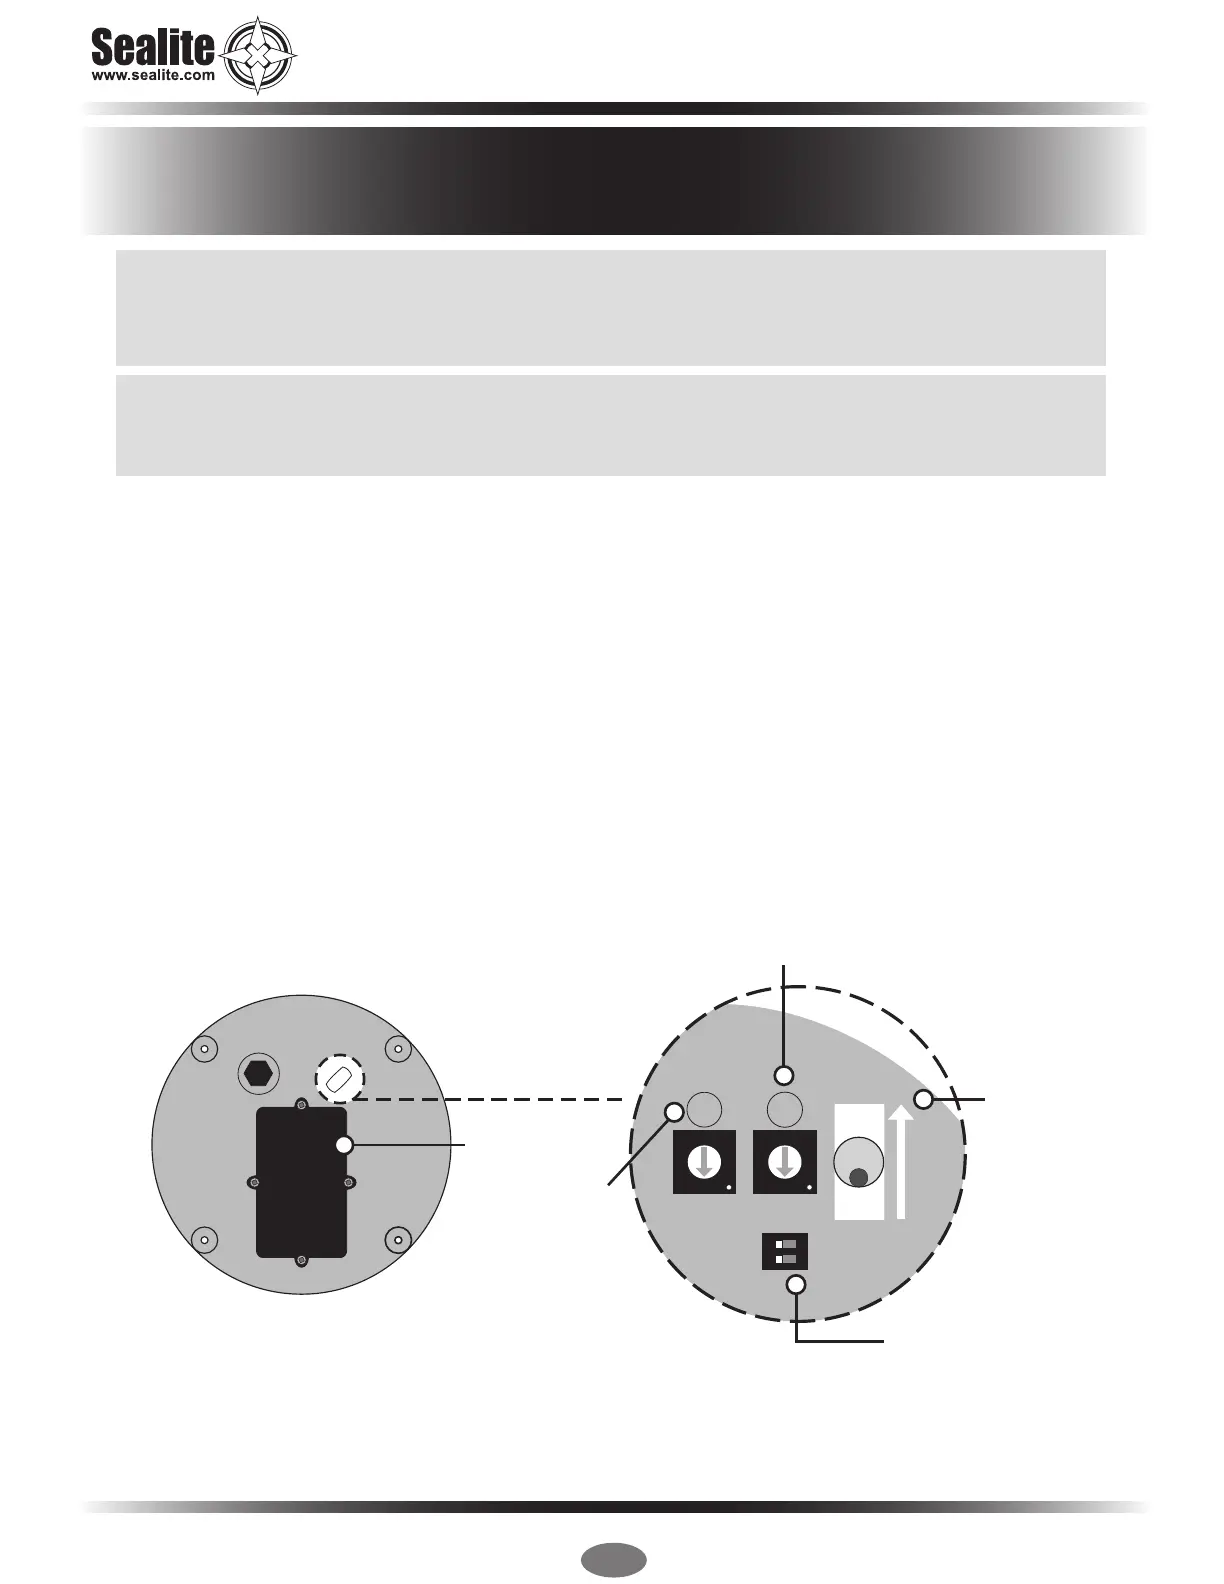
/DQWHUQLVDFWLYDWHGE\212))6ZLWFK,QWHQVLW\DQGÀDVKVHWWLQJVQHHGWREHVHWSULRUWRDFWLYDWLRQ
5HPRYHWKHPDUNHGÀDVKDGMXVWPHQWEXQJIURPWKHEDVHRIWKHODQWHUQDQGVHWLQWHUQDOWRJJOH
switch to ‘ON’.
2. The power and range settings of the lantern are adjusted by setting the DIP switches inside the
lantern. Your lantern is normally set to maximum range (see ‘Selecting an Intensity/Power Setting’
section of this manual).
6HWURWDU\VZLWFKHVWRWKHUHTXLUHGÀDVKFRGHVHH‘Selecting a Flash Code’ section of this
manual).
5HSODFHÀDVKDGMXVWPHQWEXQJ
5. A sealed vent on the base allows air transfer without moisture intake, and should not be disturbed.
6. To test place dark cover (towel or jacket) on top of light to activate sensor, light will come on.
(QVXUHWKDWWKHXQLWLVEROWHGWRDQHYHQÀDWVXUIDFH
4
5
6
7
8
9
A
B
C
D
E
F
0
1
2
3
4
5
6
7
8
9
A
B
C
D
E
F
0
1
2
3
A
B
1 2
ON
ON
Rotary
Switch A
Intensity Setting
F
L
A
S
H
A
D
J
U
S
T
M
E
N
T
S
E
A
L
E
D
V
E
N
T
ON / OFF Switch
User
Replaceable
Battery
Lantern
Base
Rotary Switch B