6. Inbetriebnahme
Zusammenbau des Bürststaubsaugers
Das Filtergehäuse(20) in senkrechter
PositionvorsichtigüberdasGelenk(21)
und den Gelenkarm(46) stecken und
nachuntendrücken,bisdieEntriege-
lungstaste(12)einrastet.
Zur Demontage die Entriegelungsta-
ste(12) drücken und das Filtergehäu-
se(20)durchZiehen vondem Geräte-
fuß(9)trennen.
DenStecker(33)derAnschlussleitung
amGelenk(21)einstecken.Hierbeiun-
bedingtdaraufachten,dassderStek-
kerhinterKante(20)gehaltenwird.
Die Leitung anschließend an der In-
nenseite der Halterung für das Tele-
skoprohrundamGehäuseindievor-
gesehenenHalterungen(22)einlegen.
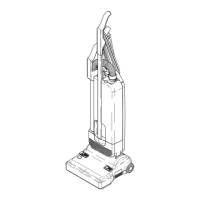
1 Griff
2 Stiel
3 Sicherungsring
4 Filtertütenanzeige
5 Handgriff(desTeleskopsaugrohrs)
6 Teleskopschlauch
7 Teleskoprohr
8 Griffmulde
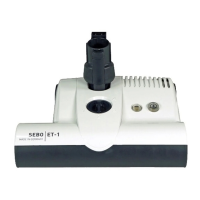
9 GerätefußmitBürste
10 Ein-/Aus-Schalter
11 RegelungsschalterBürste
12 Entriegelungstaste
13 Anschlussleitung
14 Tragegriff
15 Deckelschloss
16 Kabelhalter
17 Fugendüse
18 Polsterdüse
19 Rastpedal
Bitte lesen Sie zuerst gründlich diese
Gebrauchsanweisung. Bitte beachten
Sie unbedingt die Sicherheitshinwei-
se.
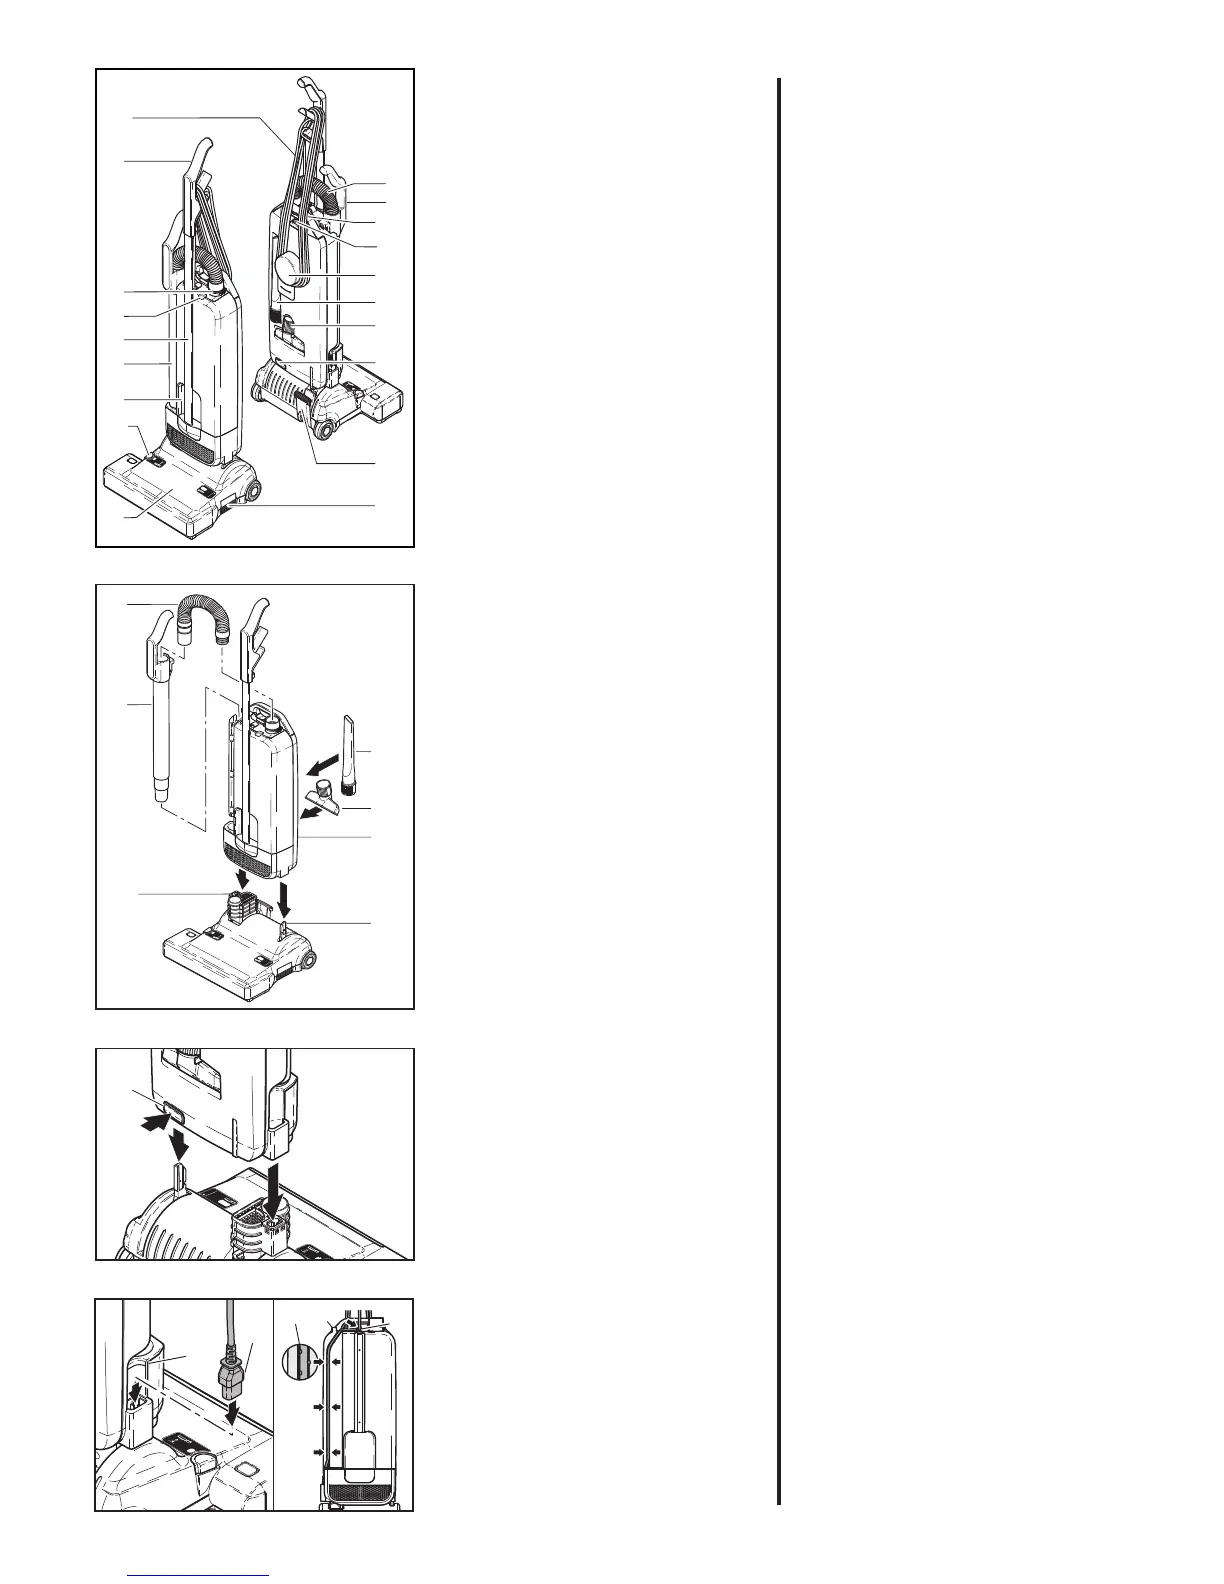
6. Assembly
Assembling the Vacuum Cleaner
Carefully place the dust bag hous-
ing(20) in the verticalposition and fit
itovertheswivelneck(21)andsupport
lever(46)ofthepowerhead(9)untilthe
releasebutton(12)locks.
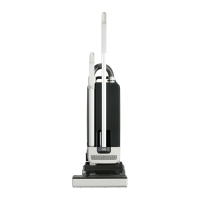
To dismantle, press the release but-
ton(12)andremovethedustbaghous-
ing(20)fromthepowerhead(9).
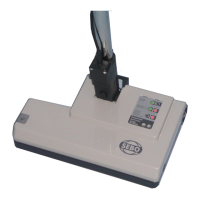
Tofitthemainscabletothemachine,
pushtherubberplug(33)ofthecable
intothesocketontheswivelneck(21)
when the vacuum cleaner is assem-
bled.Pleaseensuretherubberplugis
fullyinsertedintothesocket.
Fitthemainscableintothegroove(22)
in the dust bag housing located in
the attachment wand recess, then to
theclampsonthetopofthedustbag
housingandontherearofthehandle.
1 Handlegrip
2 Handletube
3 Retainingring
4 Bagfullindicator
5 Attachmenttubehandle
6 Hose
7 Attachmenttube
8 Recessedgrip
9 Powerhead
10 On/Offswitch
11 Pileadjustmentknob
12 Releasebutton
13 Mainscable
14 Rearcarryinghandle
15 Coverreleaselatch
16 Cablehook
17 Crevicenozzle
18 Upholsterynozzle
19 Footpedal
Please read all of this instruction
manual. Do not use the machine
before understanding the CAUTIONS.
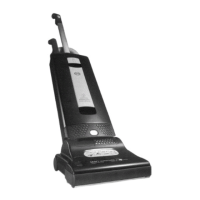
5. Product Description
5. Gerätebeschreibung