User Manual [en] 18
Tools You Need
• Flat screwdriver
• Philips screwdriver
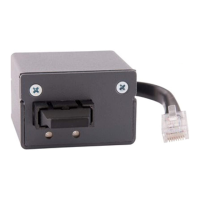
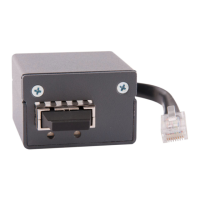
• Additional product ‘HP Internal USB Ports’ B5L28A (depending on printer
model)
•Utility knife
• Non-conductive mat (e.g. rubber mat)
•Cardboard
Step 1: Prepare the printer
1. Turn the printer off.
2. Disconnect the power cord from the printer.
(Interrupt the power supply)
3. Disconnect the RJ-45 network cable from the printer.
Step 2: Gain Access to the Printer Mainboard
Depending on printer model, you either remove the printer mainboard from the
printer or you just uncover it.
Printer Mainboard Can Be Removed:
1. Identify the printer mainboard. You can recognize it by the RJ-45 network
connector and the other interfaces.
2. Loosen the knurled screws of the printer mainboard.
(With some printer models the knurled screws cannot be removed complete-
ly. In this case, loosen them as much as possible.)
3. Pull the printer mainboard out of its slot.
4. Place the printer mainboard on a non-conductive mat (e.g. rubber mat).
5. Cover the printer circuit board and the edges of the housing with cardboard
in order to avoid injuries to persons and damage to the device.
Printer Mainboard Cannot Be Removed:
1. Identify the printer mainboard. You can recognize it by the RJ-45 network
connector and the other interfaces.
2. Loosen the knurled screws of the printer mainboard’s plastic cover.
3. Remove the printer mainboard plastic cover.
4. Remove the printer mainboard metal cover.
WARNING
The printer circuit board may be damaged if it is
touched!
Only touch the printer mainboard at its panel.