Do you have a question about the Seiko H558 and is the answer not in the manual?
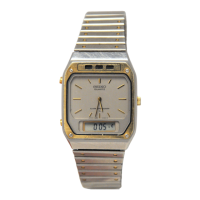
Details the watch's three time zones: analog, digital, and second digital (local-time).
Steps to set analog time: pull crown to position 3, turn crown (X) to set hands, push crown to position 1.
Procedure to set digital time: use button B, pull crown (2), turn crown (X/Y) for time, use button B for seconds.
Steps to set day/date: use button B, pull crown (2), turn crown (Y) for day, turn crown (X) for date/month.
How to set local time (-L display): use button B, pull crown (2), turn crown (X/Y) to adjust.
Toggle between 12-hour and 24-hour format by pulling crown to position 2 and returning it to 1.
Set alarm time (AL display): use button B, pull crown (2), turn crown (X/Y) to adjust alarm.
Control alarm and hourly chime: access via alarm time display, use crown actions to switch states (Off/On).
Instructions for stopwatch: access via button B, start/stop with button A, reset with held button A.
Illuminate the digital display by pressing button A; does not function in stopwatch mode.
Perform an alarm test by simultaneously pressing buttons A and B.
| Model Number | H558 |
|---|---|
| Brand | Seiko |
| Movement | Quartz |
| Case Material | Stainless Steel |
| Water Resistance | 150 meters |
| Crystal | Hardlex |
| Bezel | Unidirectional Rotating |
| Year Introduced | 1982 |
| Functions | Chronograph, Alarm, Date |
| Band Material | Rubber |
| Battery Life | 5 years |