FIG. 15
MATCH TEST FOR SPILLAGE
These instructions should be observed when installing Selkirk Gas Vents. Engineering methods for design and sizing of all Selkirk Gas Vents are
provided in the “Selkirk Gas Vent and Chimney Sizing Handbook”. Following these methods will assure safe and complete removal of combustion
products.
15. CHECKING VENT OPERATION
Complete all gas piping, electrical, and vent connections. After adjusting the
appliance and lighting the main burner, allow a couple of minutes for warm-
up. Hold a lighted match just under the rim of the draft hood relief opening (see
Fig. 12). Proper venting will draw the flame toward or into the draft hood.
Improper venting, indicated by escape or spillage of burned gas, will cause
match to flicker or go out. Smoke from a cigarette will also be pulled into the
draft hood if the vent is drawing properly and flow away if not.
For fan assisted appliances, which have no draft hood, no such check is
available. However, fan assisted appliances are designed to shut down if
excessive pressure is detected at the outlet. If this occurs it may be an
indication that the system is not venting properly.
16. PAINTING
To prolong the life and appearance of the galvanized steel outer casing and
other parts of Selkirk Gas Vents located outdoors, use proper painting
procedure at time of installation. Remove oil and dirt with a solvent. Paint first
with a good quality zinc primer or other primer recommended for use on
galvanized steel. Next apply an appropriate finish coat. Ordinary house paints
applied directly to galvanized steel may not adhere well and do not prevent
underfilm corrosion which leads to paint loosening and peeling.
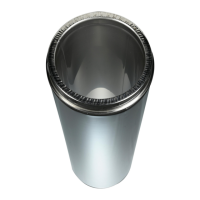
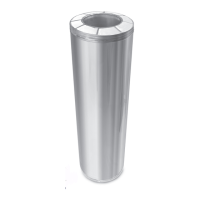
13. 3”-8” TOP INSTALLATION
Selkirk Round tops (for pipe sizes 3”-8”) have a spring clip which engages
and locks automatically when the top is pushed into the upper end of the pipe.
The top will also fit any single wall metal pipe having full nominal inch
dimensions. (Never use single wall metal pipe where Type B Gas Vent is
required). To attach securely, bend a one inch length of the pipe upper end
inward about 1/8”. The spring clip will lock under this bent edge. To remove
the top from any pipe, pull up evenly on opposite sides of the skirt of the top.
Keep in a safe place for future reference
CHIMNEY MODEL:_____________________________
TYPE OF APPLIANCE:__________________________
INSTALLATION DATE:__________________________
DESCRIPTION OF INSTALLATION (Chimney and Flue Pipe Configuration)
____________________________________________________________
____________________________________________________________
PURCHASED FROM:
DEALER NAME:______________________________________________
Address:____________________________________________________
City: _______________________________________________________
Province:___________________________________________________
INSTALLED BY:
TECHNICIAN NAME:__________________________________________
Address:____________________________________________________
City: _______________________________________________________
Province:____________________________________________________
INSTALLATION INFORMATION PRODUCT REGISTRATION
Please register your Chimney with the Manufacturer.
Register Online:
info@selkirkcanada.com
Name: _____________________________________________________
Address:___________________________________________________
City:_______________________________________________________
Province:__________________________ Postal Code:_____________
Chimney Model:____________________ Installation Date:____________
Technician Name:__________________________________
Address:_________________________________________
12
0015010-0712-CAN
P.O. Box 526, Depot 1, Hamilton, ON L8L 7X6 1.888.SELKIRK (735.5475)
 Loading...