22
FLIGHT PREPPING
53. The B4-4 and C6-5 are the two recom-
mended engines for the Orbital Transport™. Insert
it into the booster and make sure the engine hook
will retain it.
58. Carefully check all parts of your rocket
before each flight as a part of your pre-flight check-
list. Launch the Orbital Transport™ from a 1/8” di-
ameter by 36” long launch rod. Always launch in a
vertical position in calm winds. Use the smaller en-
gine for the first flights.
57. Refer to the model rocket engine manu-
facturer’s instructions to complete the engine prep-
ping. Different engines have different igniters and
methods of hooking them up to the launch control-
lers.
54. Pack the recovery wadding from the top
of the body tube. Use a sufficient quantity to protect
the parachute, but not too much that there is no
room left.
55. Fold the parachute and pack it and the
shock cord on top of the recovery wadding. Slide
the nose cone into place, making sure it does not
pinch the shock cord or parachute.
56. Attach the glider to the booster by hook-
ing the hold-down support on the bottom of the
glider into the launch lug on the top of the booster.
The glider should rest on the glider supports when
held in a vertical position.
3
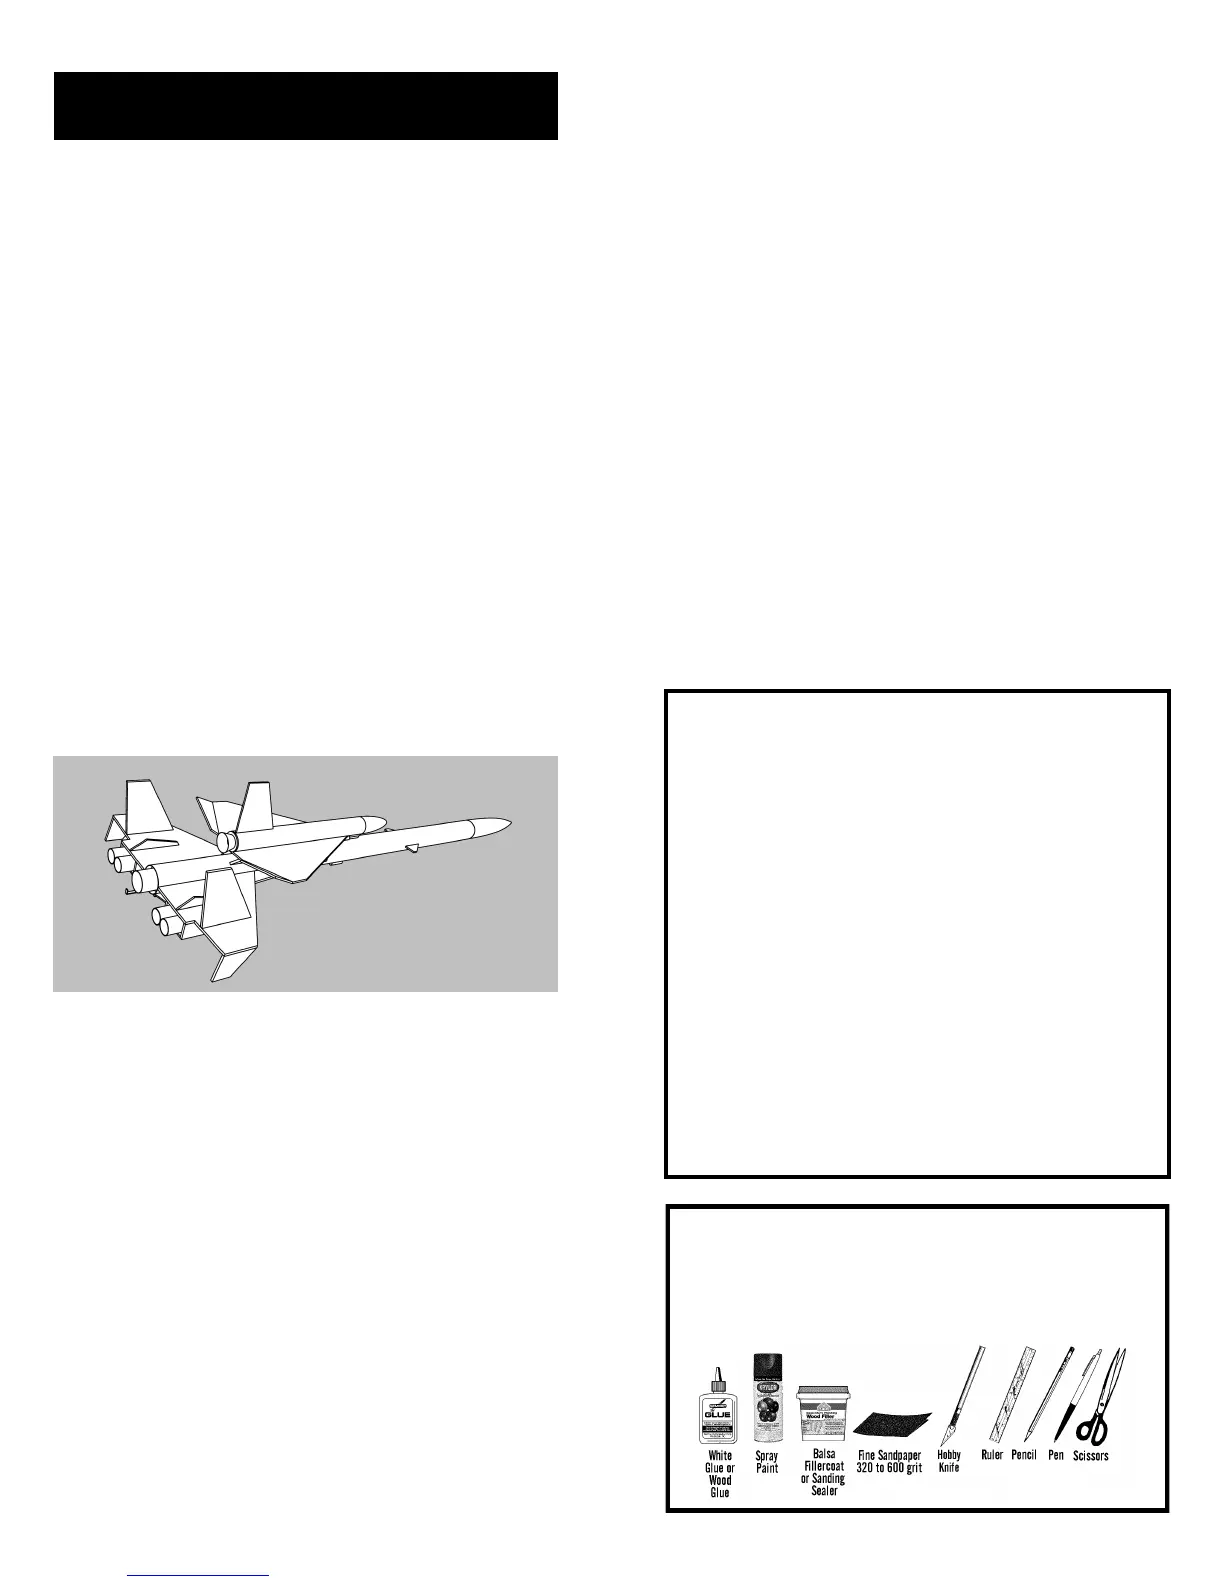
TOOLS: In addition to the parts supplied, you will
need the following tools to assemble and finish
this kit. Masking tape and wax paper are also re-
quired.
About the Orbital Transport™
The Estes Orbital Transport was introduced in
Catalog #683 in late 1968. It was designed by
Wayne Kellner, one of the most prolific and
innovative designers at Estes Industries. The
Orbital Transport was based on an early NASA
scramjet design for the Space Shuttle. It fea-
tured a parasite glider that deployed at ejection
and parachute recovery for the booster. The
Orbital Transport was released as Cat. No. K-42
and had an introductory price of $2.50.
The Semroc Retro-Repro™ Orbital Transport™
is very close to the original with some modern
changes. The original balsa nose cones are
kept. All fins are precision laser-cut balsa. A
Kevlar shock cord mount is added for better
retention. The original rubber shock cord is re-
placed with elastic. The 18” parachute is re-
duced to 12” for less drift.
BEFORE YOU START!
Make sure you have all the parts included in this kit
that are listed in the Parts List in the center of these
instructions. In addition to the parts included in this
kit, you will also need the tools and materials listed
below. Read the entire instructions before begin-
ning to assemble your rocket. When you are thor-
oughly familiar with these instructions, begin con-
struction. Read each step and study the accompa-
nying drawings. Check off each step as it is com-
pleted. In each step, test-fit the parts together be-
fore applying any glue. It is sometimes necessary
to sand lightly or build-up some parts to obtain a
precision fit. If you are uncertain of the location of
some parts, refer to the exploded view in the cen-
ter of these instructions. It is important that you
always ensure that you have adequate glue joints.
 Loading...