- 3 -
11/2023
2023, .
• Prior to using this appliance, please read the user’smanual
thoroughly, even in cases, when one has already familiarised
themselves with previous use of similar types of appliances. Only use
the appliance in the manner described in this user’smanual. Keep this
user’smanual in asafe place where it can be easily retrieved for future
use. In the event that you hand this appliance over to somebody else,
make sure to also include this user’smanual.
• Carefully unpack the appliance and take care not to throw away any
part of the packaging before you find all its parts. We recommend
saving the original cardboard box, packaging material, purchase
receipt and responsibility statement of the vendor or warranty card for
at least the duration of the legal liability for unsatisfactory performance
or quality. In the event of transportation, we recommend that you pack
the appliance in the original box from the manufacturer.
. . . . . . . . . . . . . . . . . . . . . . . . . . . . . . . . . . . . . . . . . . . . . . . . . . . . . . . . . . . . . . . . . . . .
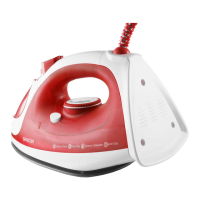
DESCRIPTION OF THE APPLIANCE
A1 Handle
A2
– Water spraying button
A3 – Steam impulse button
A4 Steam release regulator
– steam release off
– Steam release on full
A5 Water tank cap
A6 Water spraying nozzle
A7 Ironing soleplate
A8 Swivel power cord end
Limits twisting and tangling of
the power cord.
A9 Heating indicator
A10 Stand
A11 Temperature control knob
A12 SelfClean button for self
cleaning to remove limescale
deposits
A13 Transparent water tank
A14 Water tank filling container
. . . . . . . . . . . . . . . . . . . . . . . . . . . . . . . . . . . . . . . . . . . . . . . . . . . . . . . . . . . . . . . . . . . .
BEFORE FIRST USE
• Before first use, remove all packaging materials including promotion
stickers and labels from the iron. Wipe the soleplate with alightly
dampened cloth before first use and then wipe dry.
• Using adry or lightly dampened cloth, also clean the outer parts of the
iron and then wipe it dry.
Attention:
Never submerge the iron in water or any other liquid!
. . . . . . . . . . . . . . . . . . . . . . . . . . . . . . . . . . . . . . . . . . . . . . . . . . . . . . . . . . . . . . . . . . . .
OPERATION
Filling the water tank
• The iron is intended to be filled with tap water. Limescale deposits may
quickly form, if you live in an area with hard or very hard water.
To extend the lifetime of the iron, it is recommended to mix the tap water
with distilled water. The ratio of distilled water to tap water is as follows:
– 1:1 for medium hard water
– 2:1 for hard water
– 3:1 for very hard water
Note:
Your local water utility will provide information about the
water hardness in your area.
Attention:
Never add water softeners, vinegar, starch, descaling
agents, perfumes or other additives to the water.
• Before filling the water tank, the iron must be disconnected from the
power socket and the steam release regulator must be set to position
(steam output off).
• Fill the included container with water. Flip open the cap of the filling
opening and slightly tilt the iron. Slowly pour the water from the
container through the filling opening into the water tank. Make sure
that the water level does not rise above the maximum water level
mark on the water tank. To correctly assess the water level, it is
necessary to stand the iron in the upright position.
• After filling the water tank, close the filling opening lid and put the iron
in the upright position. In the event that you spilled any water while
filling, thoroughly dry the iron.
. . . . . . . . . . . . . . . . . . . . . . . . . . . . . . . . . . . . . . . . . . . . . . . . . . . . . . . . . . . . . . . . . . . .
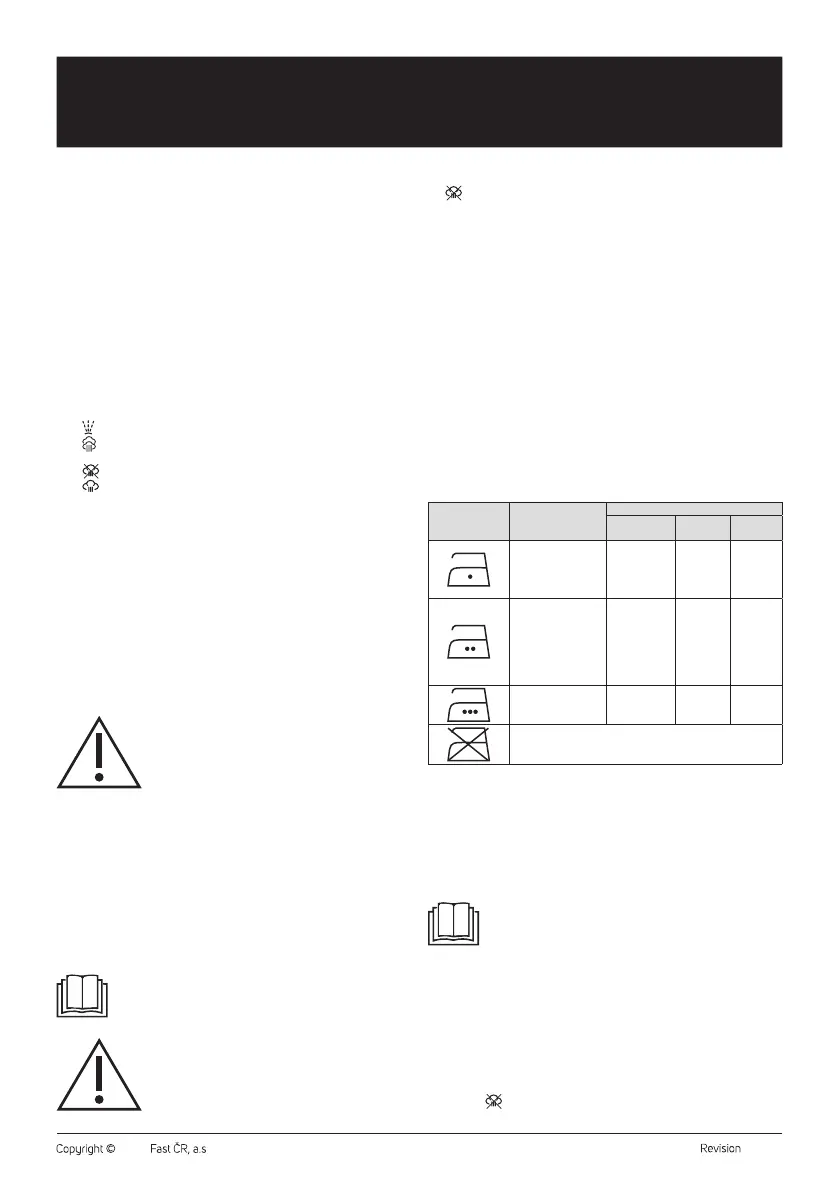
SETTING TEMPERATURE ACCORDING TO TEXTILE
• When setting the temperature, pay attention to the material
composition of the textile. It is recommended to sort the laundry
according to the international symbols shown on the textile, according
to the type of textile or according to the recommendations of the
manufacturer on the label. The number of dots inside the international
symbol corresponds to the number of dots on the temperature control
knob.
INTERNATIONAL
SYMBOL
FABRIC TYPE
SUITABLE FOR
CONTINUOUS
STEAMING
STEAM
BOOST
SPRAYING
Synthetic fabric
(acrylic, acetate,
polyester, viscose,
etc.)
No No Yes
Cotton with
addition of other
types of fibres, silk,
wool, wool with
addition of other
types of fibres, etc.
No No Yes
Corduroy, cotton,
denim and linen
Yes Yes No
Fabric, that should not be ironed
. . . . . . . . . . . . . . . . . . . . . . . . . . . . . . . . . . . . . . . . . . . . . . . . . . . . . . . . . . . . . . . . . . . .
TURNING ON
• Connect the power cord to apower socket. Turn the temperature
control knob to the required temperature setting. The indicator will be
lit, which means that the iron is heating up. When the iron’sthermostat
reaches the correct temperature, the heating indicator will turn off. The
iron is now ready for use.
Note:
The heating indicator will spontaneously turn on and off
during use. This is completely normal.
In the event that the temperature control knob was not set
to the MIN position the after previous use of the iron, and
was left at one of the temperatures, the heating indicator
will be lit immediately when the power cord is plugged into
the power socket.
. . . . . . . . . . . . . . . . . . . . . . . . . . . . . . . . . . . . . . . . . . . . . . . . . . . . . . . . . . . . . . . . . . . .
IRONING WITHOUT STEAMING
• This function enables the use of the iron with or without water in
the water tank, however, the steam release regulator must be set to
position
.
EN
Steam iron
User’smanual


 To Next Page
 Loading...