15WWW.SENIXTOOLS.COM
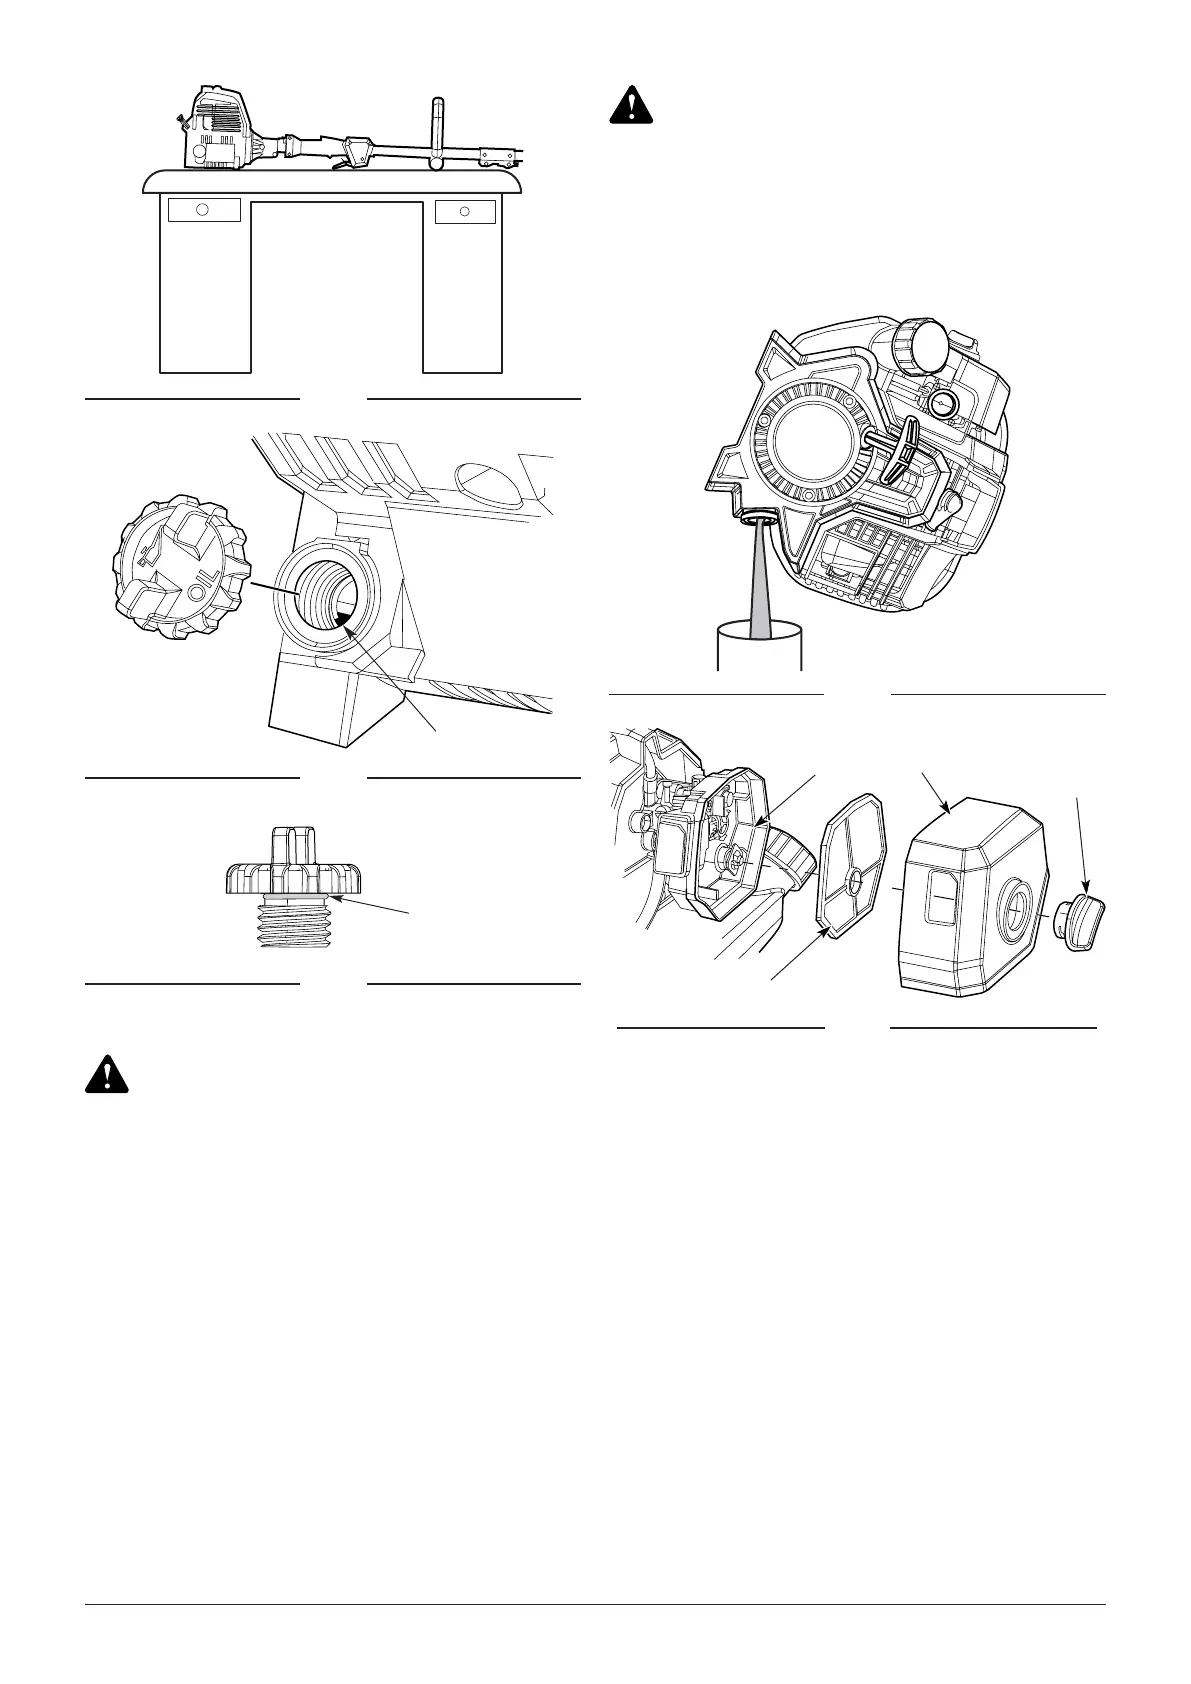
CHANGING THE OIL
MAINTAINING THE AIR FILTER
Old engine oil is considered special waste and has
to be disposed according to your local environment
protection regulation. Do not pour the oil into a garbage
can, sewer, soil etc.
DO NOT overll the oil level. Overlling will result in
too much oil in the engine crankcase, and may cause
smoke or fumes that can injure the user.
WARNING:
WARNING:
Change the oil while the engine is still warm. The oil will
ow freely and carry away more impurities.
1. Clean the area around the oil ll plug (Fig. 20) to
prevent debris from entering the oil ll hole.
2. Unscrew the oil ll plug.
3. Tip the unit vertically to pour the oil out of the oil ll
hole and into a container (Fig. 22). Allow ample time
for complete drainage.
NOTE: Dispose of the old oil according to federal, state
and local regulations.
4. Wipe up any oil that may have spilled.
5. Pour 2.03 .oz. (60 ml) of SAE 30 oil into the oil ll
hole.
6. Wipe up any oil that may have spilled.
7. Make sure the O-ring is in place on the oil ll plug
(Fig. 21).
8. Reinstall the oil ll plug.
Failure to maintain the air lter can result in poor
performance or can cause permanent damage to
the engine. Engine failure due to improper air lter
maintenance is not covered by the product warranty.
Cleaning the Air Filter
1. Unscrew the cover screw completely. Remove the air
lter cover from the air lter housing (Fig. 23).
2. Remove the air lter from the air lter housing.
3. Wash the air lter in detergent and water. Rinse the
air lter thoroughly and allow it to dry.
4. Reinstall the air lter in the air lter housing (Fig. 23).
NOTE: Operating the unit without the air lter and air
lter cover will VOID the warranty.
5. Insert the tab on the air lter cover into the hole in the
air lter housing. Push the air lter cover back onto
the air lter housing. Insert the cover screw into the
air lter cover. Tighten the cover screw to secure the
air lter cover (Fig. 23).
NOTE: Do not overtighten as this may strip the screw.
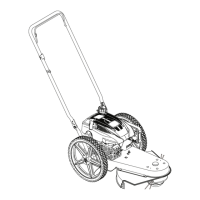
Fig. 19
Fig. 20
Oil Visible on
First Thread
Fig. 21
O-ring
Fig. 22
Cover Screw
Air Filter
Cover
Air Filter
Housing
Air Filter
Fig. 23
 Loading...