4
Using the microphone
Positioning the microphone on a wind instrument B
(e 908 B, e 908 B ew)
X
Use the microphone clamp
2
to attach the e 908 to the bell of the
instrument.
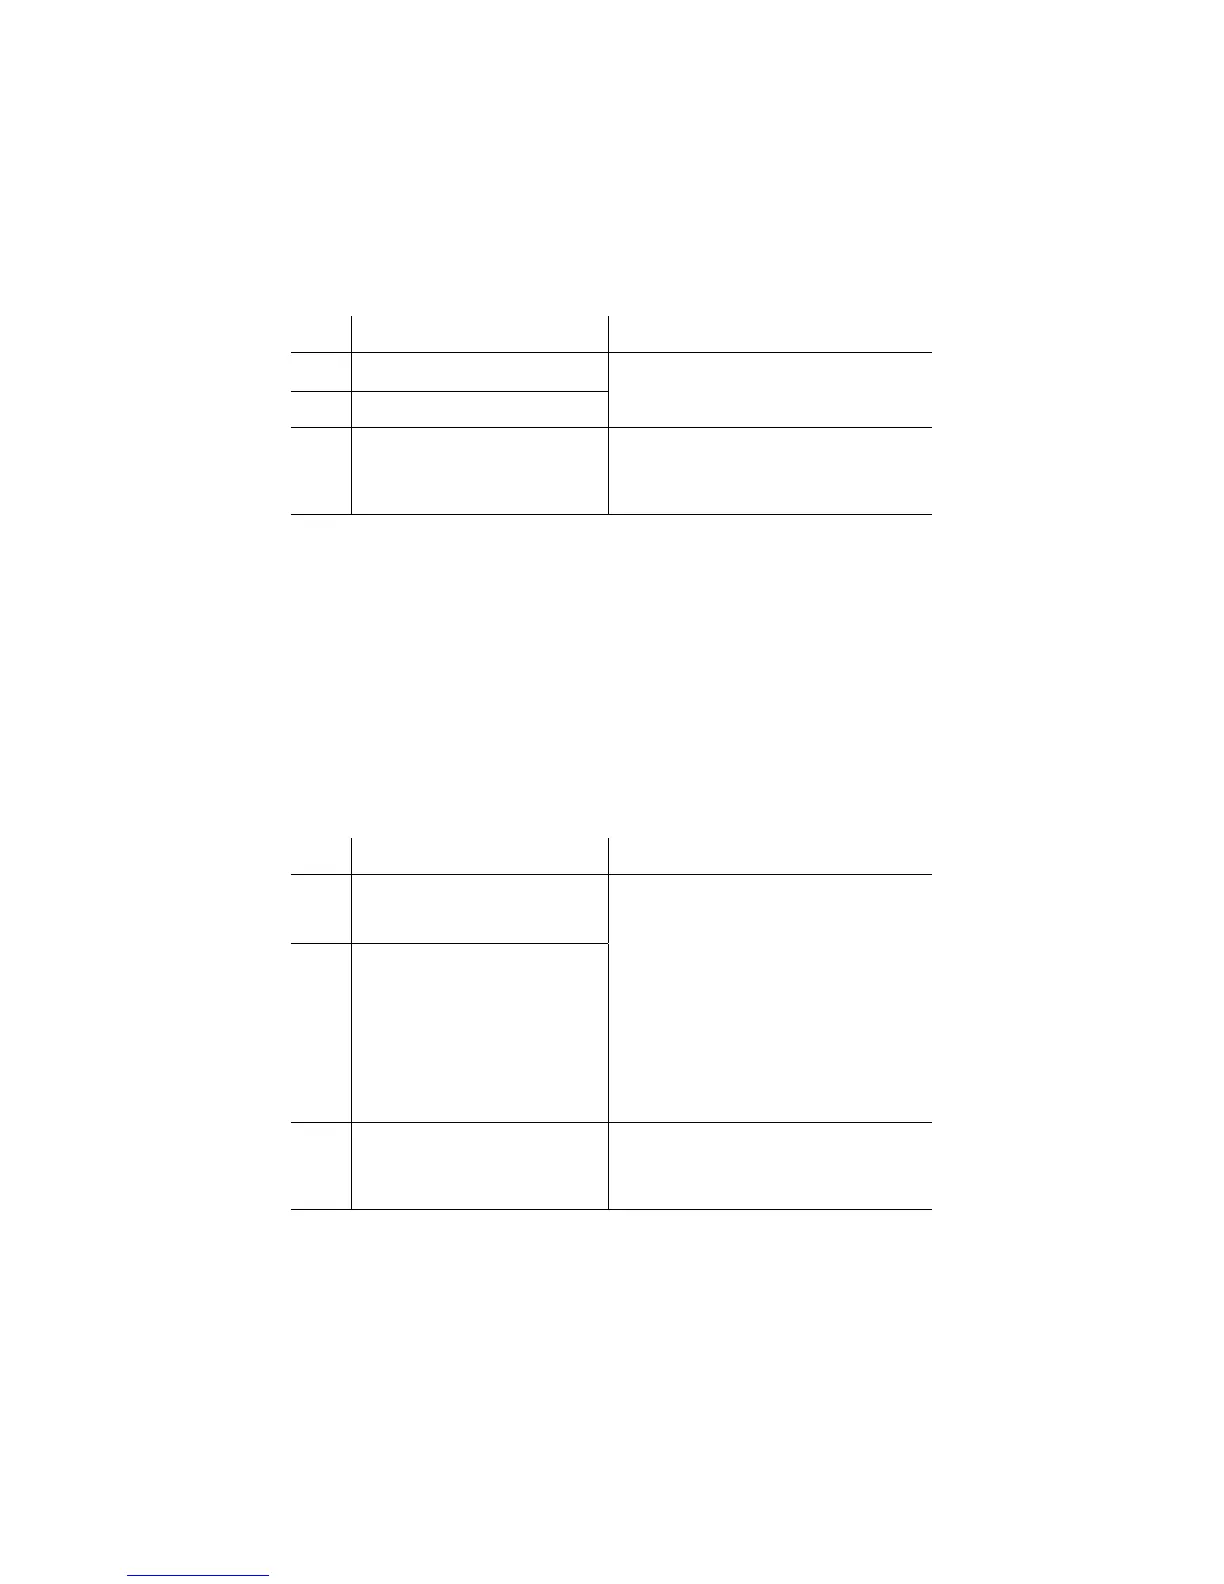
Pos. Resulting sound Commentary
B.1 • Reduced ambient noise Directed into the bell of the
instrument.
B.2 • Clear, powerful sound
B.3 • Balanced, natural
sound
Directed partly towards the bell
and partly towards the body of
the instrument.
Positioning the microphone on a drum B
(e 908 D)
X
Attach the drum clamp
2
to the rim of the drum by putting the
upper part of the clip
5
onto the rim and clipping it on by push-
ing down the drum clamp
2
in a rotating action until it snaps into
place.
X
Loosen the knurled screw
6
.
X
Insert the gooseneck
3
from the side into one of the two slots.
X
Tighten the knurled screw
6
.
Pos. Resulting sound Commentary
B.4 • More fundamental
• Little overtones
Position on the drum: 3–5 cm
above the drumskin, directed
towards the center of the
drumskin, the fundamental to
overtones ratio can be adjusted
by changing the angle of the
microphone.
The most balanced results are
obtained at an angle of 30–60°.
B.5 • Less fundamental
• Many overtones
B.6 • Pronounced proximity
effect
Optional: tangential position of
the gooseneck in order to reduce
the distance to the drumskin.
You can attach two microphones to the drum clamp (e.g. for picking up
two toms in cramped space conditions). To do so, use both slots of the
drum clamp.
The various adjustment possibilities of the MZH 908 D and MZH 908 B
clamps together with the flexible gooseneck enable the microphone
to be optimally positioned on the sound source (see arrows in the
diagrams C).