SL Ceiling Mic Connection Guide | 4/5
Connecting the SL Ceiling Mic to the TeamConnect system
Connecting more than one SL Ceiling Mic to the
TeamConnect system
If you want to connect multiple SL Ceiling Mic units to the TeamConnect system, please observe the
following information.
Audio signal:
Connect the angled 3-pin connector of each audio cable to the AUDIO I or the AUDIO II terminal
of the respective SL Ceiling Mic.
Connect the second 3-pin connector of each audio cable to one of the eight microphone inputs
MIC / LINE IN of the SL TeamConnect CU1.
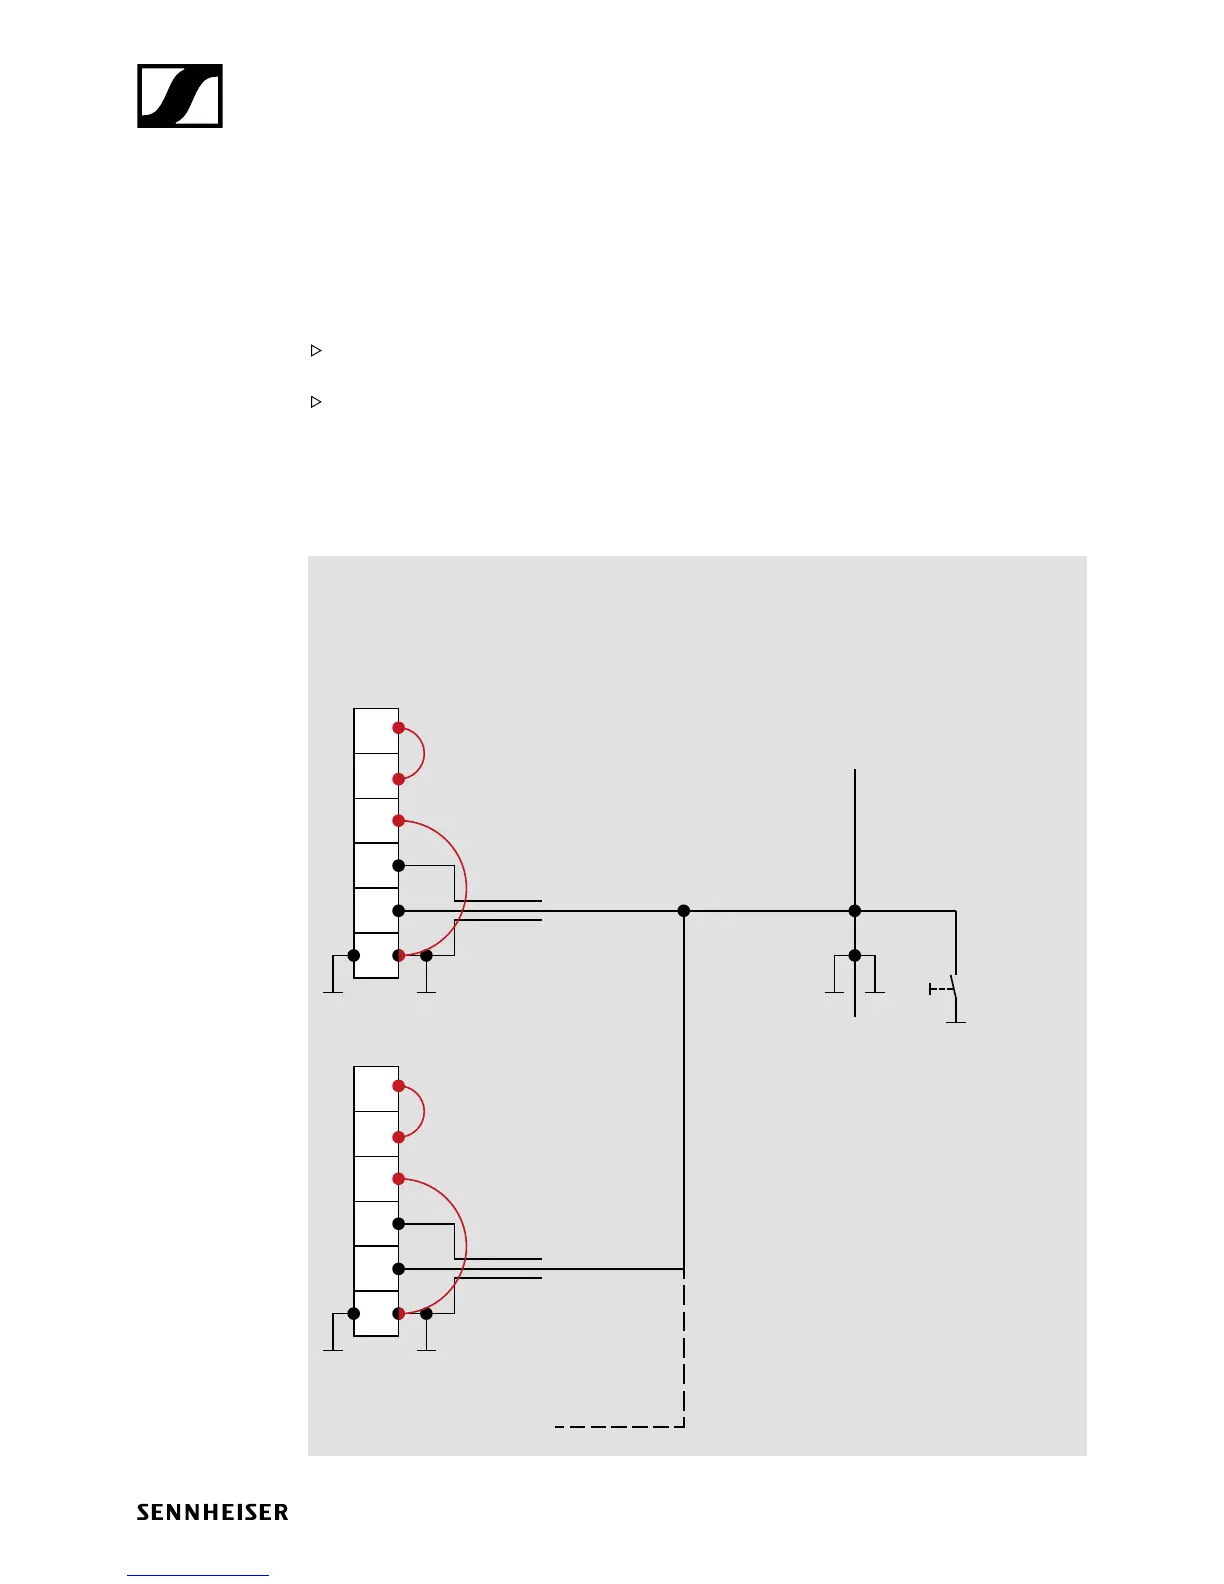
Control signal:
You can use the control cables supplied with each SL Ceiling Mic and combine them on the one end
which is connected to the SL TeamConnect CB1 according to the wiring diagram below.
You can also make your own cable accordingly.
6
5
4
3
2
1
6
5
4
3
2
1
SL Ceiling Mic
CONTROL terminal
2nd SL Ceiling Mic
3rd SL Ceiling Mic ... etc.
SL TeamConnect CB1
mute
Pins 1 & 2 as well as 3 & 6
must always be bridged!
TeamConnect:
open collector wiring
control cable ≤ 20 m