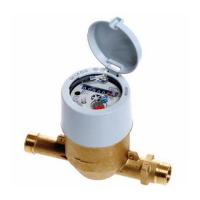
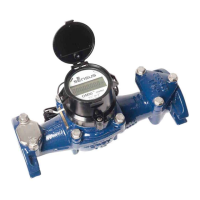
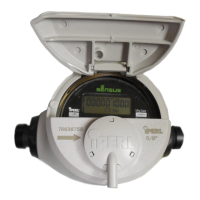
Exchange of register „Dynamic“series
Disassembling of the meter head
1. Remove the meter seal at the sliding ring (5).
2. Remove the black securing pin (32) from the sliding ring (5).
Note! The securing pin consists of an inner and an outer pin.
First press the inner pin by using a small screwdriver Ø 1mm inside the register.
Later on the outer pin can be pulled out. The securing pin can be used again.
3. Turn to stop the Sliding ring (5) against the Head ring (2).
4. Turn the complete head assembly until the Head ring (2) with Register (3) and
Centre ring (4) can be pulled out to the top.
5. Push the Register (3) with Centre ring (4) out of the Centre ring (2).
6. Remove the Register (3) from the Centre ring (4) by bending slightly the brackets
of the Centre ring
7. Turn and remove the Sliding ring (5) from the Head flange (17)
Assembling of the meter head
1. Insert the register (3) into the Centre ring (4).
Note: The position of the register index has to correspond with the position of
the printed index on the Centre ring.
2. Insert the Centre ring (4) with Register (3) from the bottom into the head ring (2).
Note: The hinge of the lid has to be positioned above the index.
3. Put the Sliding ring (5) onto the Head flange (25) and turn it until the noses inside
the sliding ring fit completely into the nut of the holders of the positioning ring (9).
4. Insert the Serial number plate (6) into the Sliding ring (5).
5. Insert the Head ring (2) with Register (3) into the Sliding ring (5).
Note: The triangle hole at the sliding ring has to correspond to the triangle
hole at the sealing hole in the head ring.
6. Turn to stop the Sliding ring (5) clockwise against the head ring (2).
7. Insert the Securing pin (32) into the Sliding ring (5). Afterwards push the inner pin
into the securing pin until it is flush mounted.
8. Set the meter seal.