13
142 x 208 mm
∙ Pointy objects such as glass splinters, needles or constructionwaste.
∙ Fine dust, such as plaster, cement, ne drilling dust, powder.
CE Marking
This device is compliant with the mandatory EU directives for CE marking.
Using the appliance
Before using for the rst time
∙ Remove any remaining packaging or inserts from the appliance.
∙ Assemble the appliance as shown below and check that the dust container and lters are tted correctly (also see the
sections on “Emptying the dust container” and “Cleaning or replacing the lter”).
Assembling
∙ Only assemble appliance parts when the plug has been disconnected from the mains socket.
∙ If necessary, push the dust container into the appliance until you hear it click into place.
∙ Attach the hose to the appliance and lock it in place with a quarter turn.
∙ Push the telescopic tube onto the hose until you hear a click and adjust it to the required length.
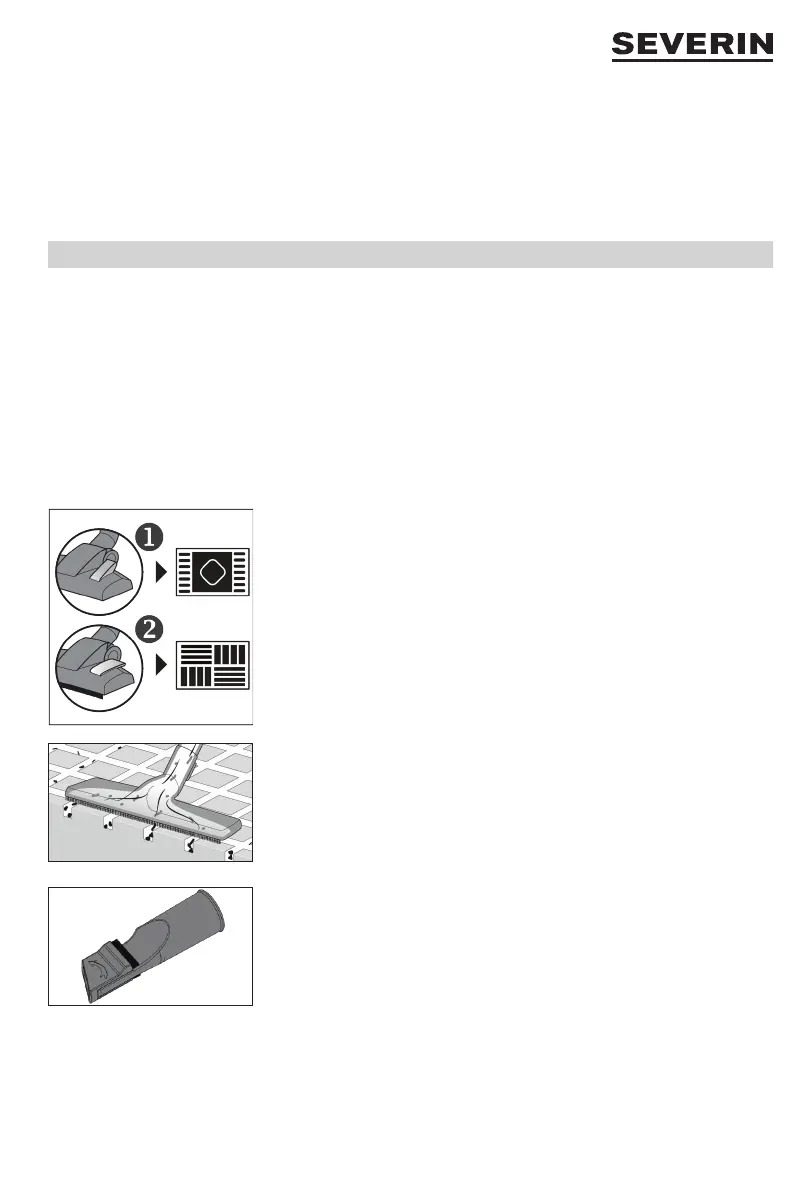
∙ Select the right nozzle for the surface to be vacuumed:
The switchable oor nozzle has 2 settings:
Position 1 is excellently suited to cleaning dirt and bres fromcarpets, rugs etc. and
for deep cleaning of these surfaces.
Position 2 is ideal for all kinds of smooth hard oors.
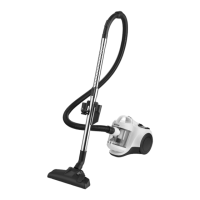
The parquet nozzle is ideal for cleaning hard oors with crevices and joint gaps. For
optimal cleaning of crevices and joint gaps, the nozzle must be in full contact with the
oor. To pick up coarse dirt, it may be helpful to angle the nozzle slightly.
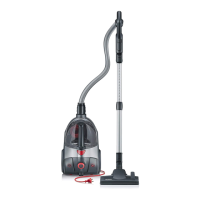
With the brush folded, the 2-in-1 tool is perfect for sofa crevices and other areas that
are difcult to reach.
With the brush unfolded, it is ideal for vacuuming your furniture.
∙ Never use a damaged nozzle. A damaged nozzle could cause scratching of surfaces.