Mailing: PO Box 3526, Bellevue, WA 98009
Shipping: 13737 SE 26th St., Bellevue, WA 98005
Toll-Free: 800-259-7331 • Phone 425-746-6310 • Fax: 425-746-6384
www.sgcworld.com • Email: sgc@sgcworld.com
22
© 2001 SGC, Inc.
* 100 watt radio transceiver
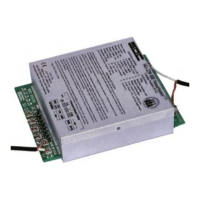
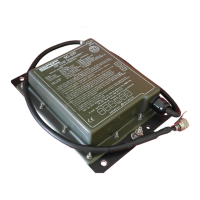
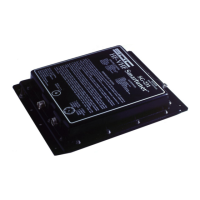
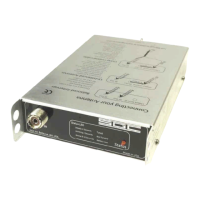
* Any SGC Smartuner or equivalent
RADIO TEST PROCEDURE
1. Connect the transceiver light bulb load to the radio RF in/out jack.
2. Turn on the radio and set the CW mode.
3. Key the PTT switch on the microphone and look at the light bulb. If
the light bulb load is connected and the radio is transmitting, the light
should turn on.
4. Set the radio to SSB mode.
5. Key the PTT switch on the microphone and talk into the micro-
phone. Notice that the light turns on when you talk.
COUPLER TEST PROCEDURE
1. Connect the coupler to the radio.
2. Connect coupler light bulb load to Smartuner coupler antenna out-
put.
3. Turn on the radio and the Smartuner coupler.
4. Set the radio to the CW mode.
5. Key the PTT switch on the microphone and look at the light bulb.
The light should turn on if the coupler has completed its' tuning cycle
and if the radio is transmitting.
6. For further testing, follow steps 4 & 5 of the radio test procedure.
Note: The light bulb might not turn on immediately if the coupler has
not yet been tuned for the frequency of the transmitter. The output
power (light-bulb brightness) is greatest when the coupler is properly
tuned.
This test will ensure that the radio and coupler are working properly.
9.0 Five Golden Rules of HF Installation
These rules apply to all types of stations, including base, mobile, air-
borne and marine. They are very important for planning and installing
your HF system, if you want to achieve good communications.
1. Install transceiver as close to operation site and power supply sys-
tem as possible (whether it is an external power supply or battery sys-
tem).
2. The antenna must be installed in an open space and as far as possi-
SG-239 Manual
page 22
Wednesday, October 17, 2001 08:31
Composite
 Loading...