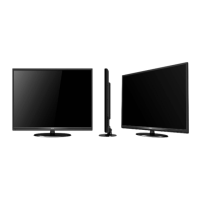
LC-60G9T / LC-70G9T
5 – 9
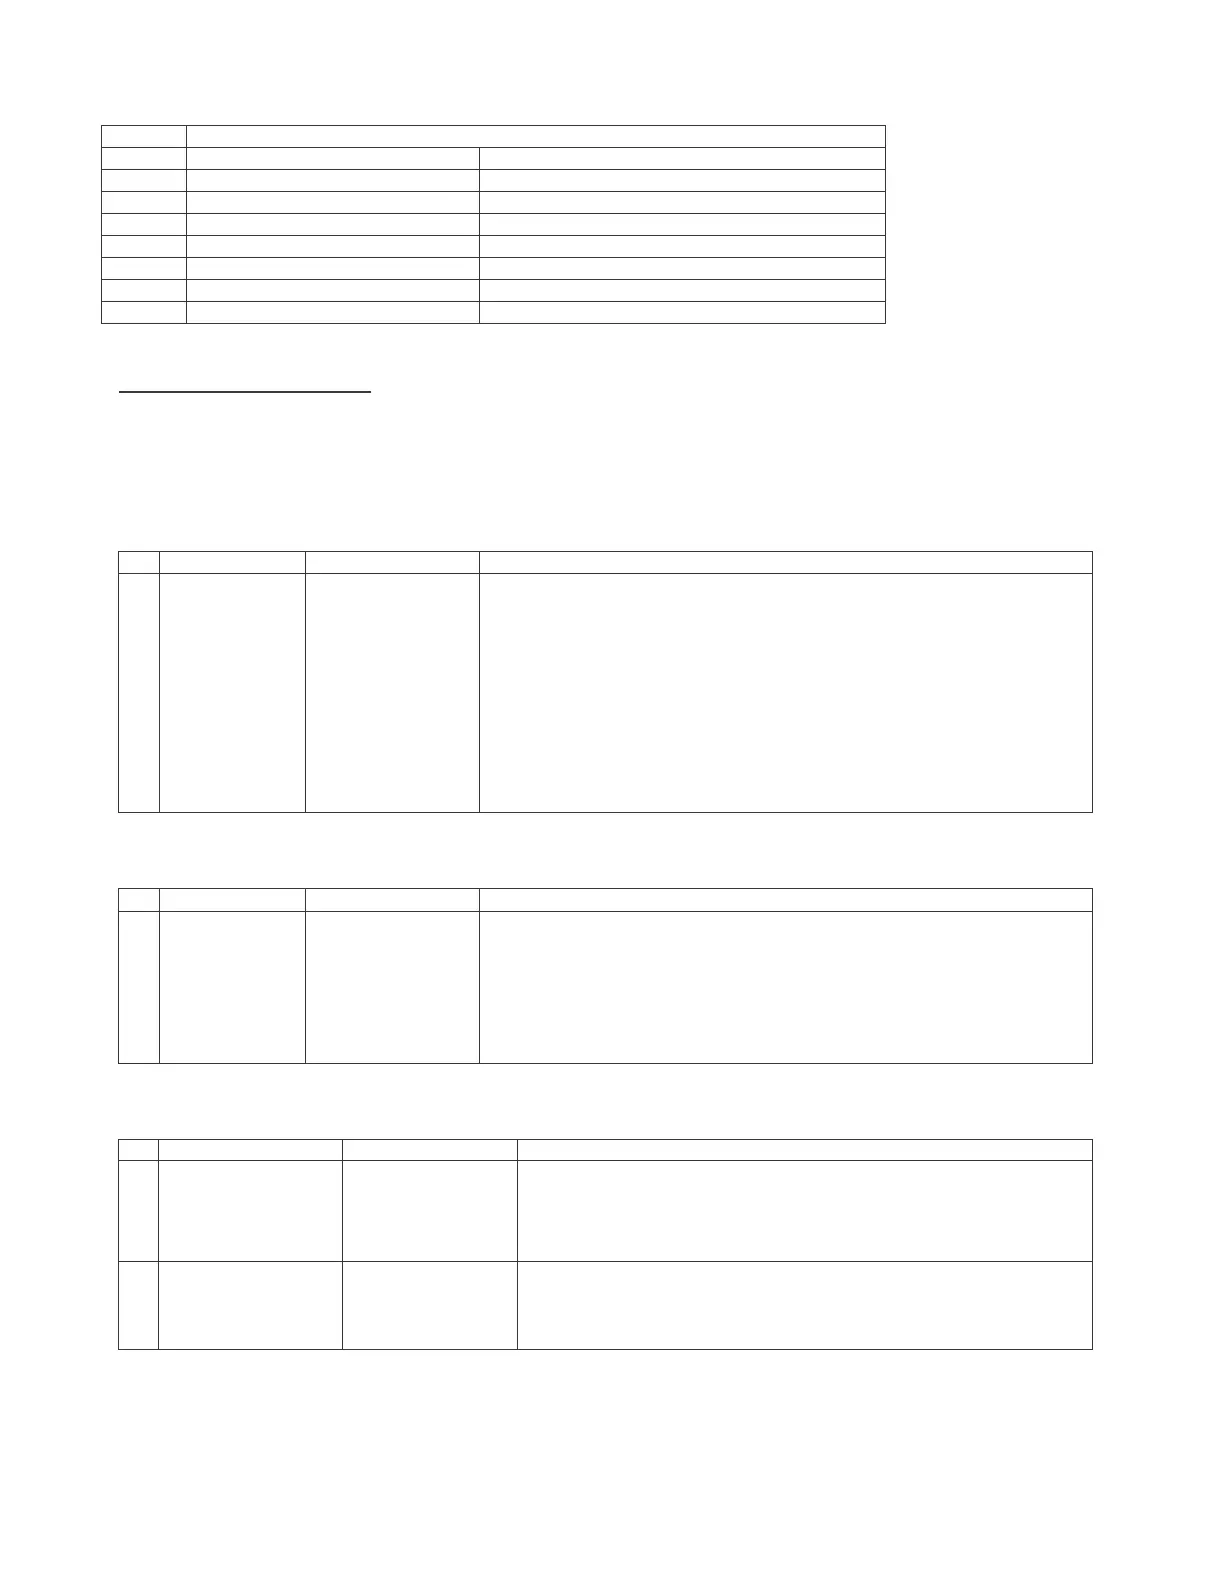
11 Communication Error H Regular communication Time-out
rorrEpmaLrorrEeludoMDCL61
rorrEerutarepmeTrotinoM2rorrErehtOA1
1D Power supply Error1 PS_ON(AC_DET) Error
1E Power supply Error 2 D_POW(DET_13V) Error
1F Power supply Error 3 D_POW(DET_D3V3) Error
21 Power supply Error 5 Panel Power Error
UPCniaMmorftseuqerybdnatSrorrE3rorrErehtO32
nosaeRrorrEyalpsiD
LCD TV ADJUSTMENT ITEM
1. MICON SOFTWARE DATA INPUT
1) Main MICON/Monitor MICON Software Data Input (Main PWB : QPWBXG216WJ**)
ERUDECORPNOITIDNOCMETI
1 Main MICON/
Monitor
MICON Data
Input
(Main PWB)
Checker
adjustment
Full version
confirmation
USB Memory
Confirmation.
1. At checker, connect software jig at SC3101 (TL3114~3128).
2. Connect the USB memory at J9502 (TL9524~TL9527)
3. Standard voltage apply at Main PWB and from software jig, BOOT
Operation starting.
4. Software entry start command is transmitted through RS232C
5. After receive confirmation software input condition, confirm it by
reply OK and cut off the power.
[ Caution item ]
If USB memory is not conne
cted or error such as cannot read data
occurs, no data will be input.
2) T-CON ROM DATA INPUT (T-CON PWB : QPWBXG215WJ**)
ERUDECORPNOITIDNOCMETI
1 T-CON Data
Input
(T-CON PWB)
Checker
adjustment
Full version
confirmation
3. At checker, connect software jig at CN5801 (TL5801~5807).
4. Input voltage at P4804 (TL4801~TL4804) and ROM start to
input data.
3. Power OFF after finish data input.
[ Caution item ]
If some error happened, ROM data is not written in at all.
Note: Please refer to below for combination of T-Con software
ERAWTFOSNOC-TTINUNOC-TLENAPDCL
1
R1JE600D3HD60W
DUNTKG215FMG1
PRIMROSE_CMB_601F8(YS2)_2012100330440002_3FAAEBD.ROM
2
R1JE695D3B10W
DUNTKG215FMG2
PRIMROSE_CMB_701FC(YS2)_2012100330550004_3B59E6E.ROM