ENGLISH
5
E
Supplied Components
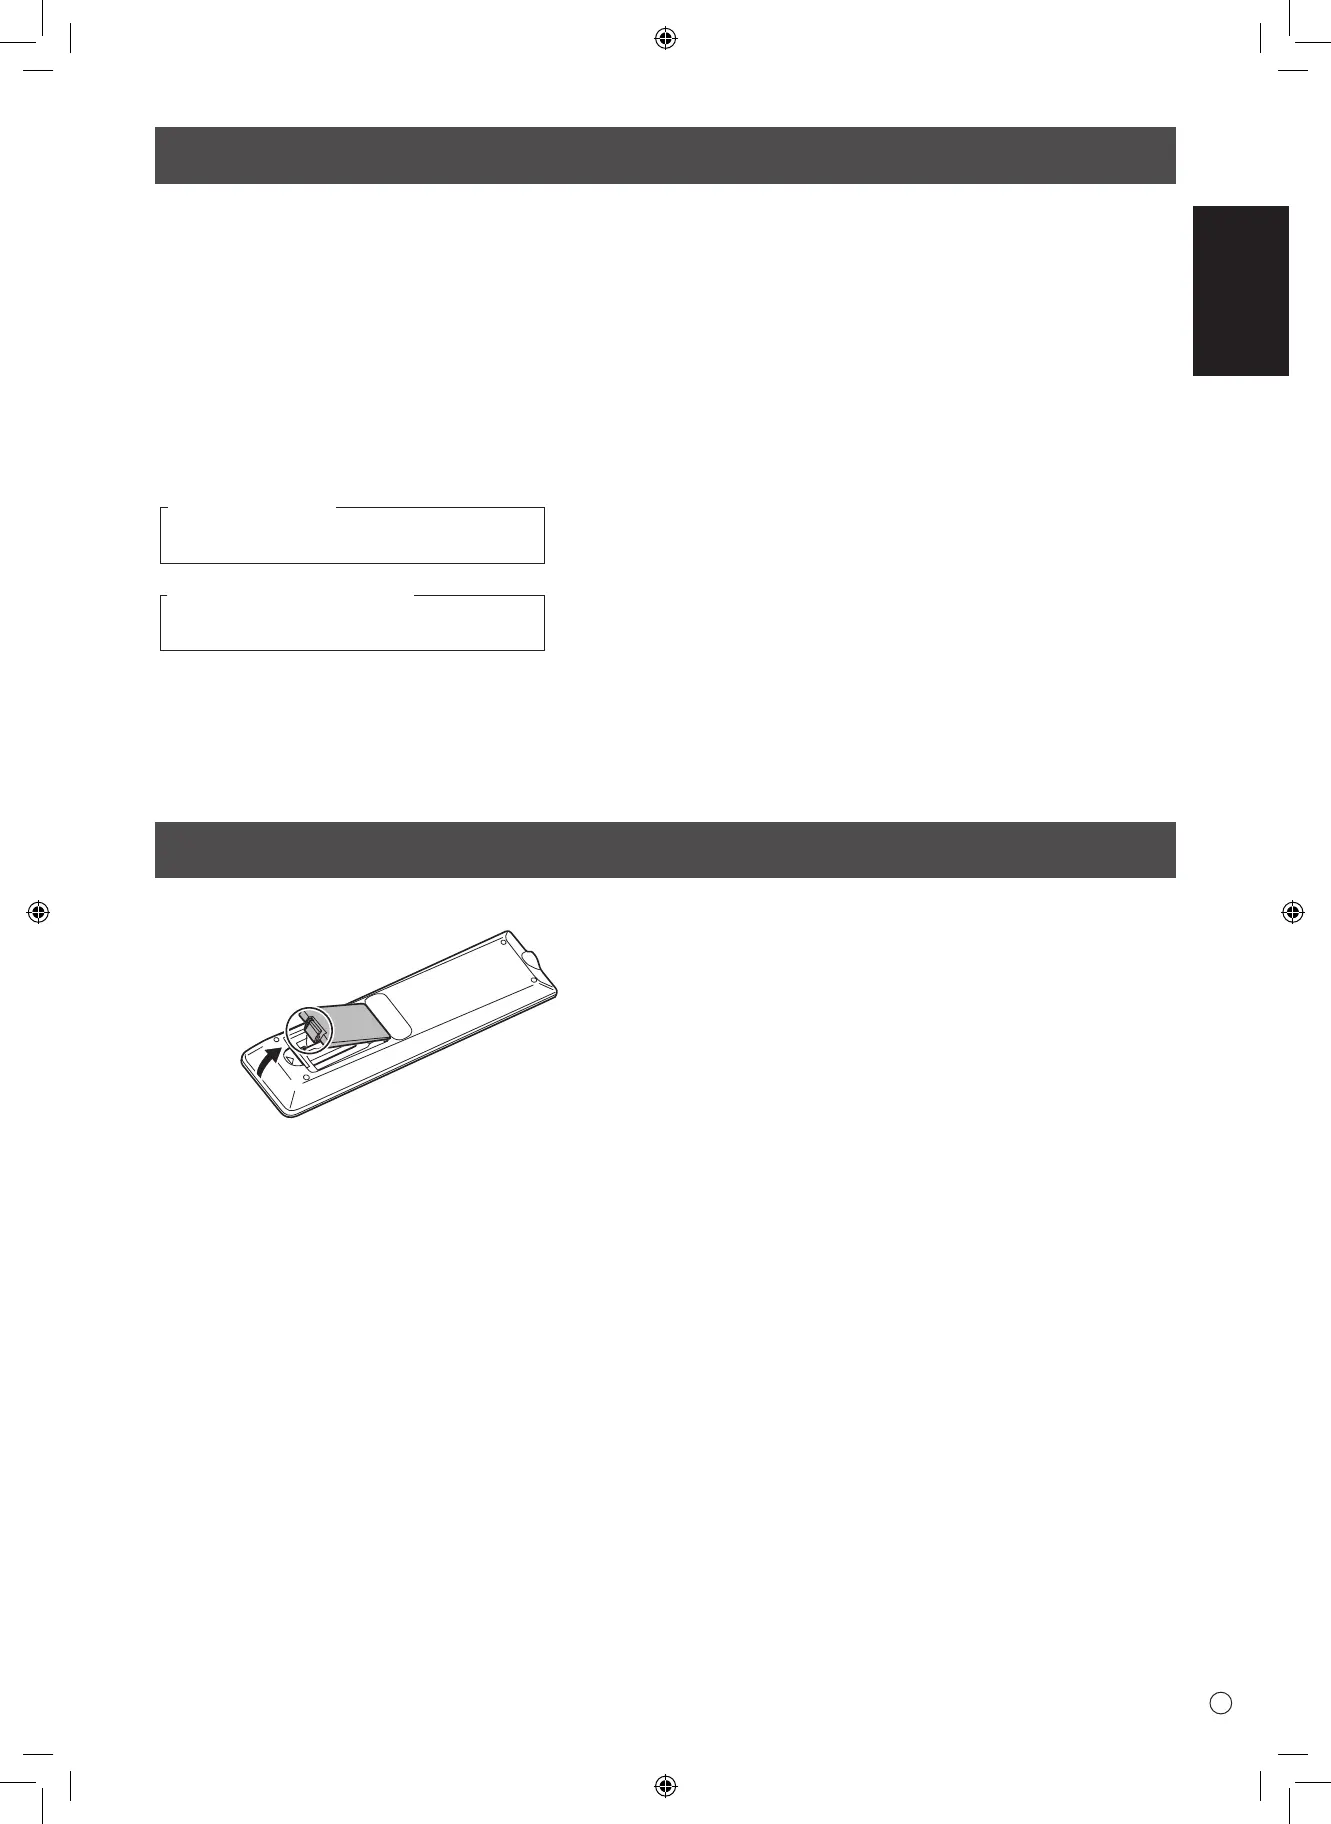
Preparing the Remote Control Unit
1. Place your nger on the part marked with the ▲, and then pull the cover off.
2. See the instructions in the compartment and put in the supplied batteries (R-03 (“AAA” size) x 2) with their plus (+)
and minus (-) sides oriented correctly.
3. Close the cover.
If any component should be missing, please contact your dealer.
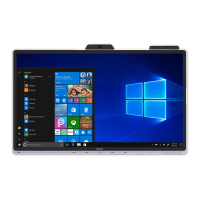
Liquid Crystal Display Monitor: 1
Remote control unit: 1
Power cord: 1
R-03 battery (“AAA” size): 2
CD-ROM (Utility Disk for Windows): 1
Setup Manual (this manual): 1
Cable clamp: 2
Logo sticker: 1
Hole cover sticker (PN-R706 only): 2
[PN-R706/PN-R606]
Ceiling mounting bracket: 8
Ceiling mounting bracket xing screw: 24
[PN-R556/PN-R496/PN-R426]
Ceiling mounting bracket: 4
Ceiling mounting bracket xing screw: 12
* SHARP Corporation holds authorship rights to the Utility Disk program. Do not reproduce it without permission.
* For environmental protection!
Do not dispose of batteries in household waste. Follow the disposal instructions for your area.
 Loading...