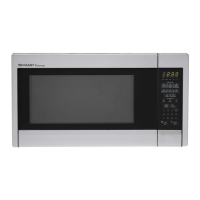
R-4H54
::
3.
4.
::
3.
1.
2.
3.
4.
5.
6.
5.
COMPONENT REPLACEMENT AND ADJUSTMENT PROCEDURE
POWER TRANSFORMER REMOVAL
CARRY OUT 3D CHECKS
Remove the fan motor assembly from the oven re-
ferring to “FAN MOTOR ASSEMBLY”.
Disconnect the filament lead of the power transfor-
mer from high voltage capacitor.
Disconnect the filament lead of the power transfor-
mer from the magnetron.
5. Disconnect the high voltage wire of H.V. rectifier
assembly from the power transformer.
6. Remove the one (1) screw from under side and two
(2) screws from upper side holding the transformer
to bottom plate.
7. Remove the transformer.
TURNTABLE MOTOR REMOVAL
Disconnect the oven from power supply.
4. Disconnect the wire leads from turntable motor.
Remove the turntable and roller stay from the oven
5. Remove the two (2) screws holding the turntable
cavity. motor to oven cavity bottom side and remove the
Remove the one (1) screw holding the turntable turntable motor.
motor cover to the bottom plate and remove the
6. Turntable motor is now free. At this time, o-ring and
cover.
washer is removed. Do not loose them.
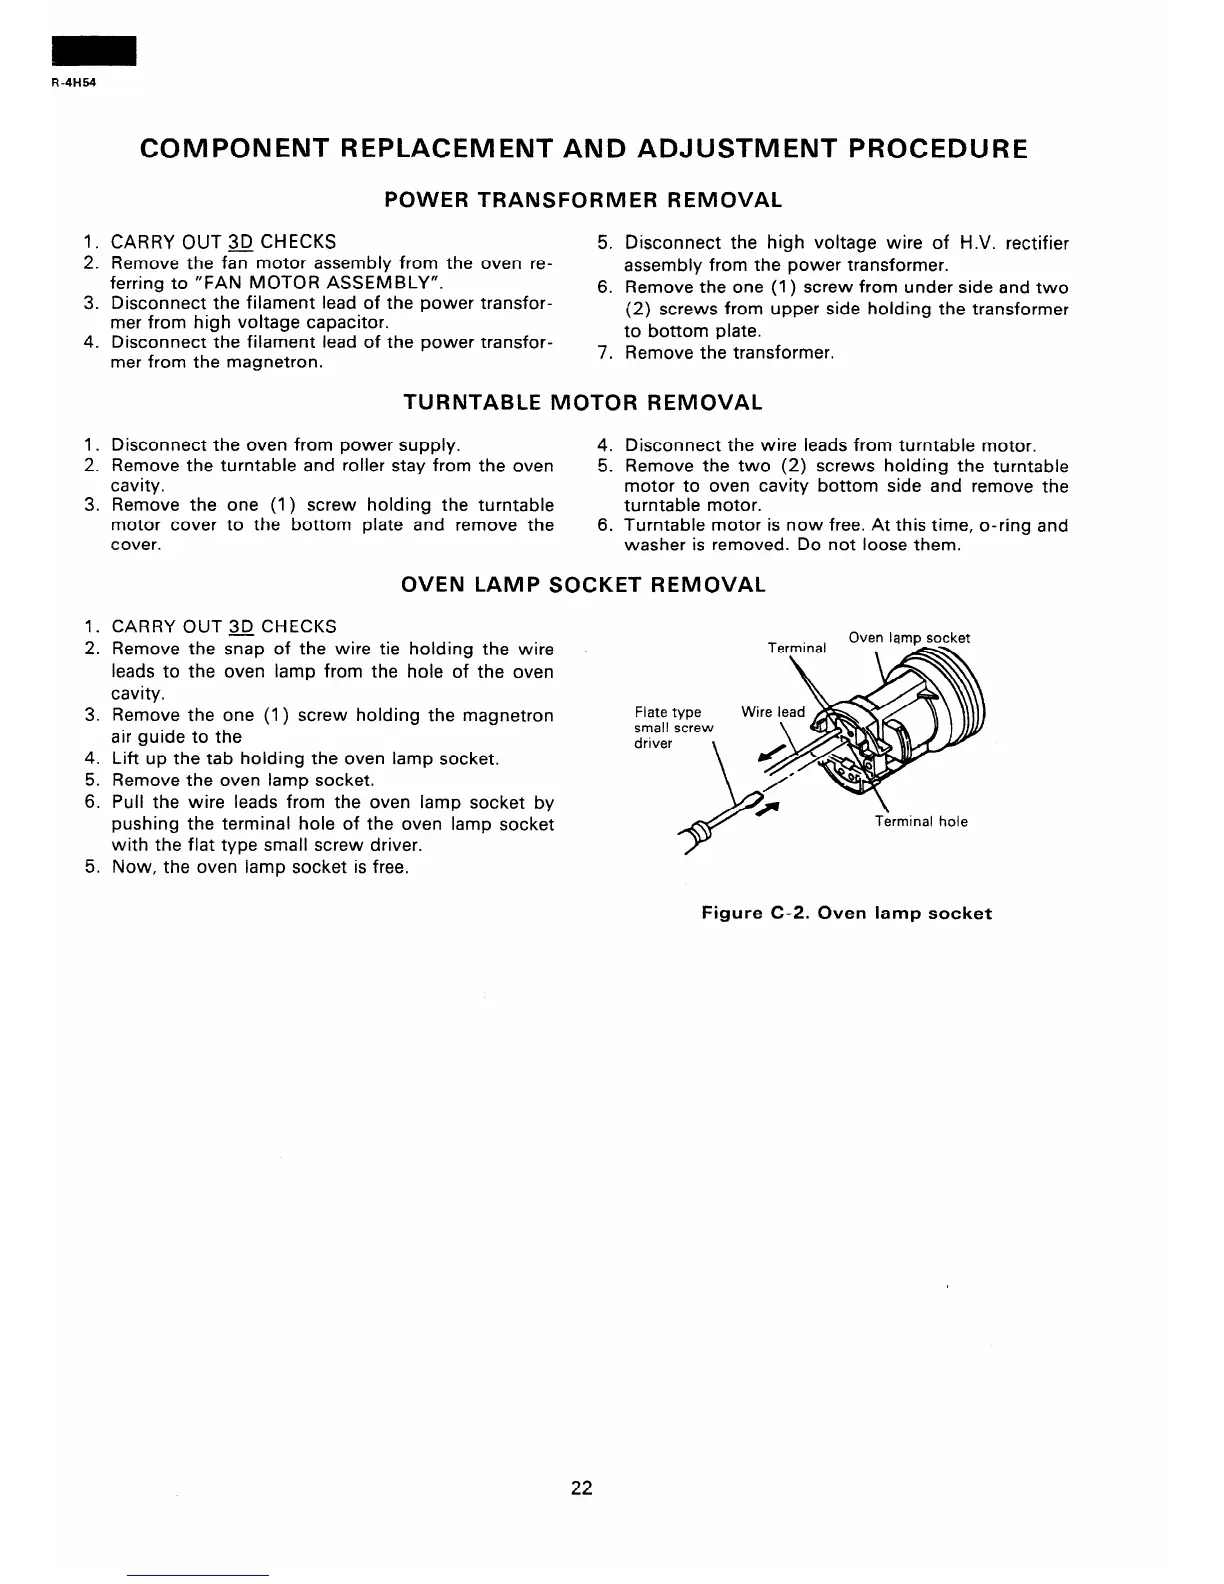
OVEN LAMP SOCKET REMOVAL
CARRY OUT 3D CHECKS
Remove the snap of the wire tie holding the wire
leads to the oven lamp from the hole of the oven
cavity.
Remove the one (1) screw holding the magnetron
air guide to the
Lift up the tab holding the oven lamp socket.
Remove the oven lamp socket.
Pull the wire leads from the oven lamp socket by
pushing the terminal hole of the oven lamp socket
with the flat type small screw driver.
Now, the oven lamp socket is free.
Flate
small
driver
Oven lamp socket
screw
Figure C-2. Oven lamp socket
22