Do you have a question about the Sharper Image Back Stretcher and is the answer not in the manual?
Attaching the front base to the rear base using screws, washers, and nylon nuts for stability and safety.
Securing the main frame to the rear base using screws, washers, and nylon nuts.
Attaching the handle bar, seat, and seat support tube using knobs and screws.
Inserting foam tubes into the main frame and placing foam pads onto the tubes.
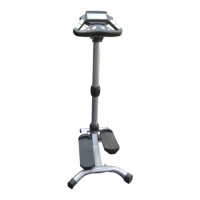
Fixing the head cushion to its support tube and attaching it to the main frame, allowing height adjustment.
Attaching rubber bands to support tubes and securing them with spring collars to prevent slippage.
Ensuring the fix pin is correctly installed as a stopper for the back stretcher's angle.
Steps to fold the back stretcher for storage, including removing collars and rubber bands.
| Type | Back Stretcher |
|---|---|
| Material | Plastic |
| Adjustable Levels | 3 |
| Color | Black |
| Target Audience | Adults |