31
www.shieldglobal.com
WARNINGS
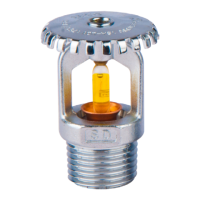
TheSHIELDSprinklers mustbeinstalled andmaintained
incompliancewiththisdocument.Depressurizeanddrain
the piping system before attempting to install, remove,
oradjustanySprinklers.Failure todo somayimpair the
performanceofthesesprinklers.Theownerisresponsible
formaintaining the re protection systemand devicesin
operation.
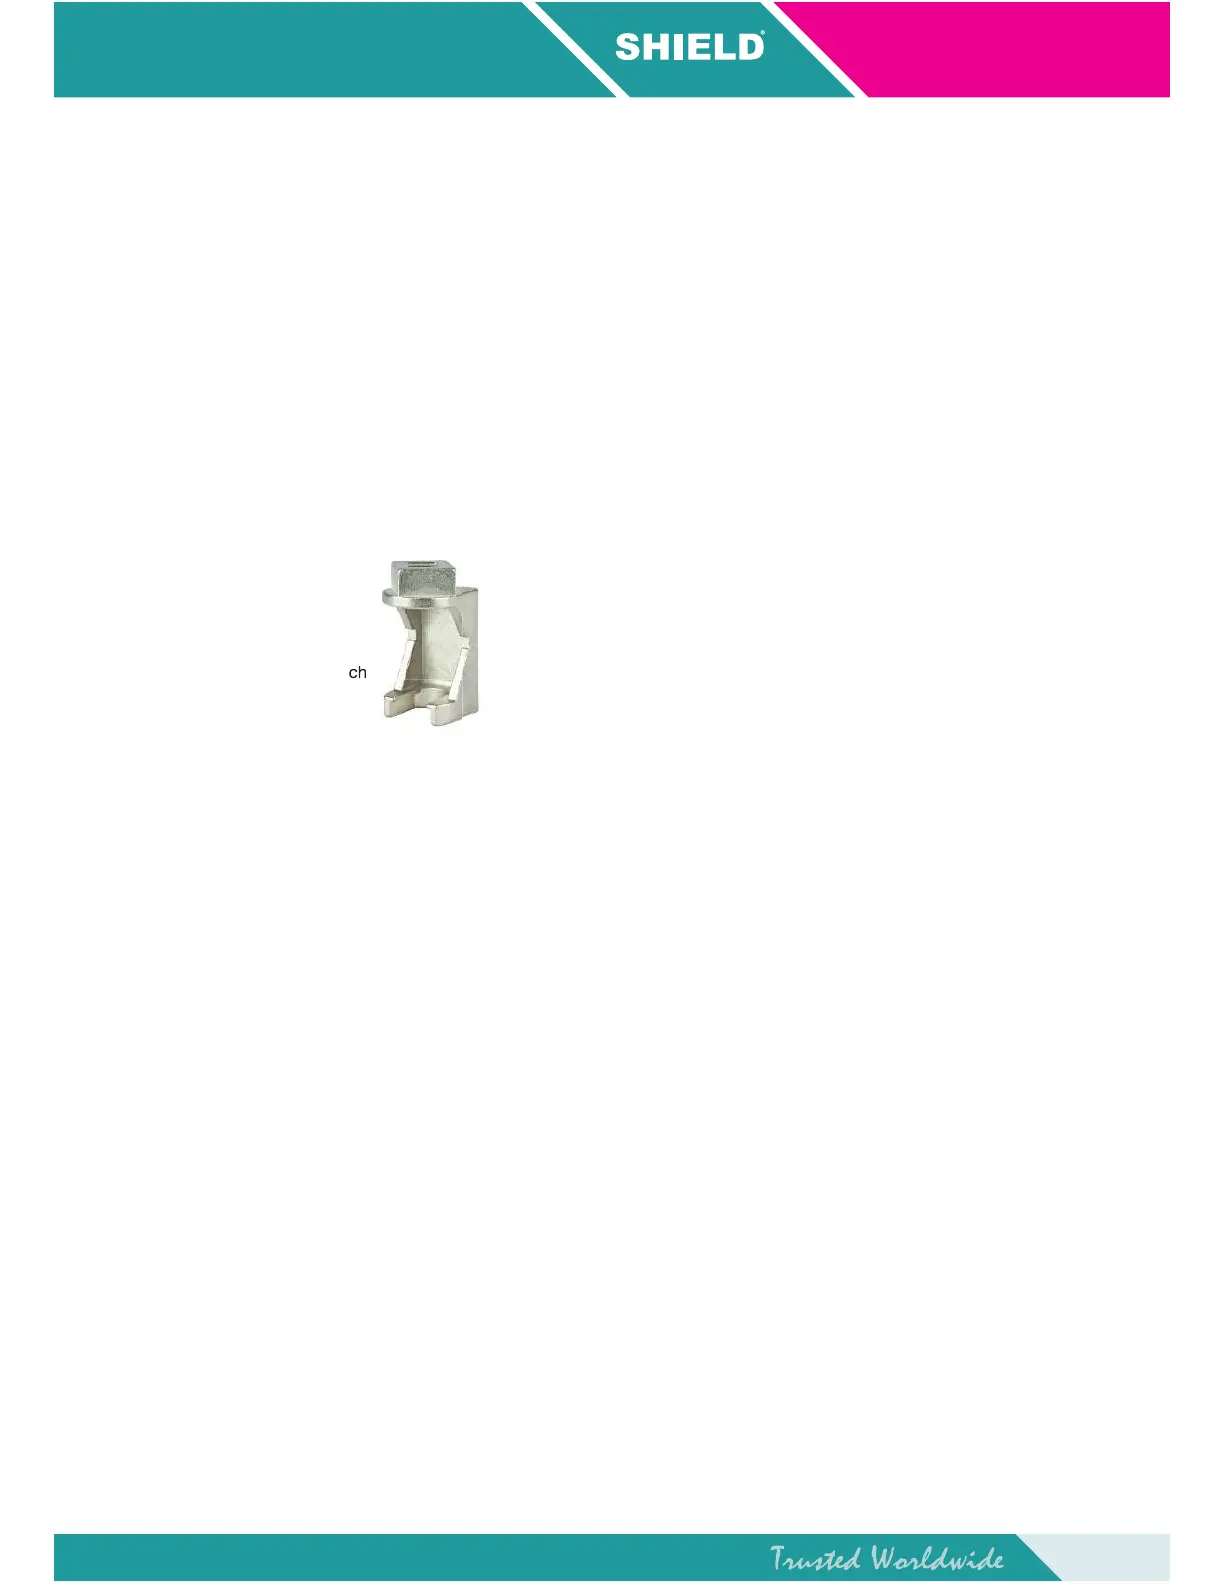
WRENCH DESCRIPTION
The Sprinkler Wrench is a tool specically designed for
installingSHIELDSprinklers.Thesespecialwrenchesmust
be used to provide the proper leverage when tightening the
sprinklerandtominimizeslippageduringinstallation.Any
otherwrenchmaydamagethesprinkler.
INSTALLATION
All SHIELD Sprinklers must be installed according to
NFPA 13 Standards. Deviations fromthese requirements
and standards or any alteration to the sprinkler itself will
void any warranty made by manufacturer. In addition,
installation must also meet local government provisions,
codesandstandardsasapplicable.
The system piping must be properly sized to insure the
minimumrequiredowrateatthesprinkler.Checkforthe
proper model, style, orice size and temperature rating
prior to installation.Installsprinklersafterthepipingisin
place to avoid mechanical damage, replace any damaged
units.Wetpipesystemsmustbeprotectedfromfreezing.
Upon completion of the installation, the system must be
testedperrecognizedstandards.Intheeventofathread
task, remove the unit, apply new pipe joint compound or
tape,andreinstall.
ADDITIONAL
Recessed Sprinkler - To install the escutcheon plate,
align with it and push or thread over the sprinkler body
into the upper support piece, until the outer edge of the
escutcheonmeetsthemountingsurface.
INSTALLATION SEQUENCE
Step1.Theunitmustbeinstalledintheuprightpositionfor
the Upright Sprinklers, and in the Pendent position for the
PendentSprinkler,PendentRecessedSprinkler.
Step2.Useonlyanon-hardeningpipejointcompouindor
tapeseal.Applyonlytothemalethreads.
Step3.Handtightenthesprinklerintotting.
Step 4. For Conventional Sprinklers, use a standard
wrench.Tightentheunitintothetting.Alead-tightjoint
requires only 7 to 14ft.-lbs (9.5 to 19.0Nm) of torque. A
tangentialforceof14to28ft.-lbs(62.3to124.5N)delivered
througha6”(150mm)handlewilldeliveradequatetorque.
Once torque level reach over 21ft.-lbs (28.6Nm) it may
distortthe orice seal, resulting in leakage. For exposed
piping systems, the sprinkler should be oriented so the
framearmsareparallelwiththebranchlinepipe.
CAUTION
Do not over-tighten or under-tighten the sprinkler to
compensateforinaccurateescutcheonplateadjustment.
Protectionclipsareusedtoprotect itsbulb.Pleasehave
cliponatalltimesduringtransportation.
MAINTENANCE
Sprinklers must never be altered after manufacture. Any
alteration such as painting and coating will directly harm
thesprinklerandcausemalfunctions.Sprinklerincontact
with corrosive products should be replaced if they cannot
becleanedcompletely.
Visual inspections are recommended after installation.
After installation, a close-up inspection annually will
sufce.
Inspection and maintenance of re protection system is
the responsibility of the owner. It is recommended that
automatic sprinkler system be inspected and tested
accordingtolocaland/ornationalregulations.
Sprinkler Wrench
 Loading...